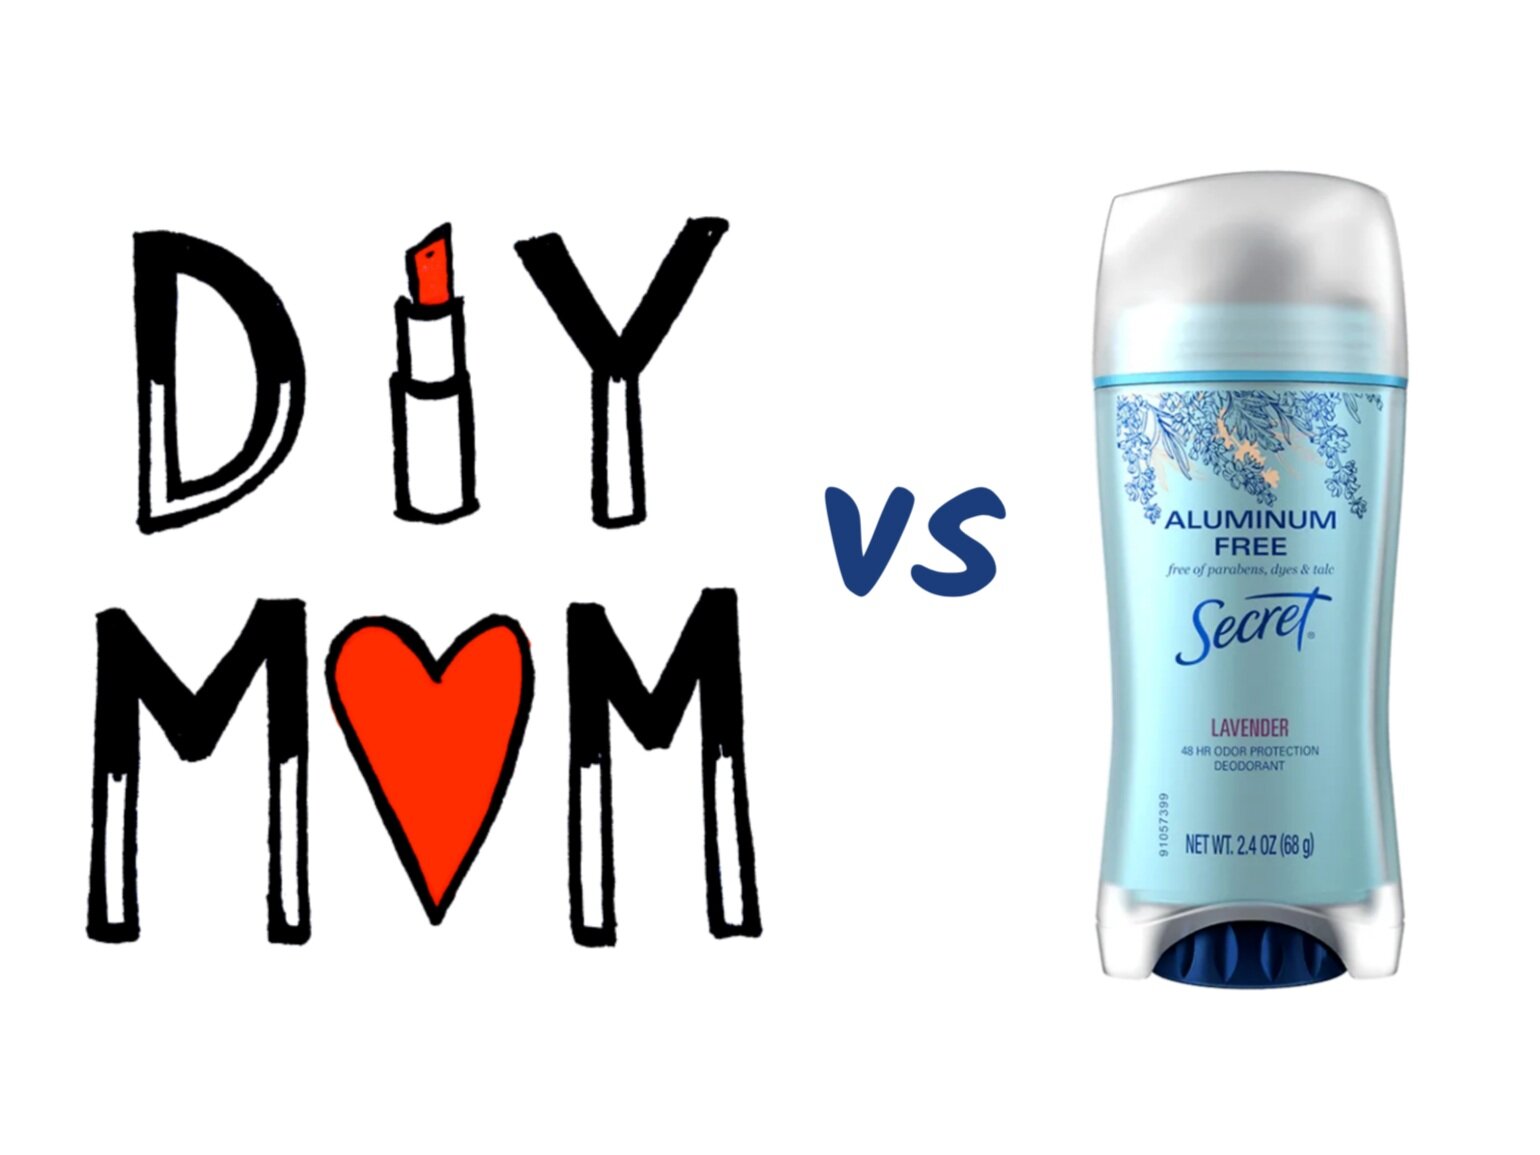
• DIY MOM puts Secret Aluminum Free Deodorant to the TEST •
Unveiling the ‘Secrets’ behind Aluminum Free Deodorant; Can Secret’s new formula really compete with a DIY MOM week?
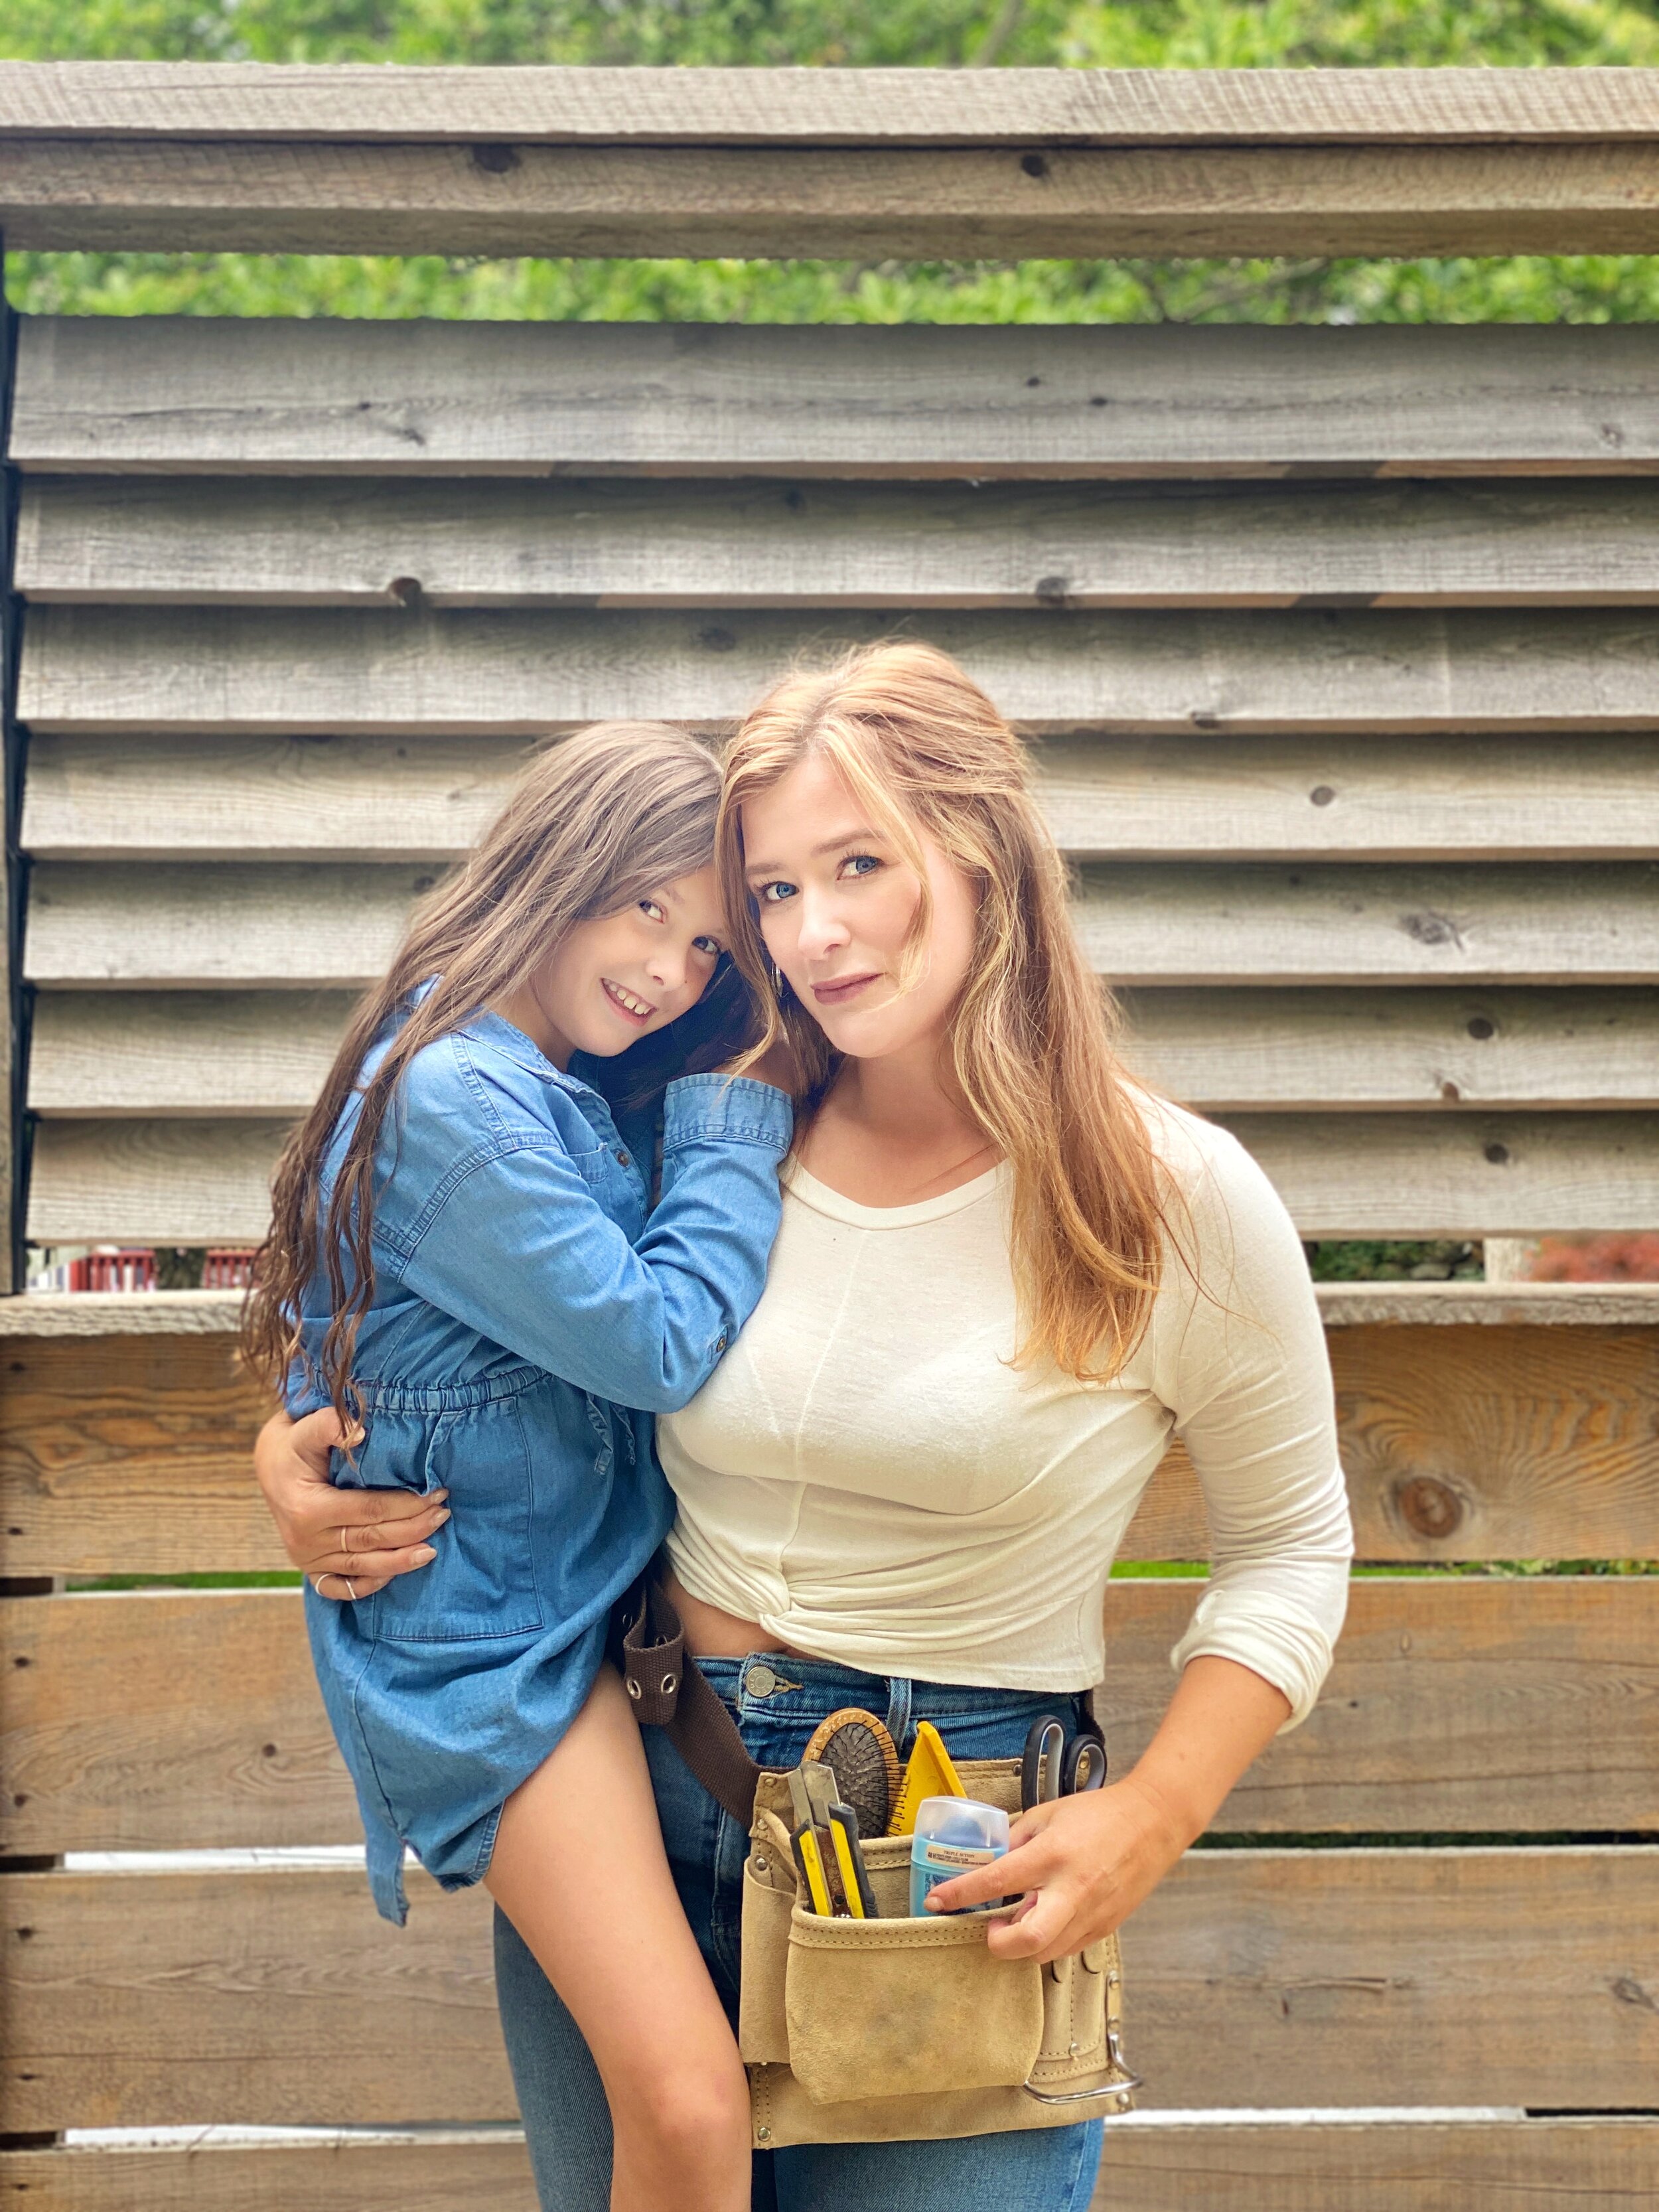
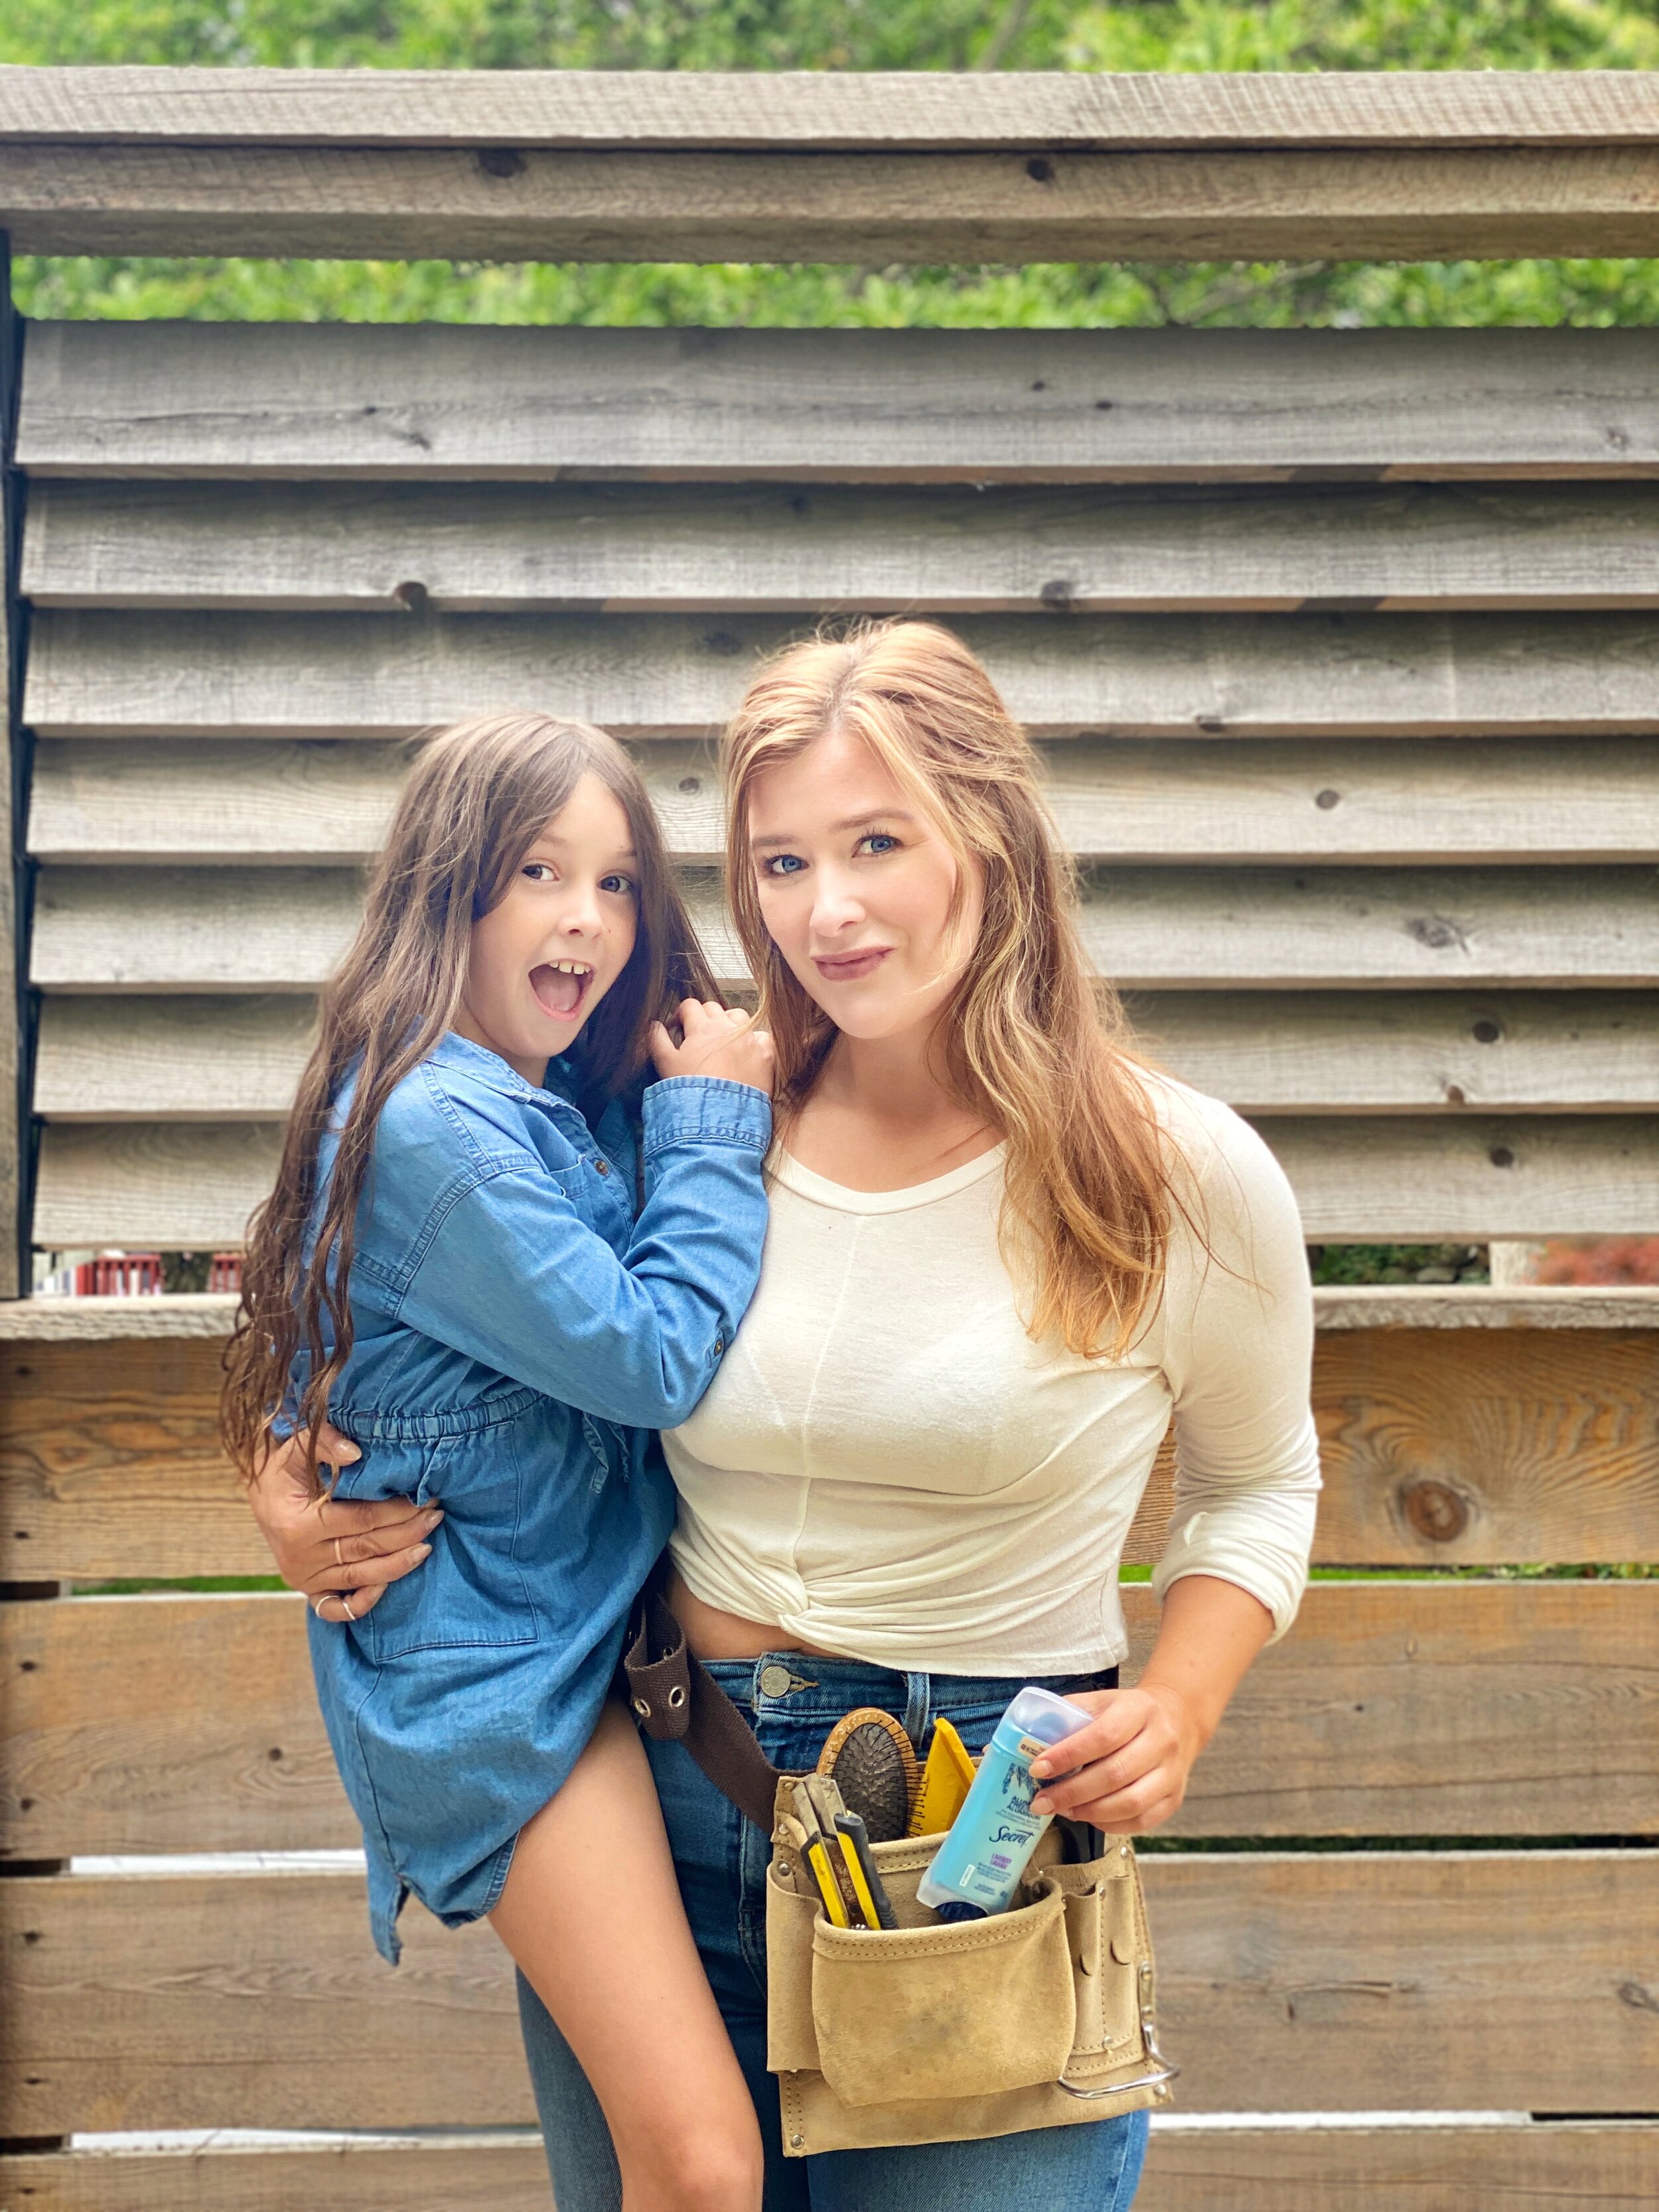
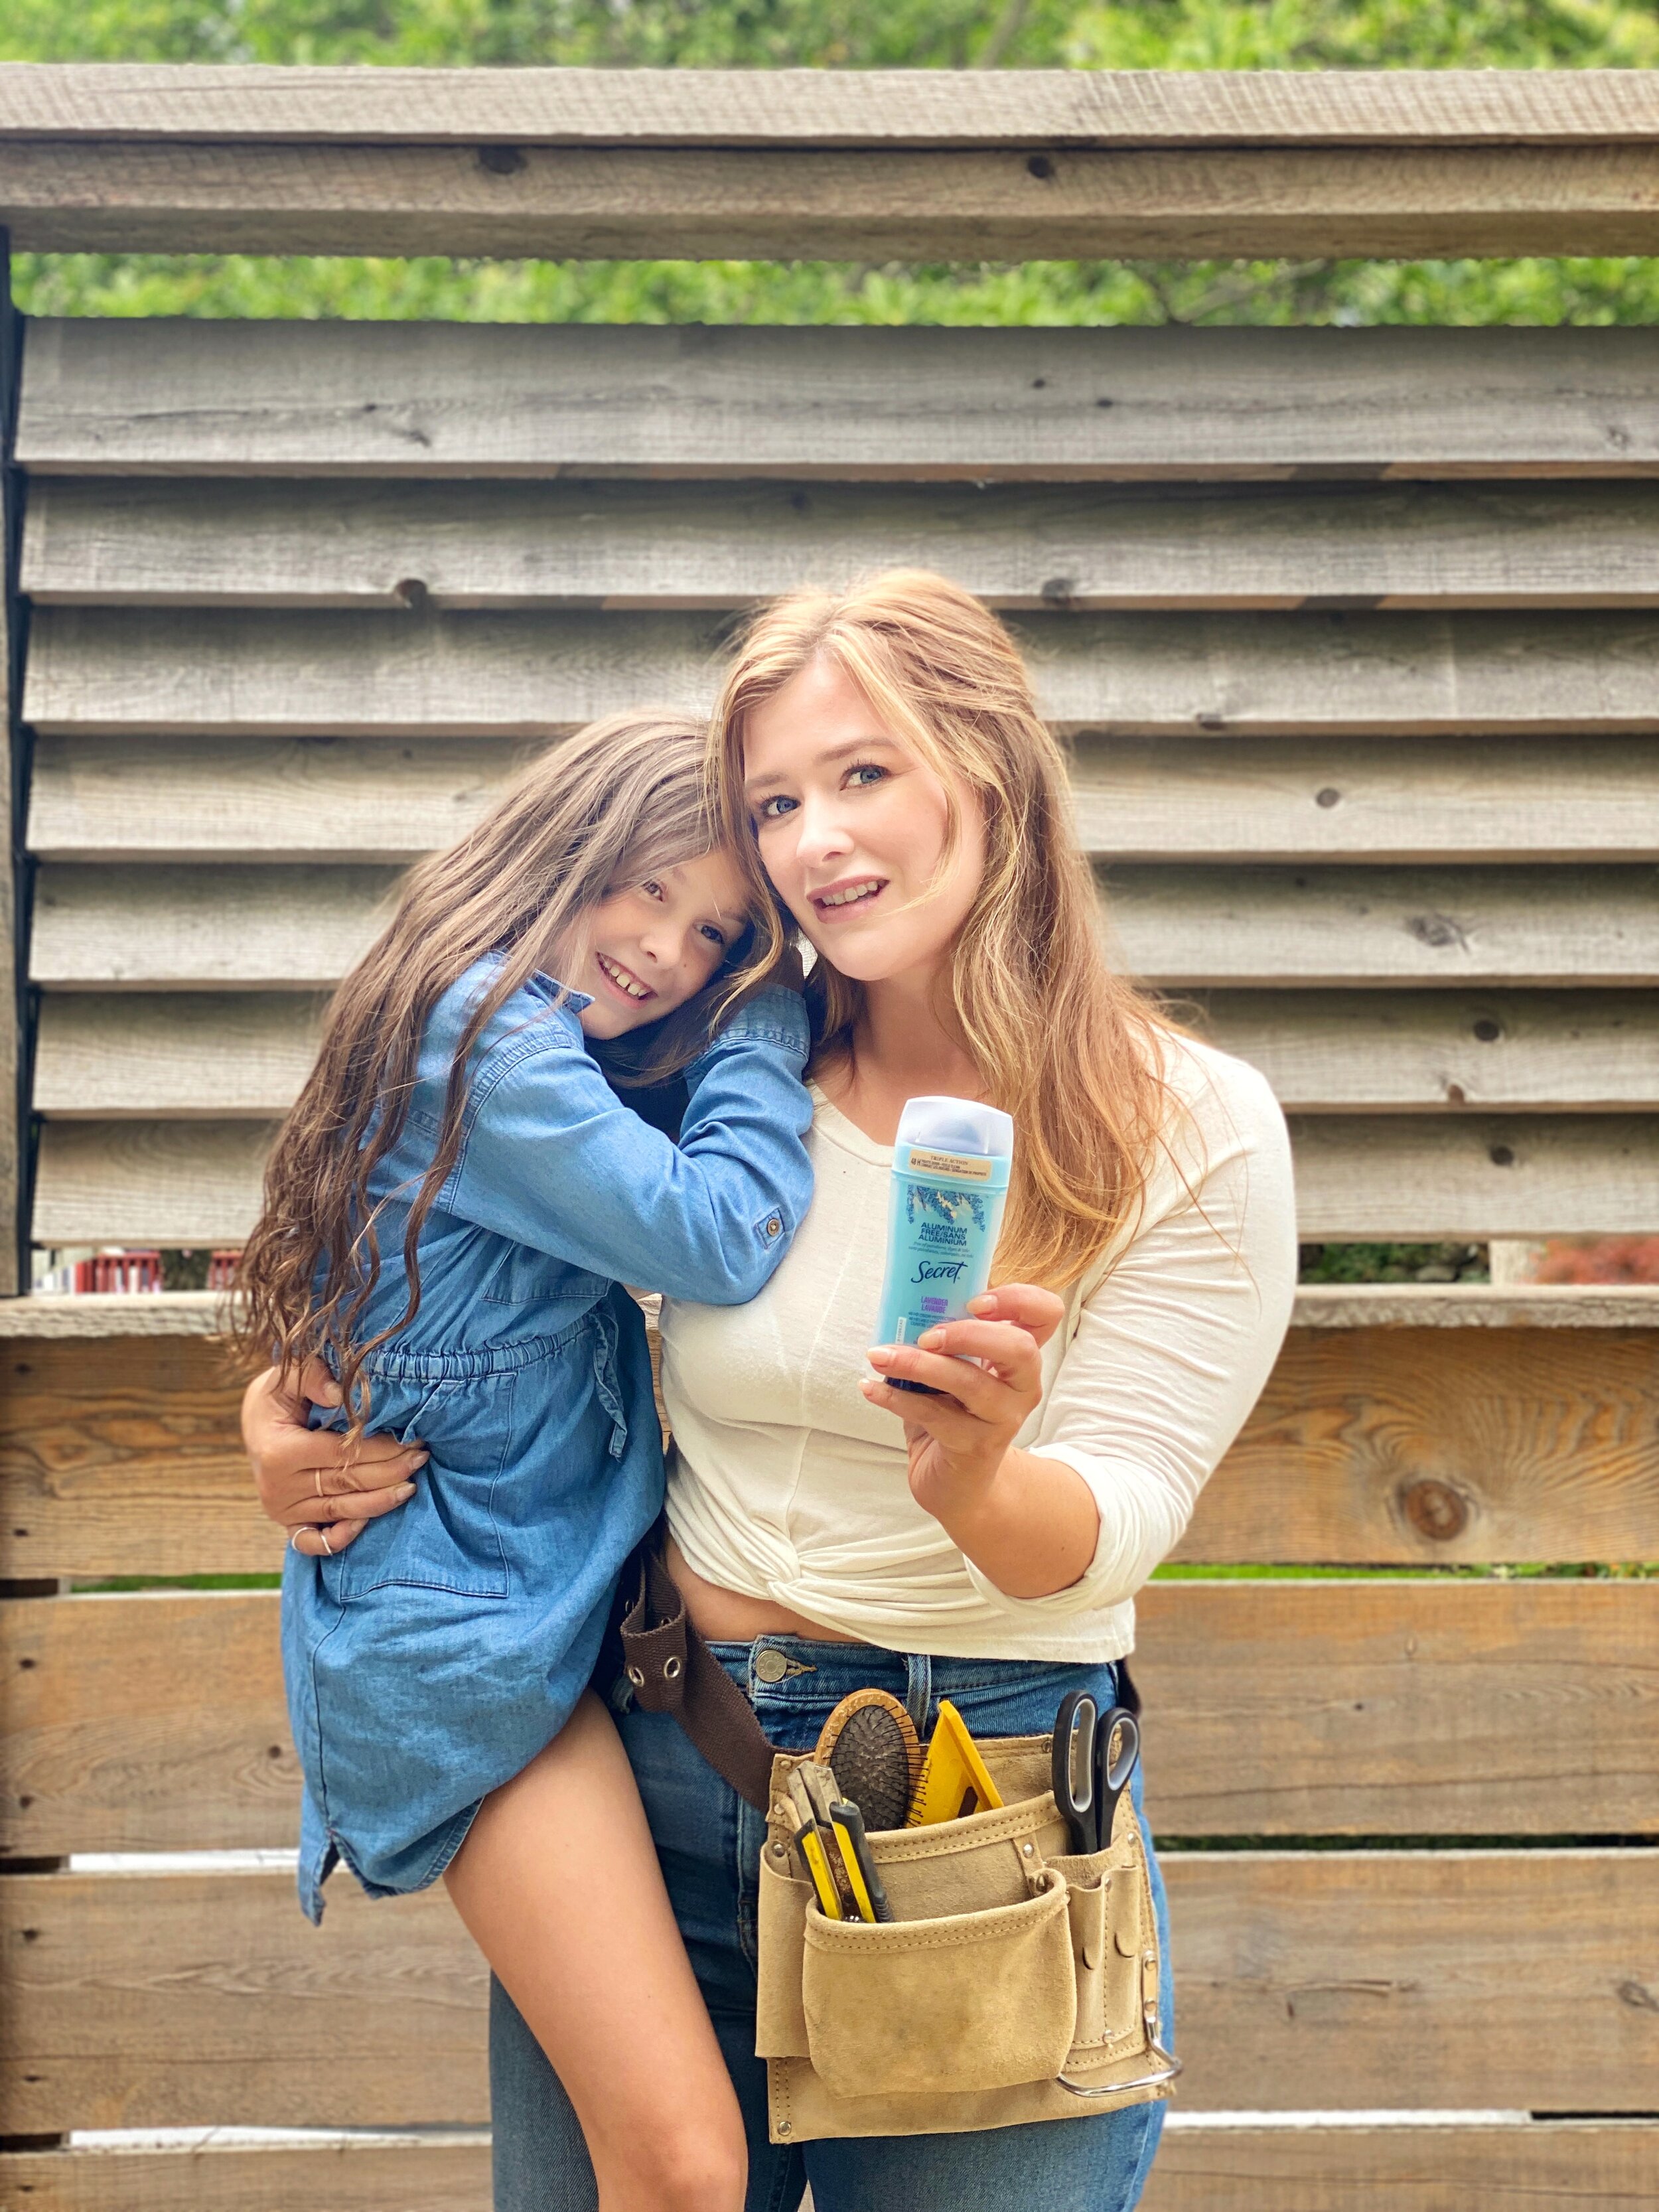
As you can probably tell from my name, I am a busy mom!
Between juggling a demanding business, renovating my newest project and being a mother to my wonderful daughter, my days tend to get pretty hectic. This week, I’ve partnered up with Secret to see if their newly reformulated Aluminum Free Deodorant can keep up with me, for a busy DIY MOM week.
Nearing the last weeks of summer, on a whim, I decided to put my house on the market and begin my newest renovation endeavor, a mid-century bungalow! An architectural staple of its era, this homestead calls back to simpler times. One where females were expected to take to the domestic lifestyle while feminist movements blazed trails for today's modern woman. Being a nurturing mother as well as an empowered woman sums me up perfectly
Since my days are often spent running from one hardware store to the next or in full-swing demolition mode, I don't always have time to be worried about BO, unfortunately. Lately, I've been looking into deodorant brands that are PETA certified cruelty-free and reliable for me – but also for when my daughter is ready I’ll be confident in the products that I pick up for her. This search led me to Secret's new and improved Aluminum Free Deodorant which is free of aluminum, dyes, parabens, glycol, baking soda, talc & lasts as long as I need it to with 48H superior, sweat activated, odor fighting protection. .
Established in the 50’s, Secret is a brand that has been actively working to support the empowerment & equality of women for over 70 years. As a woman working in an industry overwhelmed by men, it can be frustrating to be undermined by them… if only I had a nickel for every time a contractor tried to intimidate me. Maybe then I wouldn’t be breaking into these stress sweats!
I've partnered up with Secret to put their reformulated Aluminum Free Deodorant to the ultimate DIY MOM test. I have tried my fair share of aluminum free and natural deodorants in the past; roll ons, bars, sticks & sprays, where the latter has left me feeling soggy (just to put it lightly.) I have even tried Secrets’ very first aluminum free deodorant when it was released a couple years ago. Safe to say that I was happy about their health consciousness, however the aluminum free deodorant at the time did not give me the long lasting odor protection that I needed, thus lead me to the search for this awesome new product.
As my daughter Lennon grows older, as does my increasing concern for her inevitable BO. Just as a mother, I want to save her the embarrassment of a potential pit potpourri. By putting Secret’s new & reformulated Aluminum Free Deodorant to the test myself, I’ll know for sure whether I’ll be able to pass along this scented secret to my mini me.
For my past week of renovations, I have been committed to trusting the balance of my body odor to this deodorant. I must admit that I was a little hesitant at first, seeing as I hadn’t had much luck with similar products in the past; who would have known that creating an effective deodorant without aluminum would be SUCH a challenge. I had my reservations and rightfully so. But I took on the challenge full steam ahead by applying the deodorant first thing in the morning, and getting on with my day.
Over the course of the week, I continued with my demolition. Sledge hammers a’ swingin’; beams a breakin’; and errands a runnin’; and to my surprise, not a single odour to be secretly sniffed! I would apply once early in the day (sometimes in the car when rushing to get Lennon to school) then the residual product would be rinsed away by my nightly shower. Since I am someone who suffers from allergies and skin sensitivities, I am always hesitant with which products I choose to use on my skin. Don’t get me wrong! I love a good sweat to drain the toxins from my lymphatic system and I am okay with it because I still look and feel fresh. Secret’s Aluminum Free Deodorant left me feeling soft, clean & comfortable for the full week.
Although I may have never reached the 48H mark, at times I felt like I squeezed 2 days of work into 1!
Now that I’ve put Secret’s reformulated Aluminum Free Deodorant to the DIY MOM test for a week, I can comfortably say that I trust Secret enough to let my daughter try it when she’s ready. She is always excited to do things that make her feel more grown-up and build her self-esteem. After having tested the product personally, I am confident that Secret has my back when it comes to comfortable and reliable odour protection and it will have her back too. .
Now I’ve got a few “secrets” of my own that I want to share! Check out my 5 Top Secret Stashes;
•5 Places to Stash Your Secrets•
1. Bathroom Vanity
…For the ultimate morning routine efficiency.
2. Kitchen Craft Cupboard
Don’t underestimate the kitchen cupboard deodorant. It’s always accessible, especially during those whirlwind mornings where you just gotta grab n’ go!
3. The “Dash” Stash
The Classic “Dash Stash”; wherever you go, if you go in your car, you should be covered.
4. PURSE ( Size permitting…)
Always keep a stick on you if you can! Just leave it at the bottom of your purse. You’ll find it in the knick of time in a week or two. Let’s see… phone...keys...wallet... mask…DEODORANT!
5. Tool Belt
This one may not be for everybody, but it is for me! Keep a stick stashed front side at all times when working. That way even if I break a sweat, I’m not sweating it.
Thank you everyone for following along the blog! If you decide to give aluminum free deodorant a fair try, let me know how it works out for you! For more information about Secret Aluminum Free Deodorant, check out their website here.
What’s one thing a bedroom needs? A bed, definitely. Forever the centrepiece of these self-titled rooms, beds act as a comfortable place to rest while doubling as great decorative pieces. Often, beds set the standards for the rest of the rooms decor. However finding an affordable piece of art to lounge over your mattress can be quite challenging. Purchasing even a simple duvet cover from a retailer could cost a fortune, regardless of the quality and material. Well I’m here to tell you to cut out the middle man, and DIY. Duvet It Yourself.
During my recent Attic renovation, I decided to design and create my own pillows and bedding for the cubby beds in the space. (The above photo is the final look). On my last blog I shared about how I made round pillows with pom pom’s. Today I am sharing the process of making hand painted lumbar pillows with an invisible zipper. Once you know how to insert an invisible zipper, you can sew all kinds of pillows and blankets.
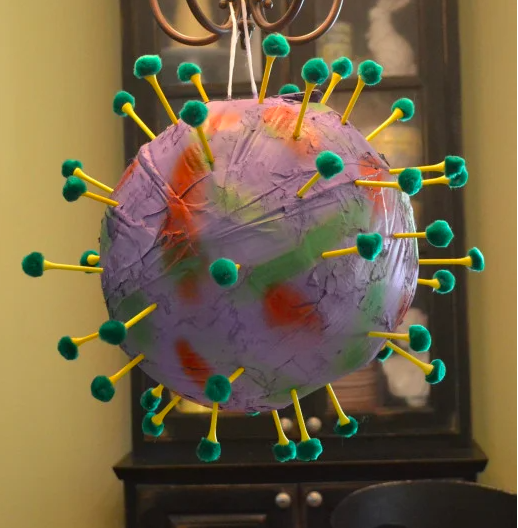
This DIY Piñata Is A Fun and Creative Way to Help “Beat” The Coronavirus
The times are in fact, a-changin’. I must admit that the Covid pandemic has proven difficult to navigate. Being a self-employed, single mother naturally comes with it’s own set of challenges. Throw a quarantine into the mix and then suddenly I need to be a teacher and full-time entertainer on top of it all! I have always had a profound respect and admiration for our school teachers and child care providers, however over the past few weeks, that appreciation has grown leaps and bounds. Finding innovative ways to educate Lennon while maintaining her interest (especially while being surrounded by the temptation of her toys…) was quite the conundrum. Upon some reflection, I decided to teach Lennon the best way that I knew how: DIY Crafts!
Learning doesn’t always have to be sit down, do your work, study and memorize. Sometimes learning can be a little more tactile and hands-on. For example: This Coronavirus Piñata that Lennon and I made for her (quarantine) birthday. Let’s call it Chemistry, Science and Art class all mixed into one dynamic lesson! So let’s gather our materials and get ready to get a little messy with this Piñata DIY.
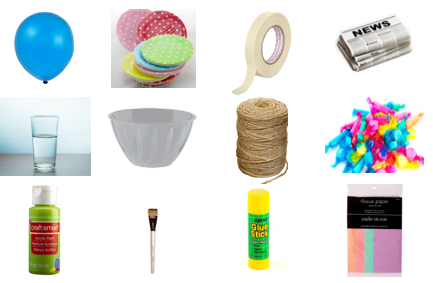
SUPPLIES
Most of these supplies you will likely already have around your house!!
BALLOON
PAPER PLATES
MASKING TAPE
NEWSPAPER
WATER
BOWL (large enough to hold piñata)
TWINE/STRING
CANDY
GREEN PAINT AND BRUSH
GLUE STICK
TISSUE PAPER
DIRECTIONS
STEP 1.
Blow up your balloon and tie a knot at the base.
STEP 2.
Cut a paper plate into quarters (pizza shaped pieces).
Step 3.
Roll the paper plate pieces into cones, tape them so they remain in this shape, and cut one-inch strips at the bottom of the cone.
Step 4.
Flare out the strips and tape them to the balloon.
STEP 5.
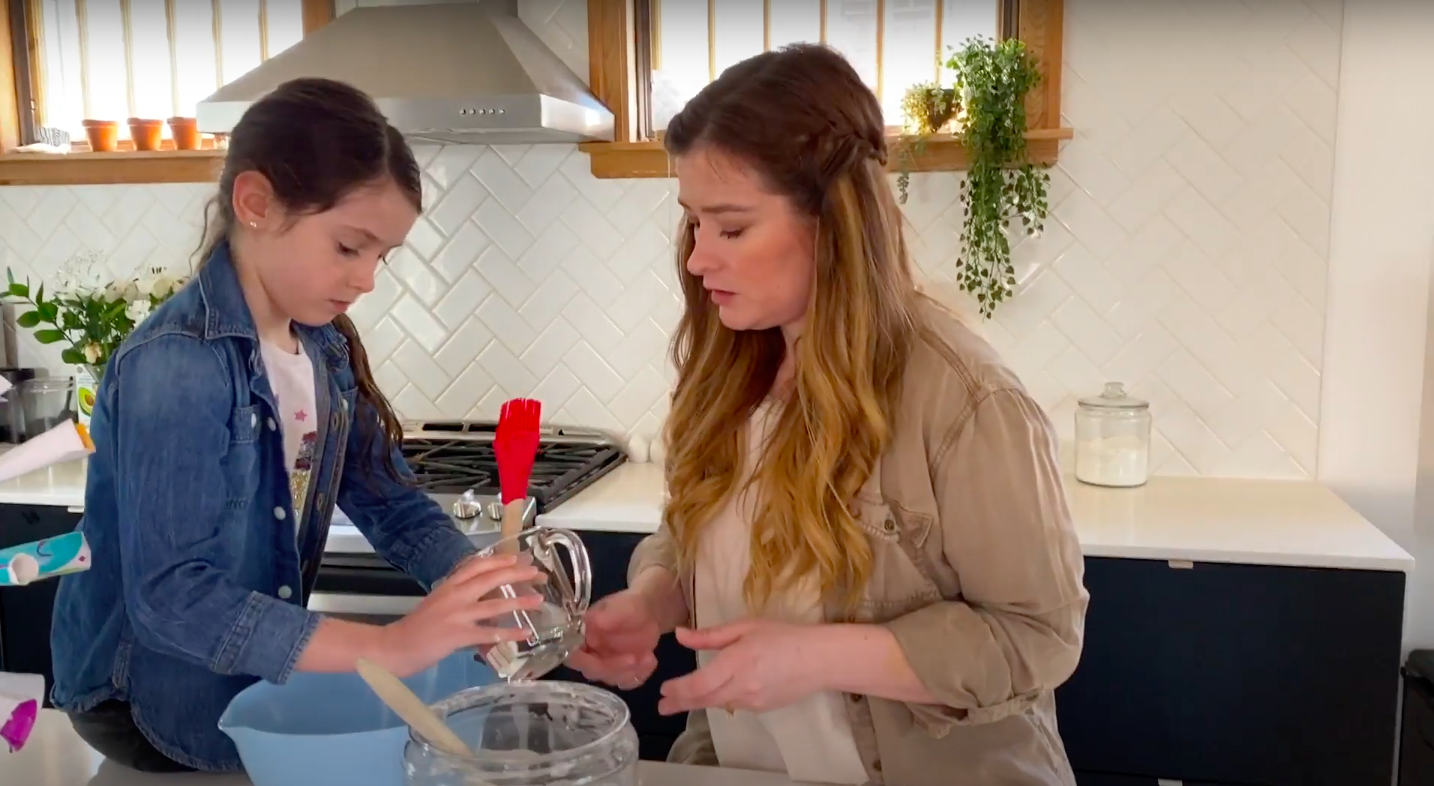
Make the paper mache with equal parts water and flour, then mix.
STEP 6.
Tear your newspaper into strips and coat them in the paper mache mixture. Layer them onto your balloon in different directions smoothing out any bubbles.
STEP 7.
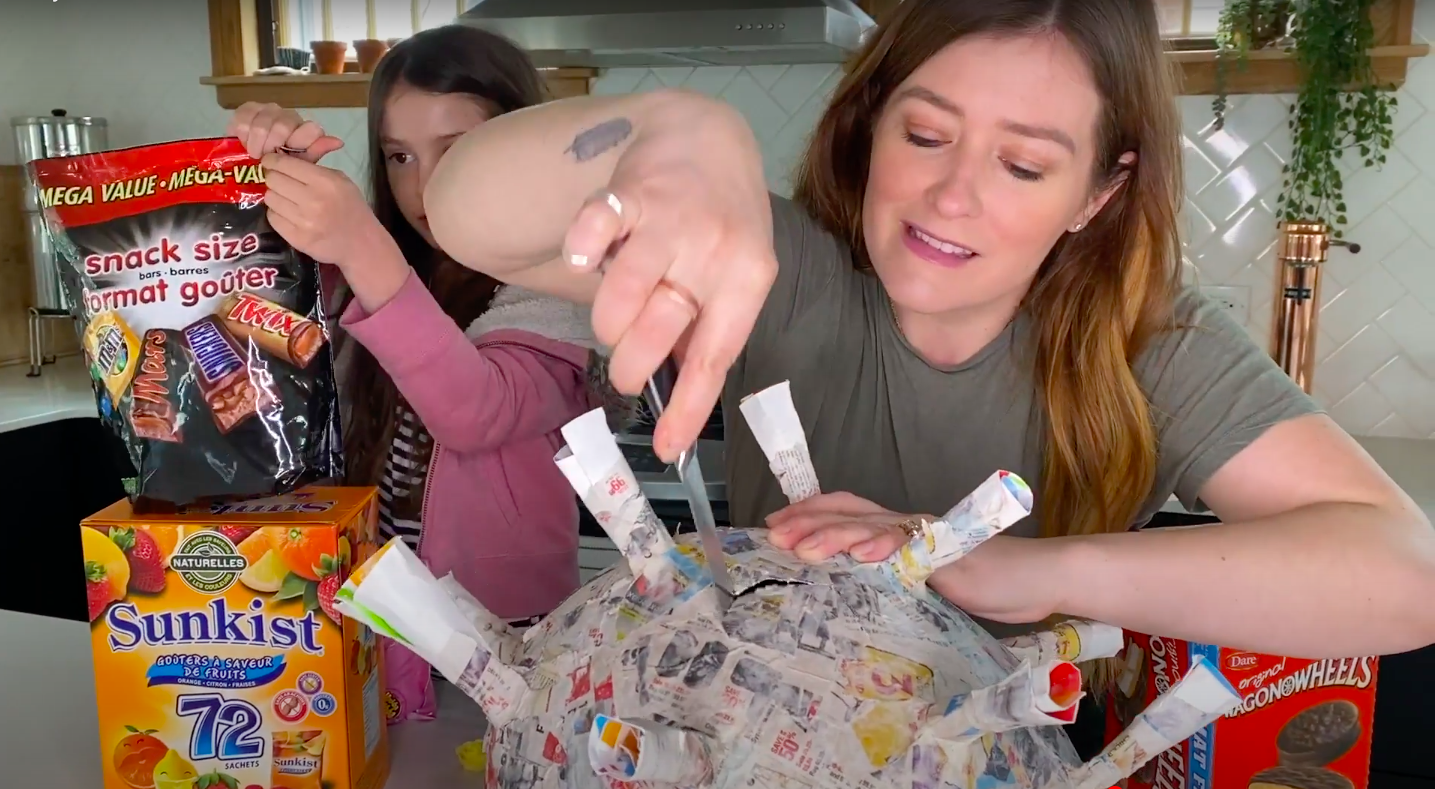
Let the paper mache dry overnight. Once dry, cut a small flap in order to put the candy in the pinata.
STEP 8.
Stuff the pinata with candy!
STEP 9.
Using the twine, tie a knot around the balloon leaving some excess to allow the pinata to hang.
STEP 10.
Paper mache over the twine to keep it in place.
STEP 11.
Paint the pinata using your green paint.
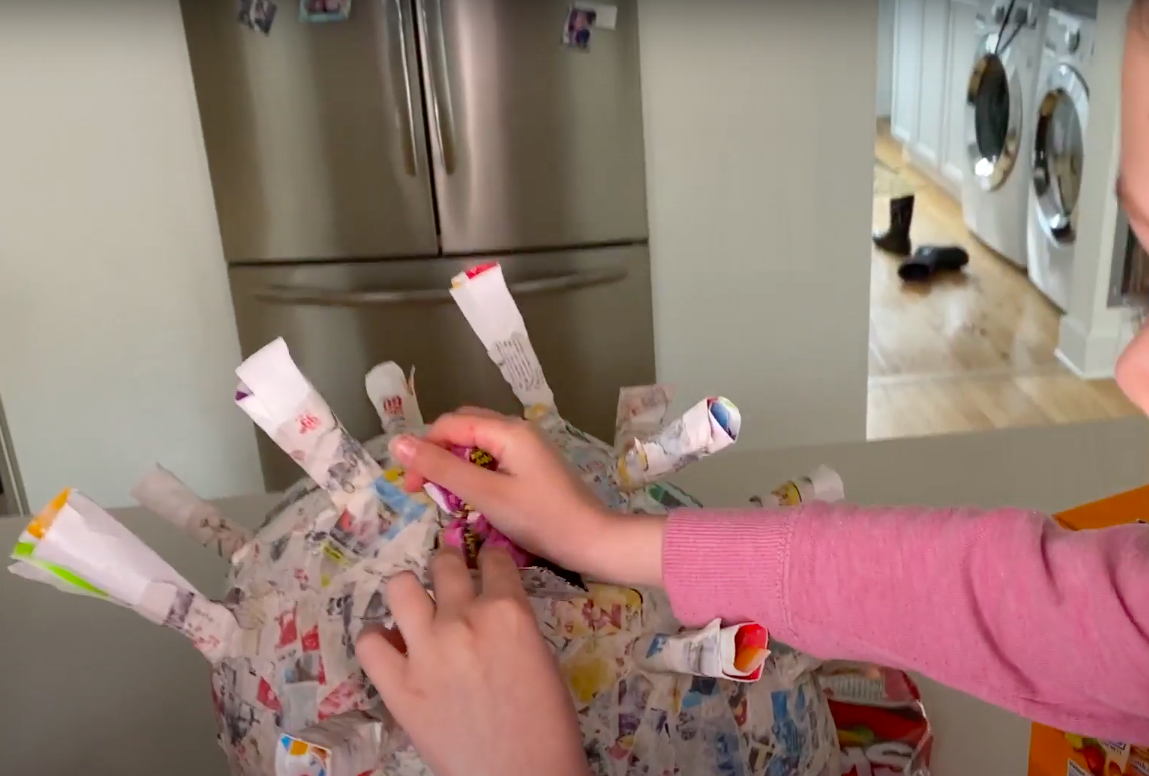
STEP 13.
Roll your tissue paper and stick them into the spikes. Using the end of a paintbrush helps!
STEP 12.
Cut your tissue paper into small squares and glue them onto the pinata.
Step 14.
It’s time to finally get the upper-hand! Here’s Lennon showing the villainous virus what she’s made of! Smash away and retrieve all of the goodies as your reward. Hopefully being a little “batter” will make you feel a little better, about these pandemic vibes.
That’s it! It’s that simple.
I would love to see if any of you attempt a coronavirus piñata! Share with me in the comment section below your projects and how they turned out.
Thanks for following my blog and I can’t wait to connect with you on my next project!
Stay tuned for more do it yourself projects coming soon as well as a sneak preview of Season 3.
xox
DIY MOM
Finding Inspiration…
Inspiration can come from anywhere at anytime. The internet is a great resource for sparking your creative energies and discovering projects that you may enjoy trying! The case could never be truer than for this project here. Being cooped up in the house all day, I did tend to find myself peering on social media sites more often than usual. But upon stumbling onto this New York Times article and doing a bit more research (as well as taking some creative liberties), I decided that this would be the perfect project to elevate Lennon’s Bday and really make it a SMASH!
During my recent Attic renovation, I decided to design and create my own pillows and bedding for the cubby beds in the space. (The above photo is the final look). On my last blog I shared about how I made round pillows with pom pom’s. Today I am sharing the process of making hand painted lumbar pillows with an invisible zipper. Once you know how to insert an invisible zipper, you can sew all kinds of pillows and blankets.
Now that I’m at home with the kids and my fiancee all day - everyday, I am full of frustration with how much I clean and how little any one else does. The pile of everyones’ belongings at the bottom of the stairs, gets stepped over as people march upstairs empty handed, the kids come in from playing in the mud with their boots on. The dog is ignored and pees on the floor. The laundry piles up and who has to do it? Non other than MOM, cook, dog walker, laundress and general cleaner-upper-er.
My daughter Lennon really loves unicorns, well really who doesn’t! They are magical, colourful and make everyone smile. When I began my renovation Lennon had an idea. She wanted a large Unicorn Head on the wall. Her idea seemed to come out of left field.
I started looking at buying a unicorn online and quickly thought… hmmm…. I bet I could make one myself. So I looked up how to make Papier-mâché and discovered it was quite simple and that I had everything I needed to make something right here at home!
Making your own pillows is super easy (even for a newbie sewer like me) and it’s a fun way to keep yourself occupied during this time where we are all required to physically distancing and keep to ourselves.
While scrolling through instagram I noticed many home decor influencers had lovely round pillows with pom pom’s on them. I thought they were so cute and fun but checking out the online price of them (upwards of $150 a pillow) I decided to take a crack at making some myself.
When deciding what kind of Daikin heap pump units to select and where to install them, it was important for me to not only make my heat pumps as efficient as possible, but also have them fit into the space and not distract from my décor. As a designer and renovator who is often posting images on my home on Social media, I really didn’t want a big heat pump unit to be the first thing you notice. I worked with Presidential Ventilation to select a modern Daikin unit that would fit in with my décor and to make sure the placement was effective and minimally intrusive.
After becoming a mom, I changed careers again, entering into the world of video production, commercial writing and marketing. I was lucky enough to land on my feet at the now defunct EGG films, where I was faking it till I make it! I was trying to sponge up everything I would need to know about producing video content and commercials, while working with clients and on film sets. As a single mother with a brand-new lease on life I was determined to rise in the production world. I just needed to learn how to shoot my own content, edit video and mix audio and colour. My ambition could only take me so far and my temporary job at Egg came to an end. That is when I started my personal education in film making by producing my own video content under the name of DIY MOM.
This summer I tackled a few projects from Home Hardwares Backyard Packages. Today on the blog I am sharing how I built a floating dock for my parents wharf in St Margarets Bay Nova Scotia.
A Canoe and Kayak rack is the perfect summer project for the outdoor enthusiast. Home Hardware backyard project kits come with all the building materials and the plans needed to build a canoe and kayak rack. DIY MOM Rebekah Higgs, puts the building plans to the test creating this gorgeous canoe rack from scratch. Read the blog or watch the video to learn how you can build your own canoe stand.
Now that I have three properties that I am renting on a short-term basis, I find myself offering up a lot of advice and tips to people who are looking to start their own instant hotel.
I thought it would be a great idea to answer some of those frequently asked questions by writing a blog dedicated to my tips and tricks when it comes to attracting short-term renters while protecting your property.
Easy solutions for busy mom’s to cut down on single-Use Plastics
There has been a lot of discussion lately about our overuse of single-use plastics and the harmful effects they are having on our environment. The recent coverage in the news has made me take a closer look at my own single plastic consumption in the home and thinking about practical ways that I can cut down, or cut back on the amount of plastic we throw out. For so long we thought we were recycling all the plastic that goes into the blue bags but as it turns out Canada only recycles about %10 of our plastics and what we are unable to recycle we’ve been shipping off to poorer Asian Countries. Those countries are now taking a stand against the rich world’s plastic waste signalling a change in the global recycling system. There is a growing movement against non- recyclable plastic.
Getting rid of old windows might seem like an obvious step when renovating an old home but there are actually several good reasons to keep old windows and integrate them into your design plans. Before you begin the huge project of replacing old windows, here are a few reasons why you might want to consider keeping them.
When I bought my 1938 Colonial Style home it didn’t take long before we realized that this house needed some major help becoming more efficient!
Making your home more energy efficient home is not only great for the environment, but it’s good for your wallet too!
As a single mom, I didn’t want to get stuck with a big energy bill every month, so I knew I was going to put some effort into getting this place up to snuff. I also wanted to get the most of my renovation dollars, and make sure that this house would be desirable for repurchase when I go to sell! Having a big oil bill every month is not going to look good for my real estate listing.
TD Insurance has some great efficiency tips on their website (linked here) and it inspired me to talk to you guys about some of the steps I take to make my home more efficient (I even learned a thing or two from TDI!)
I learned that a huge part making your home more energy efficient is just a simple matter of proper maintenance. The same way you check up on your health, you should schedule a check up for your home – it can help you prevent small issues from turning into larger issues like leaking pipes, collapsed roof and heating issues.
Spring is in the air. The days are longer and I am finding myself motivated to clean and freshen up our home. It’s been a while since I have photographed the main floor living space of my home, and I need to update my Air BNB listing. So I am sharing some of the changes I’ve made around the house in the last few months.
I some of you who follow me on instagram might know. I finally got the dining room set of my dreams last November. The Taos Harvest Table and Benches from homefurniture.com has really changed the look of my dining room.
I was also gifted a new rug for this room from Loloi Rugs. It is very soft and plush and I love the look of it with the modern table.
When I was getting my house ready for The Homes for the Holidays show (this was when 1500 people came through my house to see my Christmas decor to raise money for the YWCA) I moved some of my furniture down to the basement. I decided to move the small leather sofa that was in the dining room and replace it will this simple console I found for $50. It makes the room feel less cramped and gives me extra space for my plants!
I took a few of the flowers from my Christmas mantle display and the beaded garland from my tree and made a little arrangement for my coffee table with them. Because the theme for my Christmas decor was wood, fire and roses (I decorated with gold and blush pink) so I’m able to make some of my decor work in other ways throughout the year.
There are a few other bloggers who are also sharing their home’s this spring. If you are looking for more inspiration check out: