How To Craft The Perfect Cinderella Pumpkin;
On a Cinderella Budget.
Are you in quick crunch for some last minute seasonal decor?
Here is something better than a Pumpkin Spice Latte to quench your seasonal cravings, no carving necessary. Cinderella Style Fabric Pumpkins are a super easy and fun DIY! “Pump-n-Spice” up any space with these adorably cozy cushions. Luckily you can make these Cinderella style pumpkins on a Cinderella style budget!
• SUPPLIES •
These cushy pumpkins can be made from any spare fabric that you may have laying around the house. Whether it be from a previous project or simply an old sweater… lovingly repurposing clothing is a great way to give it a whole new life! — Quite magical indeed Cinderelly. Now go gather the supplies!
FABRIC
SCISSORS
COTTON BATTING
NEEDLE & THREAD
GLUE GUN
POT LID (or something circular to trace)
• STEPS •
Trace & Cut A Circle From Your Fabric:
You can do this using a pot lid, like the true innovateure herself. The bigger you cut the circle, the larger your pumpkin will be. Have fun creating multiple sizes and shapes for some variation in your decor.
Sew A “Slip Stitch” Around The Circumference Of The Circle:
Keep about a 1/4” away from the edge— that way you don’t risk ripping the gathered thread through the fabric. Pro Tip: You can keep your thread attached to the spool to ensure that you never run out of thread until finished.
Stuff Your Pumpkin:
Now that you’ve got your slip stitch in place, it’s time to stuff that pumpkin with cotton batting. If you find yourself short, there are plenty of alternatives that you can use! News paper, rice or repurpose an old stuffed animal. Note: If you are aiming for the cinderella style, less stuffing is best to achieve their flatter silhouette.
Cinch Your Citrouille (Pumpkin):
With your pumpkin now stuffed, cinch the two loose threads together by pulling them tightly and creating a gathered hole. Note: DO NOT tie off or rip off your threads yet! You’ll need them for the next step.
Create The Cinderella Style:
Hold your pumpkin in one hand with the hole facing upward. With the attached needle and thread in the other hand, sew through the centre of the pumpkin then wrap the thread around to create segments. Continue to puncture through the centre to create that Cinderella style. When you have achieved your desired shape, tie off that thread or sew a knot in the fabric to finish.
Stylish Stems:
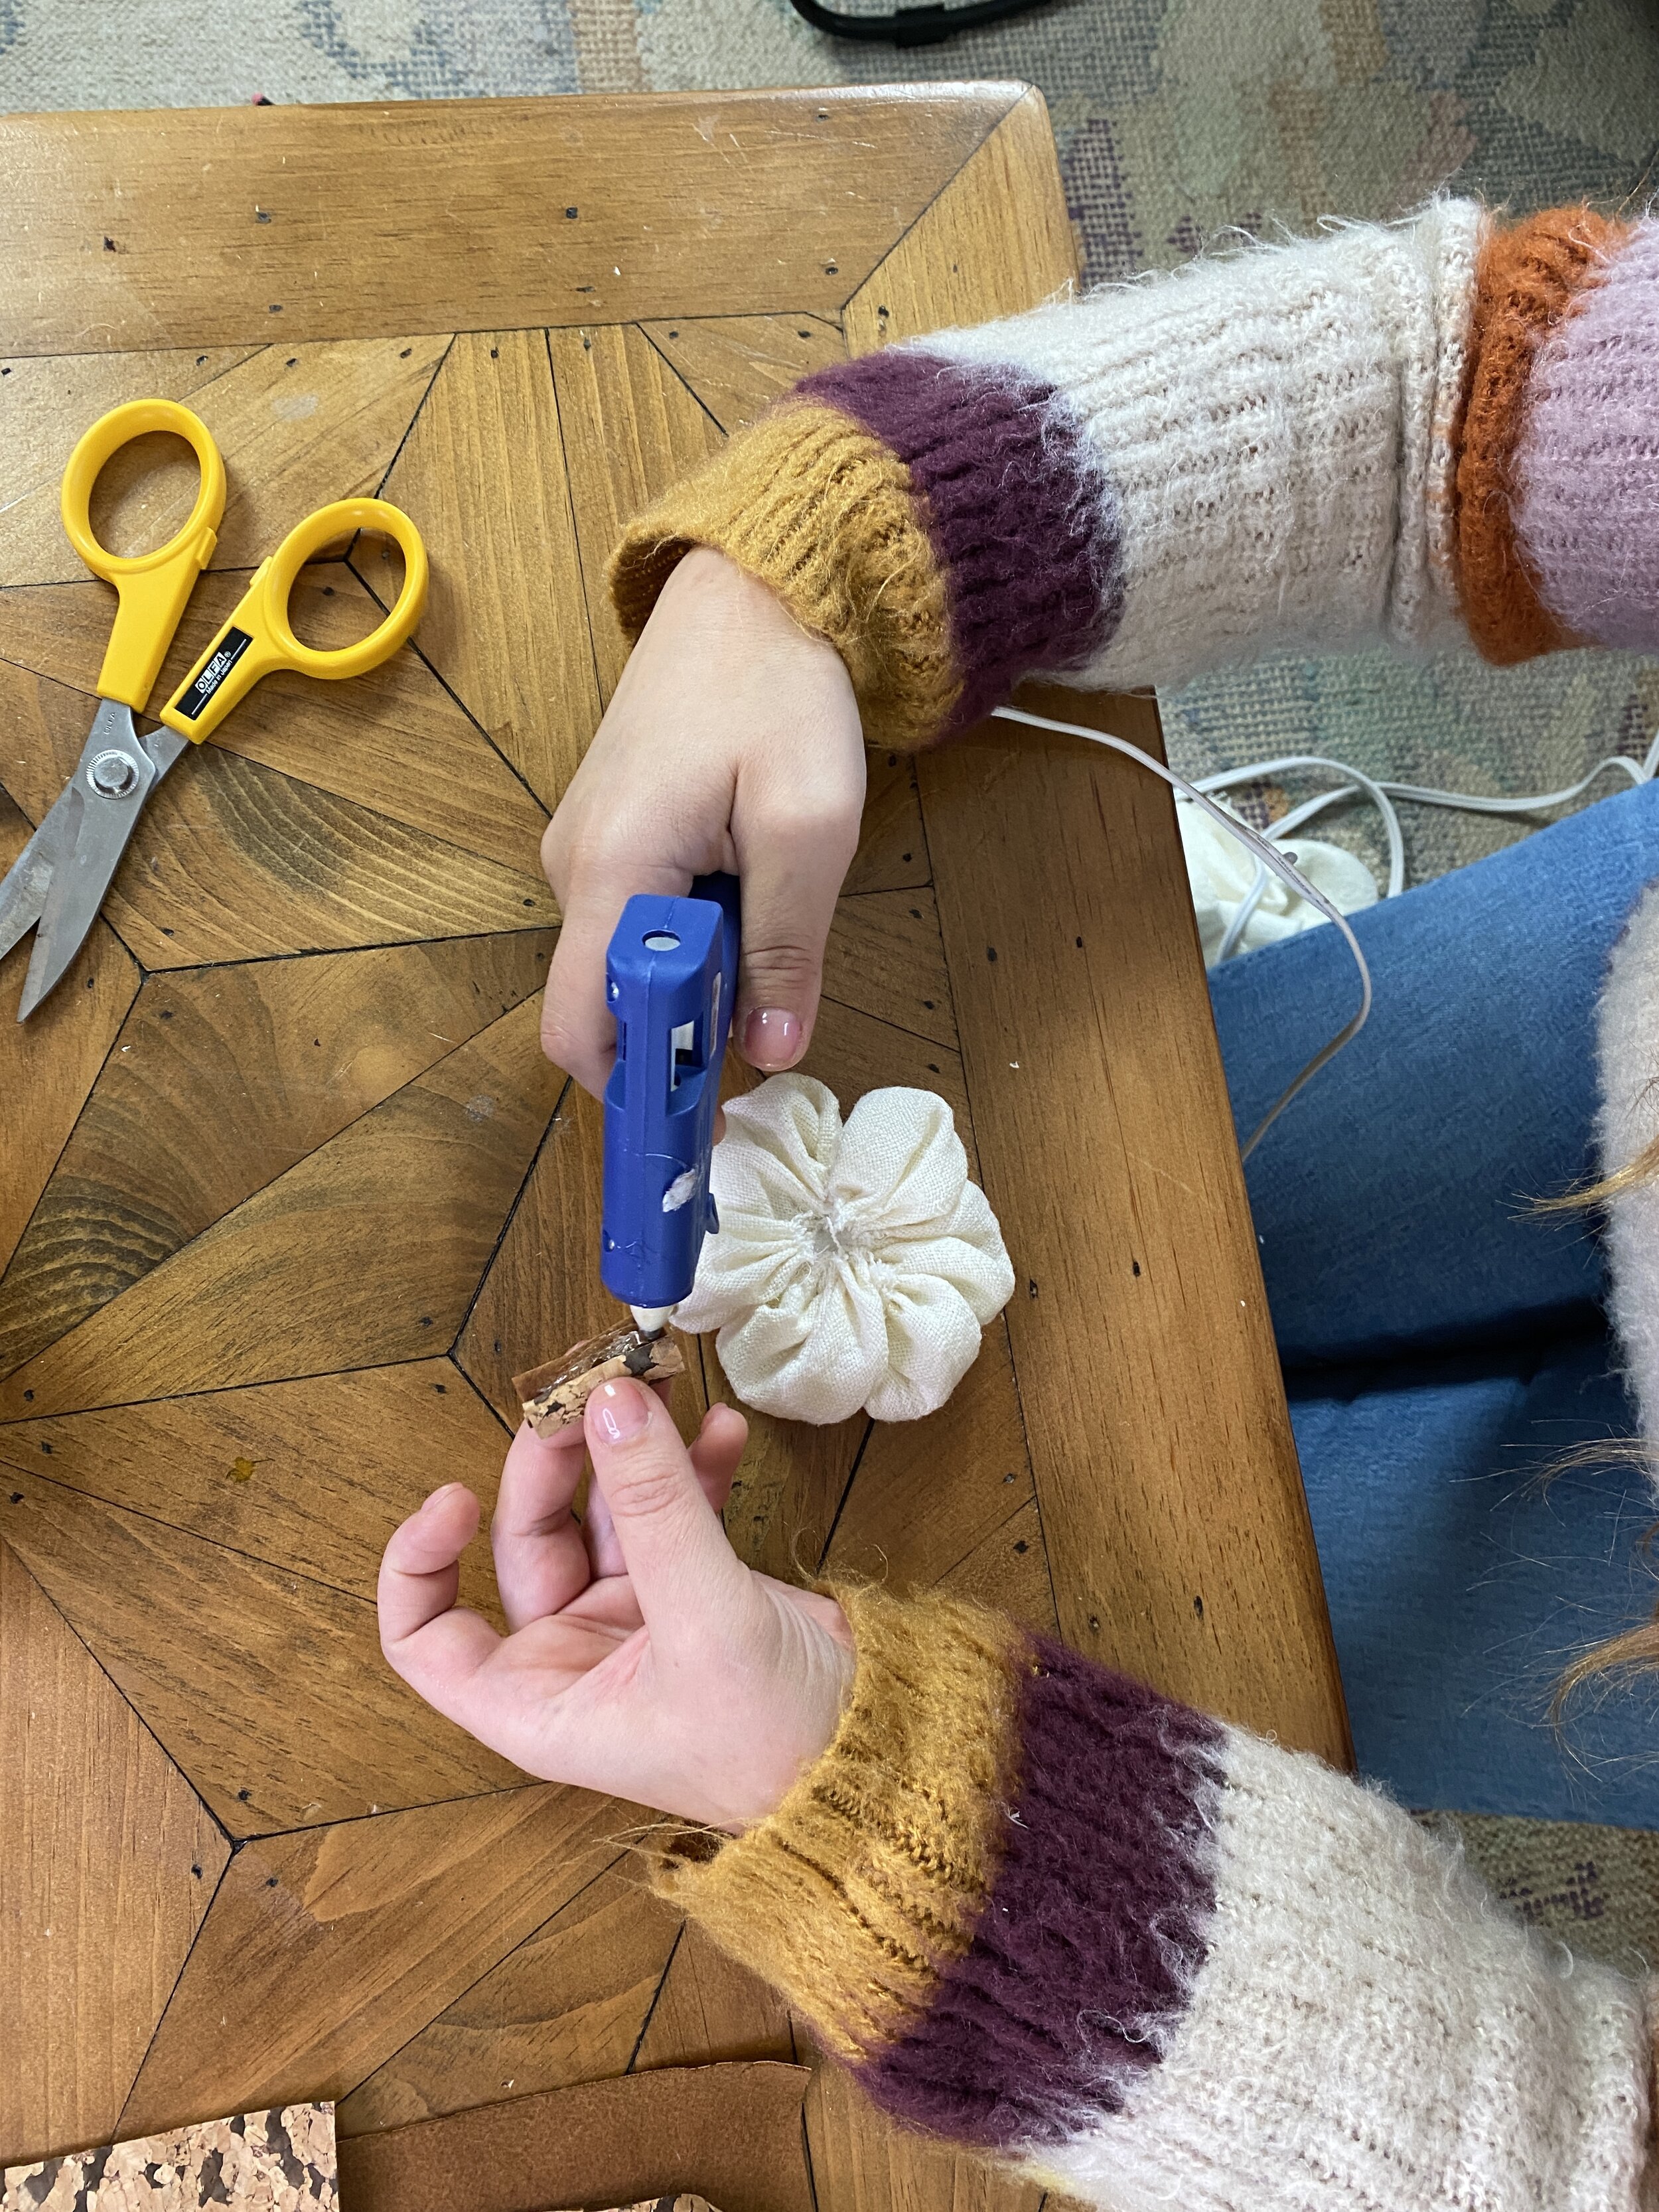
To top off your perfect pumpkin, it’s time to get creative with the stem! I opted for some leftover cork fabric that I had, which I then cut into strips, rolled then glue to the top using the hot glue gun. Note: You can use anything to create the stems— Pipe cleaners, twine, twigs, rubber bands! Get crafty & get creating this Autumn.
Trace a circle then cut.
“Slip Stitch” around the circumference fo your circle, stuff your pumpkin then pull both threads together to cinch.
Get that stuff’n in.
Cinch it like Cinderella’s corset
Sew through the centre of the pumpkin and wrap it back around to create segments. Repeat until you’ve achieved your desired shape.
Decorate your pumpkin as you see fit! Get Creative with the stem.
Now that you’ve got the Bippity Boppity Boo of it all, you can make enough pumpkins to fill an entire patch! (Granted, such a project would be much easier if you did happen to have a joyous army of furry critters to assist you…) Never the less, It’s time to head to the Fall Ball!
• Styling Your Creations •
Now that you’re knee deep in your custom made pumpkin patch, what do you do with them all?
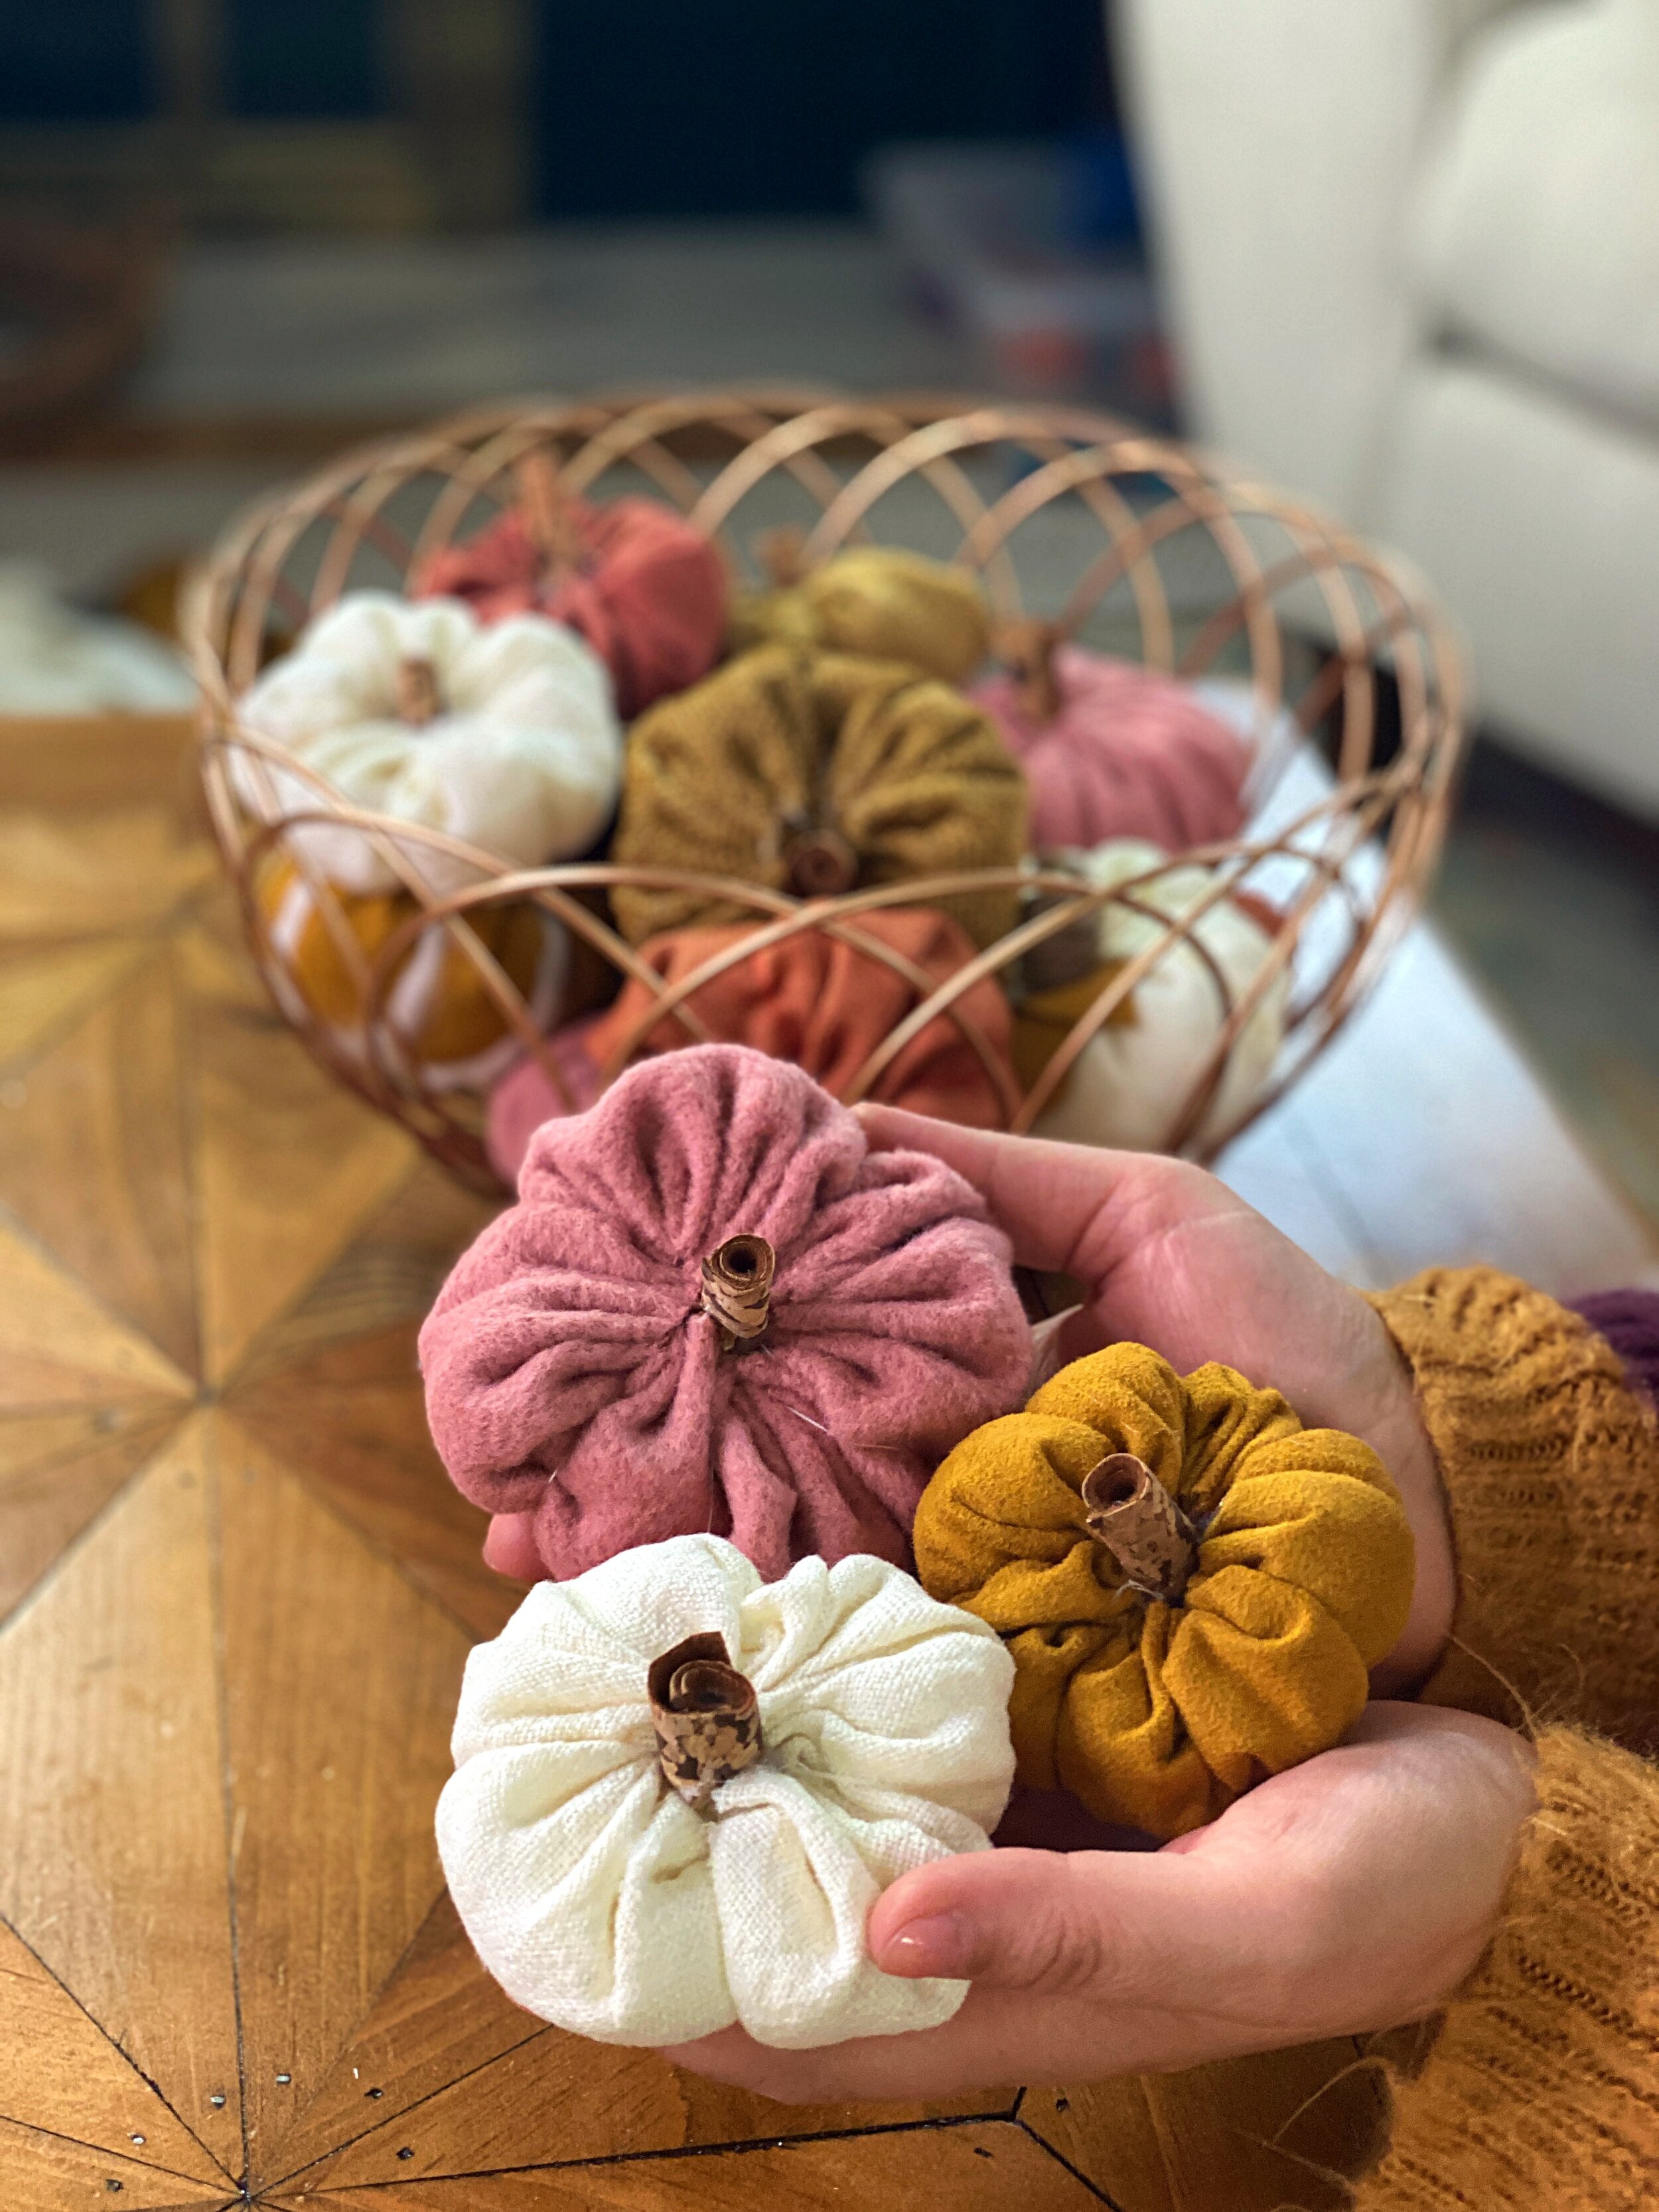
Styling your pumpkins and working them into your home decor is half of the fun! This DIY craft is truly versatile, especially if you play it smart with your fabric choices. Sticking with neutrals will allow you to place your pumpkins in any space and give an overall “oomph” to your autumnal ambiance. If you chose to work with bolder & brighter patterns, you are sure to have some spirited standout pieces that will really transform a space!
String together your pumpkins with twine or yarn to create a garland. These garlands are perfect for hanging in windows, doorways and make an excellent focal point for your fireplace (then use the spares to really bulk up the mantle.)
Toss all your pumpkins into a complimentary dish and stick them on your dining room table for an exciting centrepiece. Sprawl differing sizes and styles along the table for a graphic effect.
No matter which way you style these adorable little pumpkins they are sure the please <3


