How to make your own “Hand Painted” Pillow

Many of you know been doing a heck of a lot of sewing lately. I’ve never been much of a seamstress. But my mother was skilled in this department. When we were kids in the 80’s she sewed and designed our Sunday dresses, bedding and curtains, they were likely all from the same fabric… as I remember everything was pink and frilly. I’ve been channeling my mother (minus the pink and frills) and finding a love for sewing during these times of social distancing and sheltering at home.
During my recent Attic renovation, I decided to design and create my own pillows and bedding for the cubby beds in the space. (The above photo is the final look). On my last blog I shared about how I made round pillows with pom poms. Today I am sharing the process of making hand painted lumbar pillows with an invisible zipper. Once you know how to insert an invisible zipper, you can sew all kinds of pillows and blankets.
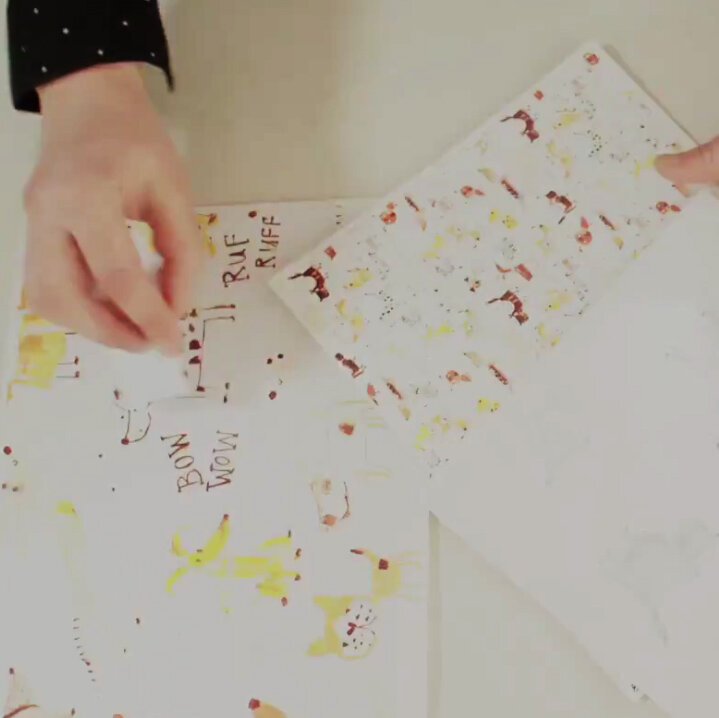
I knew that I wanted to include a puppy fabric in my pillow decor for the room. Our family recently got a Boston Terrier puppy, and I’ve seen so many adorable fabrics online. Like this Woof Fabric from Annie Selke.

I love the neutral tones from this particular doggie fabric, but I couldn’t find any at my local Fabricville. I reached out to my instagram community and received from awesome fabric suggestions.
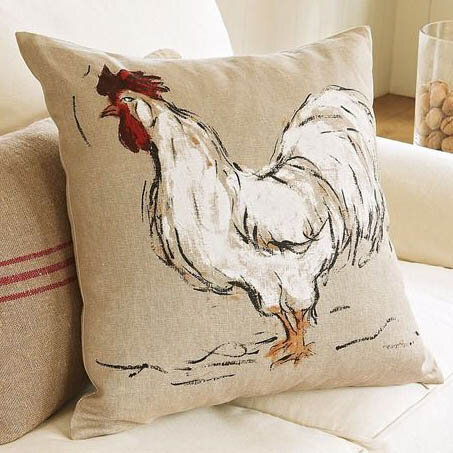
One of the suggestions I received was an adorable hand painted doggy look which I decided I could try to replicate and interpret myself.

So I pulled out the paper and pencils and got to work on my fabric design. First I sketched out my dog ideas and then I drew on my pre-washed organic cotton material with pencil. Once I was happy with the placement of my little pups I started to fill them in using the tones from the Woof Fabric I love so much. Here is what my final fabric design looks like.

This the puppy fabric design I came up with for my lumbar pillows.
My fabric is painted, it’s dry and ready to become my new sewing project. Now it’s time to turn my handy work into some lumbar pillows. Below you will find a detailed list of how to sew a lumbar pillow with an invisible zipper yourself.
SUPPLIES

I decided that I wanted to hand paint lumbar pillows for the attic bunks and I chose my fabrics. Natural cotton for the side I’ll be painting and a fluffy fabric for the back.
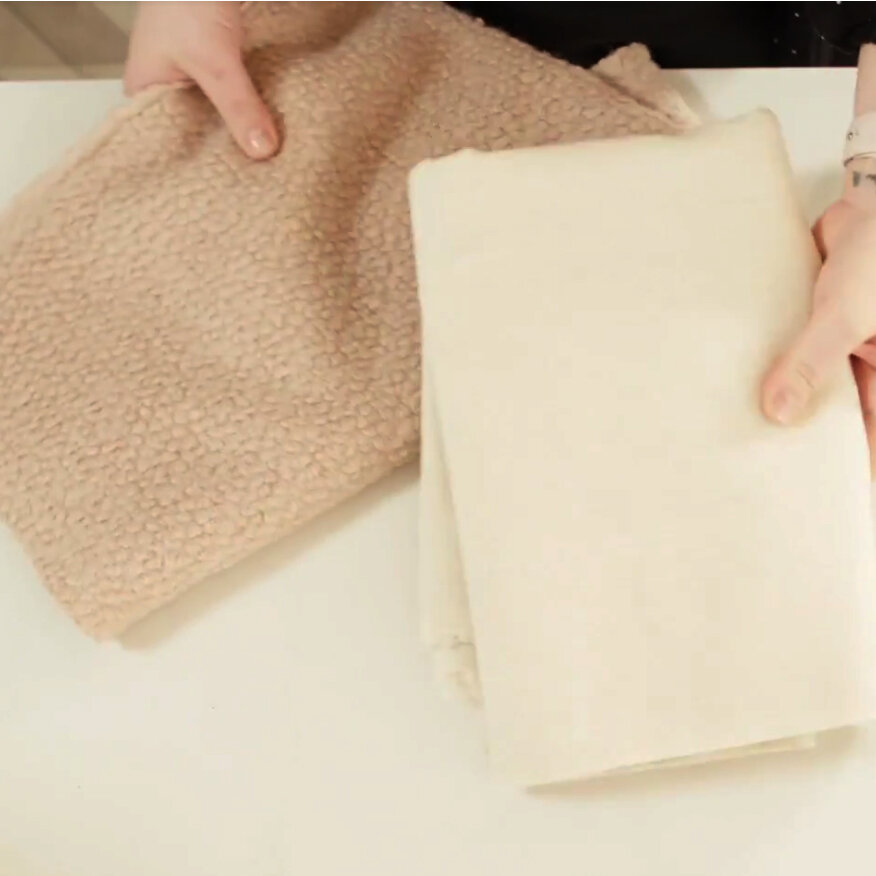


.5M OF FRONT & CONTRAST BACK FABRIC
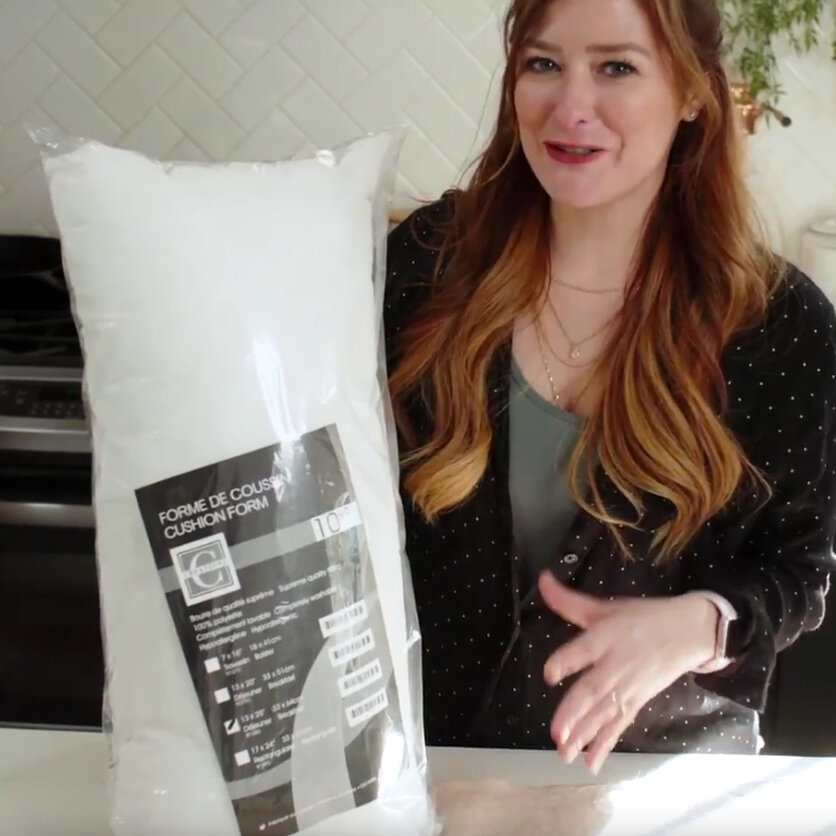
LUMBAR PILLOW INSERT
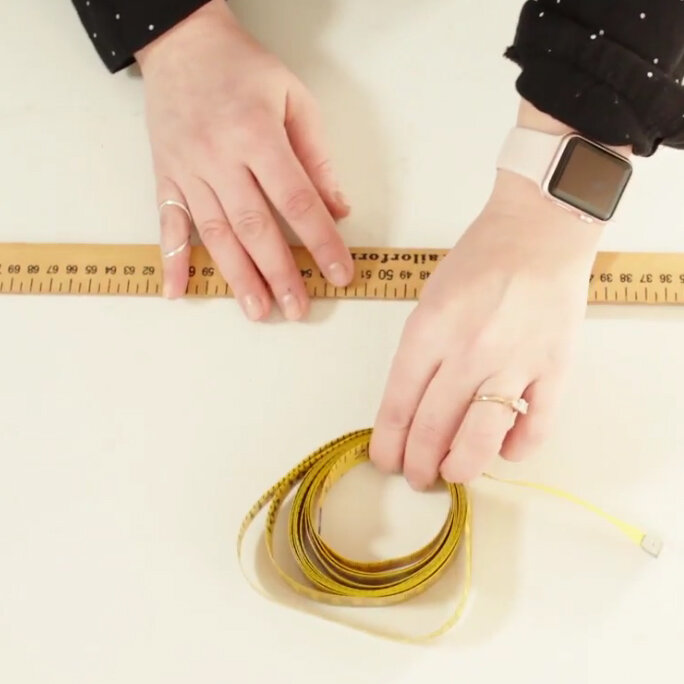
MEASURING TAPE & YARD STICK
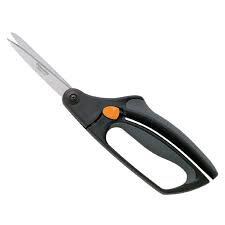
SCISSORS
PINS
TAILOR CHALK OR PEN
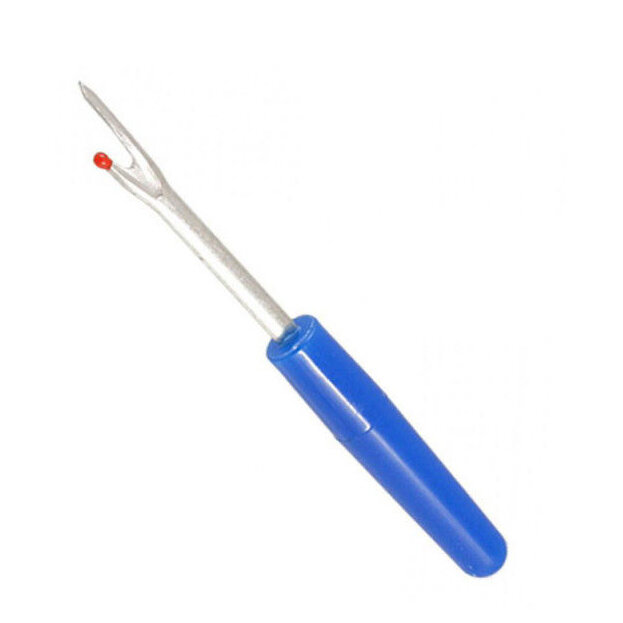
SEAM RIPPER
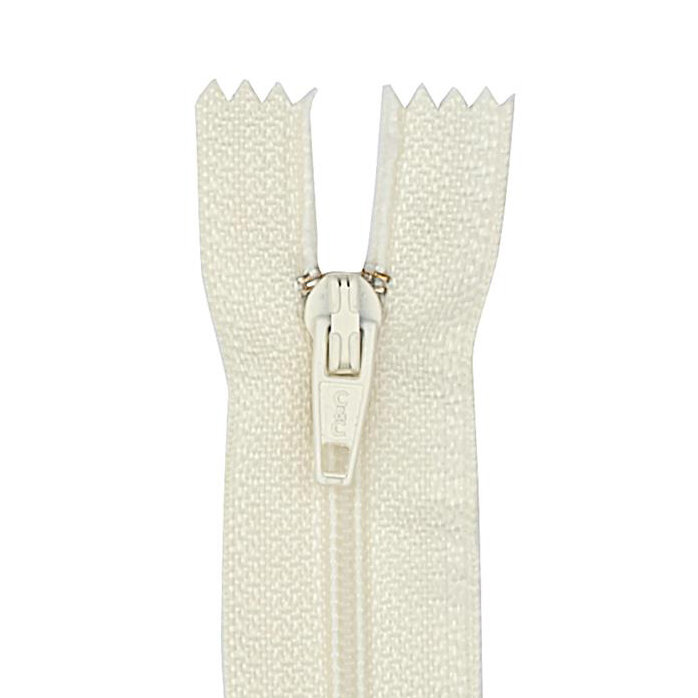
20” ZIPPER
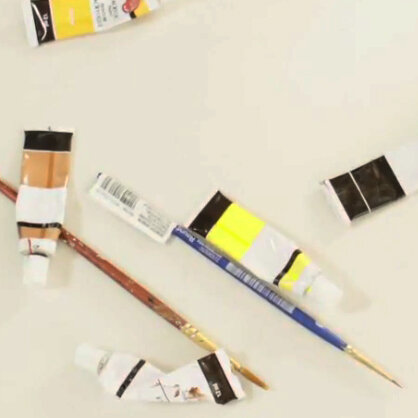
ACRYLIC PAINT AND BRUSHES
SEWING MACHINE
IRON & IRONING BOARD
DIRECTIONS
*Prewash your fabric before you begin.
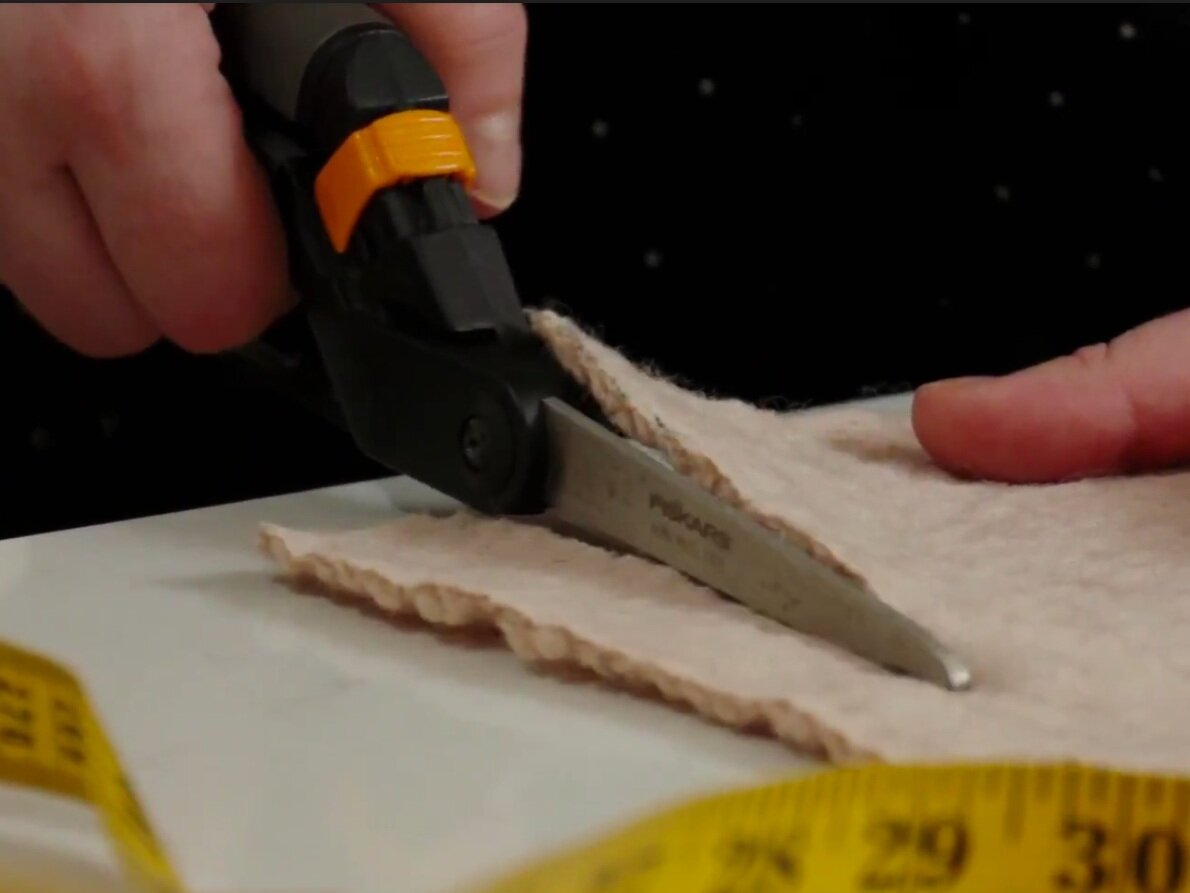
STEP 1.
Measure out the fabric and cut. Subtract 1” each side of the pillow insert in order to get your cutting sizes + seam allowance. We cut 12 5/8” x 19 5/8” for our 13” x 20” pillow insert.

STEP 2.
Paint on your image. You can paint your image on the cotton before you cut it out or after. I did mine before but it won’t matter which way you decide. Start with a pencil and lightly draw your image then trace with your paint and fill in the images.
Hand paint the material with Acrylic, or use a stamp and paint to make your own pattern.

STEP 3.
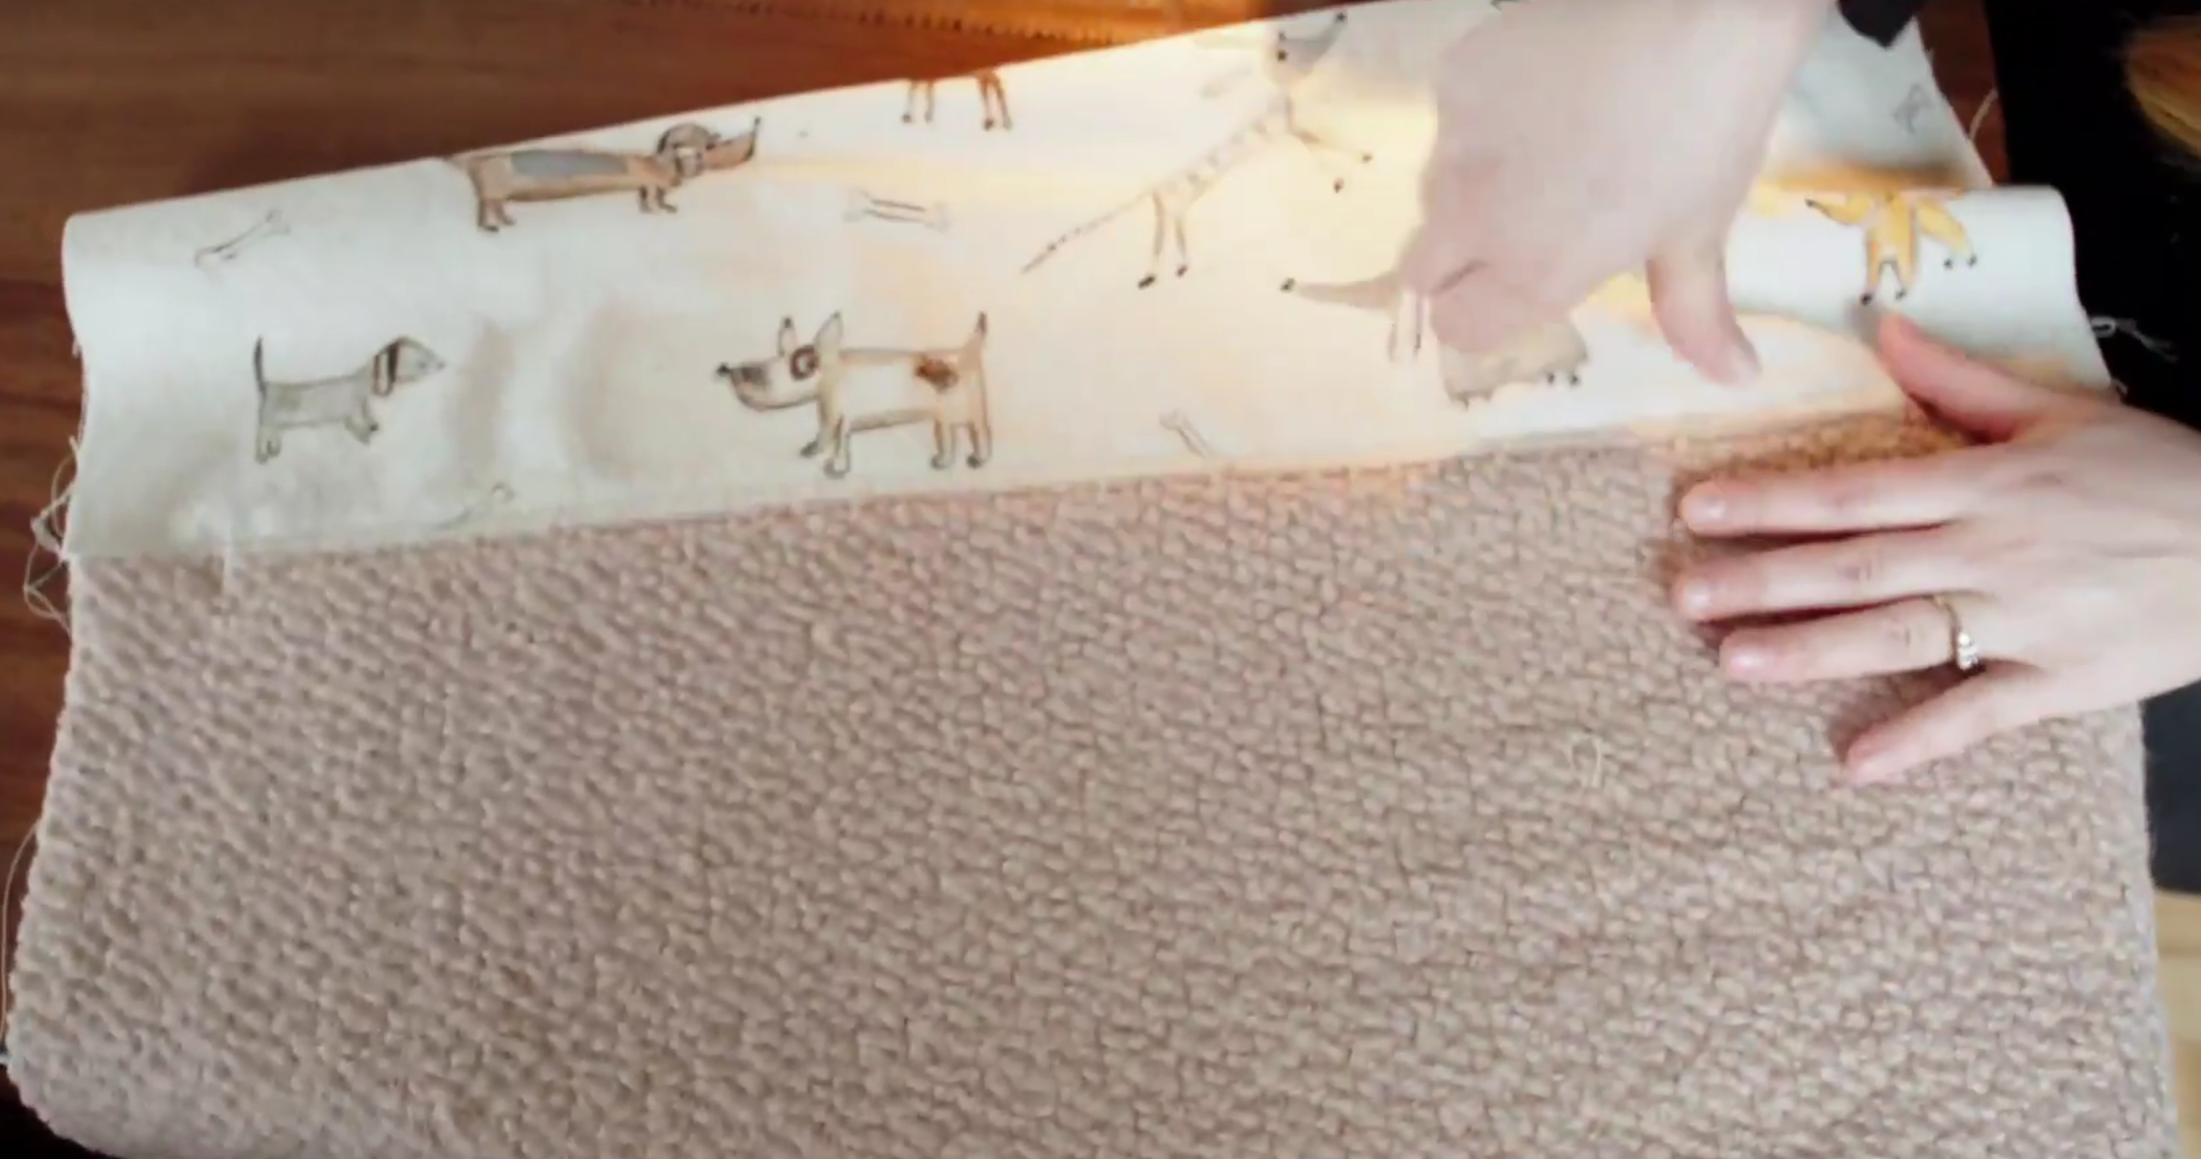
Put the right sides of the Front and Back of the pillow pieces together and pin the bottom of the two fabrics together.
Step 4.
Sew a “BASTE” seam along the pinned side of the material following the 5/8” mark on your sewing machine. A baste stitch is a single long stitch that can easy be removed when you no longer need it.

Step 5.
Open out your seam and iron flat.

STEP 6.
Lay your zipper right side down on the middle of your seam. Pin the zipper into place.

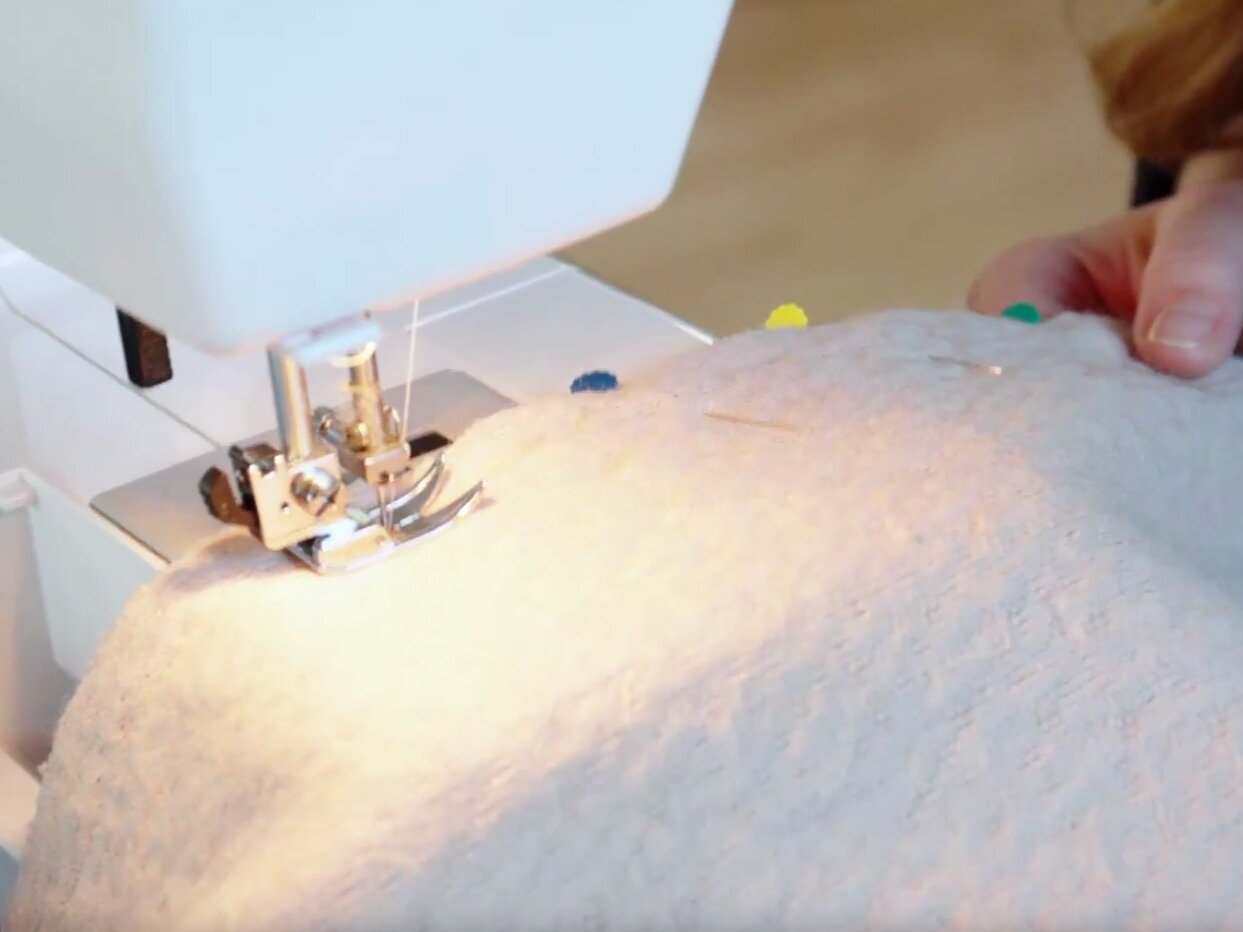
STEP 7.
Use the zipper foot on your machine and stitch in your zipper on both sides. Most zippers have with a line in the fabric that you can follow so you know you are straight. Don’t forget to take your pins out as you go - sewing over your pins can break needles!
STEP 8.
Turn your fabric over, and using your seam ripper take out basted stitching to expose your zipper.

STEP 9.
Here’s the zipper! Now you are ready to stitch the remaining three sides of the cover. Pin the right sides of the fabric together on the remaining 3 sides. Use a 5/8” seam allowance and sew. Once it is sewn together, trim the salvage edge back to 1/4" from your seam with your scissors - this cuts down on the bulk inside the cover.

STEP 8.
Turn your pillow cover right side out. Poke your corners out with a chop stick or a pencil.

STEP 9.
Stuff your pillow insert inside your pillow cover, Zip it up and you are done!


There you have it, now that you know how to make an invisible zipper the sky’s the limit!
I would love to see how you choose to hand paint your fabric! Share with me in the comment section below your projects and how they turned out!
Thanks for following my blog and I can’t wait to connect with you on my next project!
Stay tuned for more sewing projects, coming soon!
xox
DIY MOM


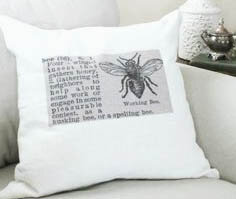
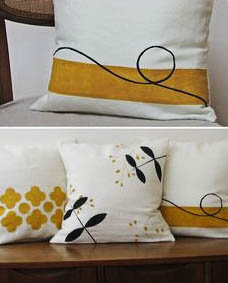
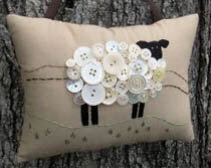
Finding Inspiration…
Inspiration can come from anywhere...your own pets, your favourite things, your favourite colours
what makes you happy! The internet is also full of creative ideas for pillows and different ways
to make them custom for yourself. I saw a fabric on-line that I loved and it was super expensive
so I decided that I could paint my own pattern and get the same look!