• Duvet It & Luv It •

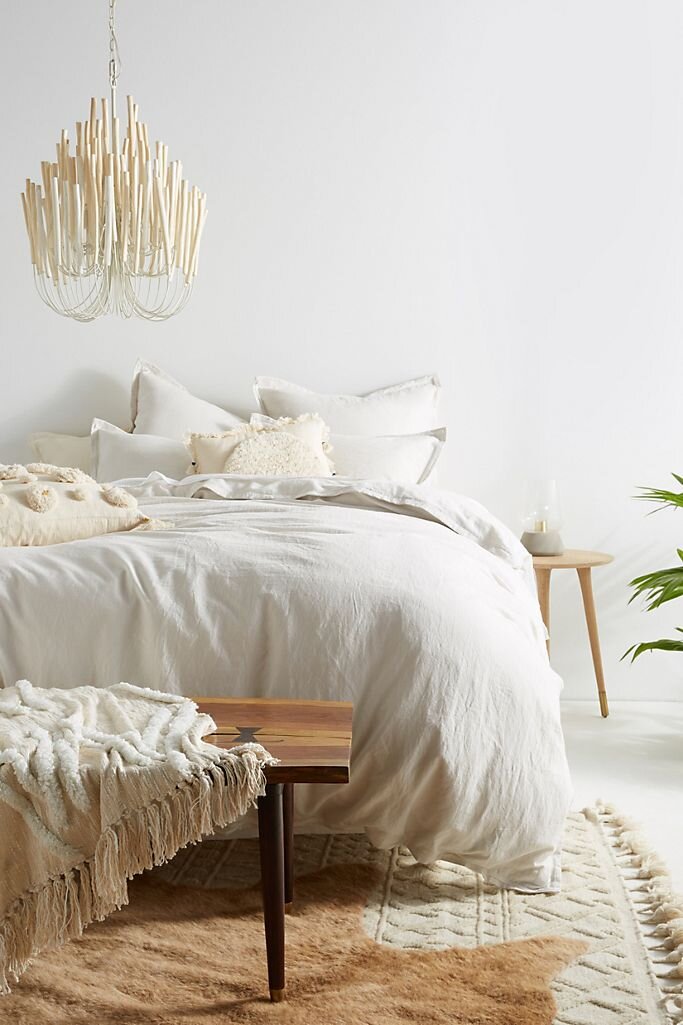
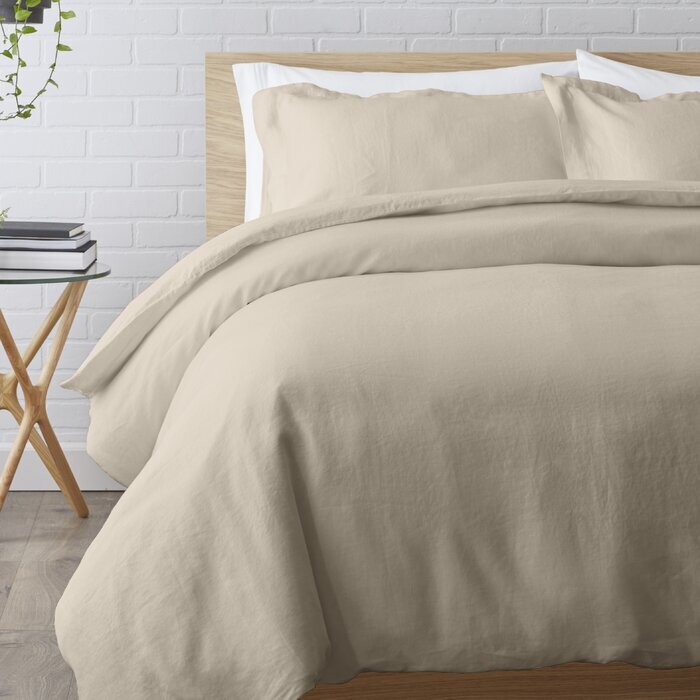
What’s one thing a bedroom needs? A bed, definitely. Forever the centrepiece of these self-titled rooms, beds act as a comfortable place to rest while doubling as great decorative pieces. Often, beds set the standards for the rest of the rooms decor. However finding an affordable piece of art to lounge over your mattress can be quite challenging. Purchasing even a simple duvet cover from a retailer could cost a fortune, regardless of the quality and material. Well I’m here to tell you to cut out the middle man, and DIY. Duvet It Yourself.
• How Duvet- Do It? •
Large retailers, who manufacture duvets and bedding, are able to purchase their fabrics in absolute bulk. This means that they have no issues finding fabrics that run “double wide.” These double wide fabrics are textiles fabricated to be, you guessed it, twice the width. Finding textiles with these production specifications allows you to make bedding, curtains and blinds with ease. This is due to the fact that the fabric is so big, it requires less cutting and pattern making.
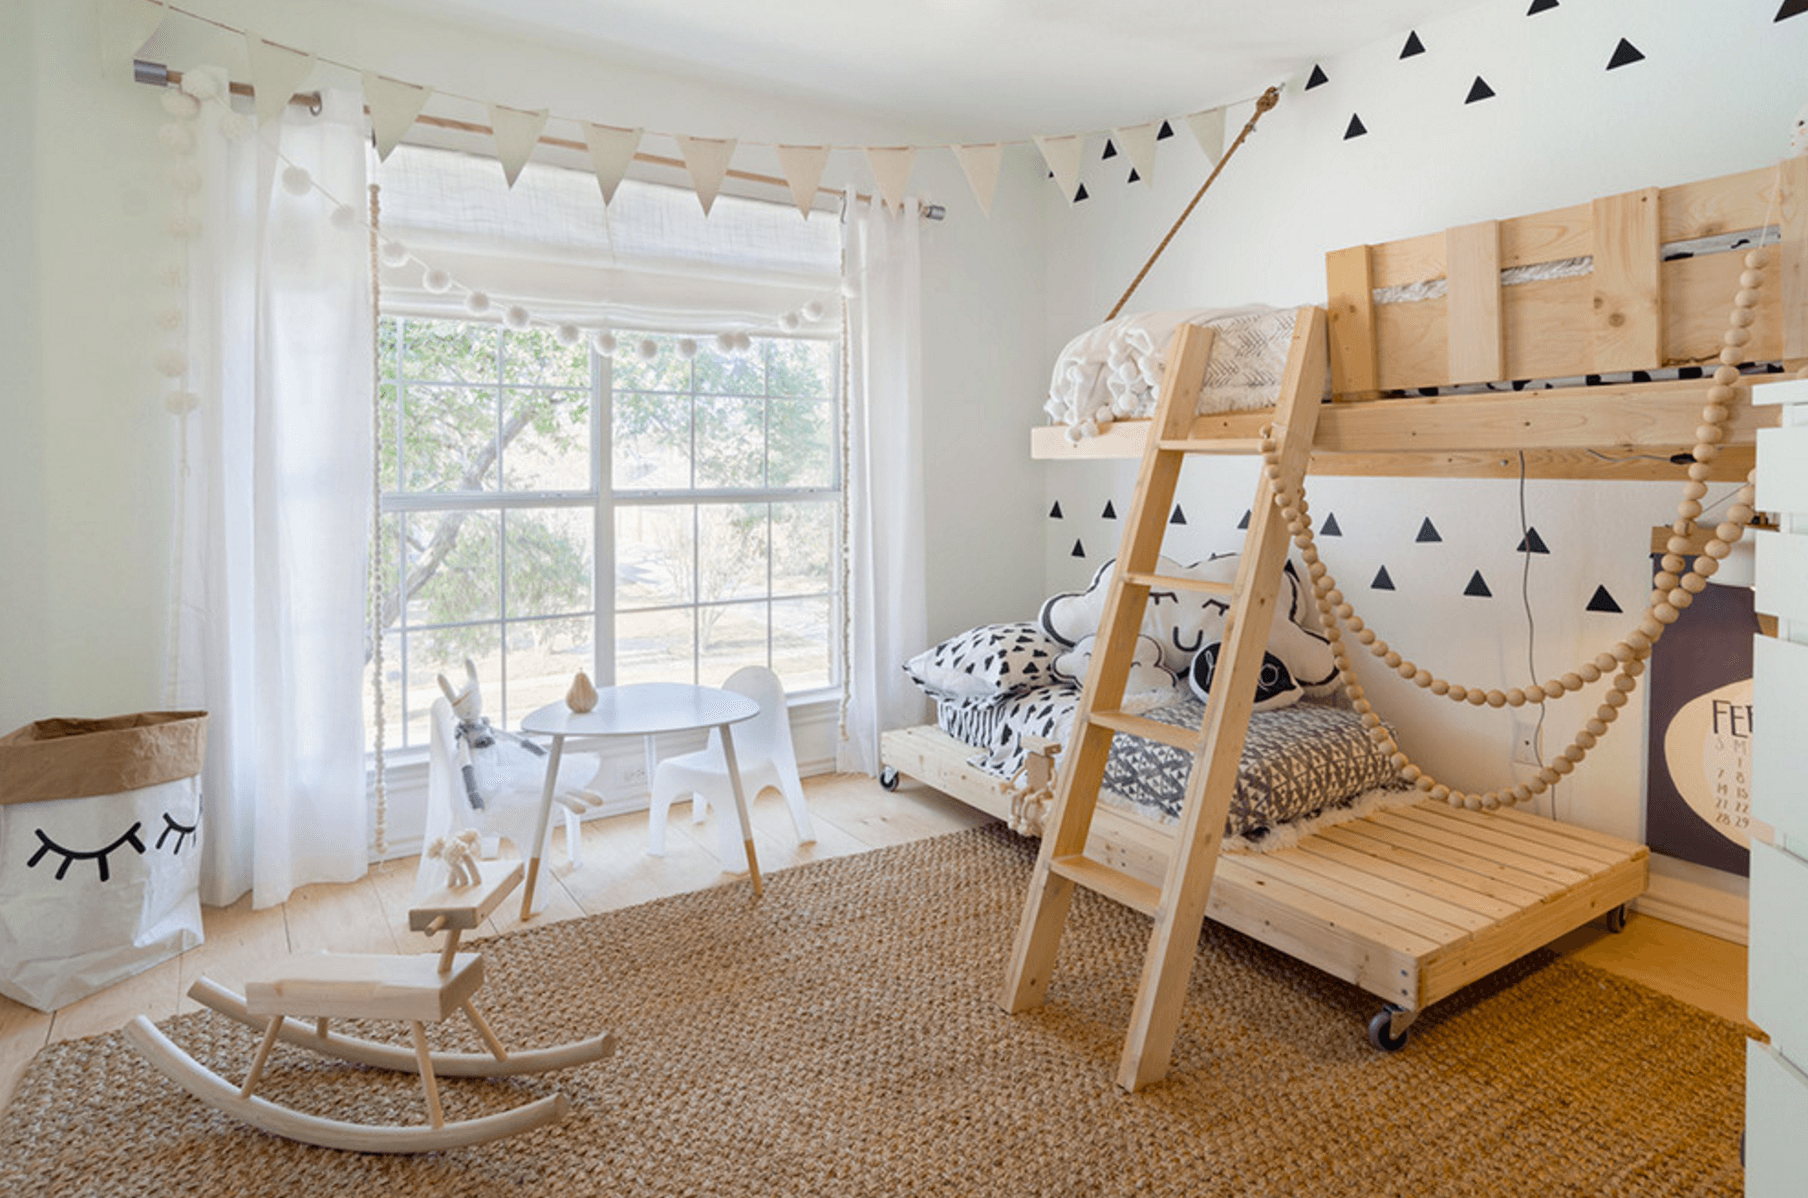
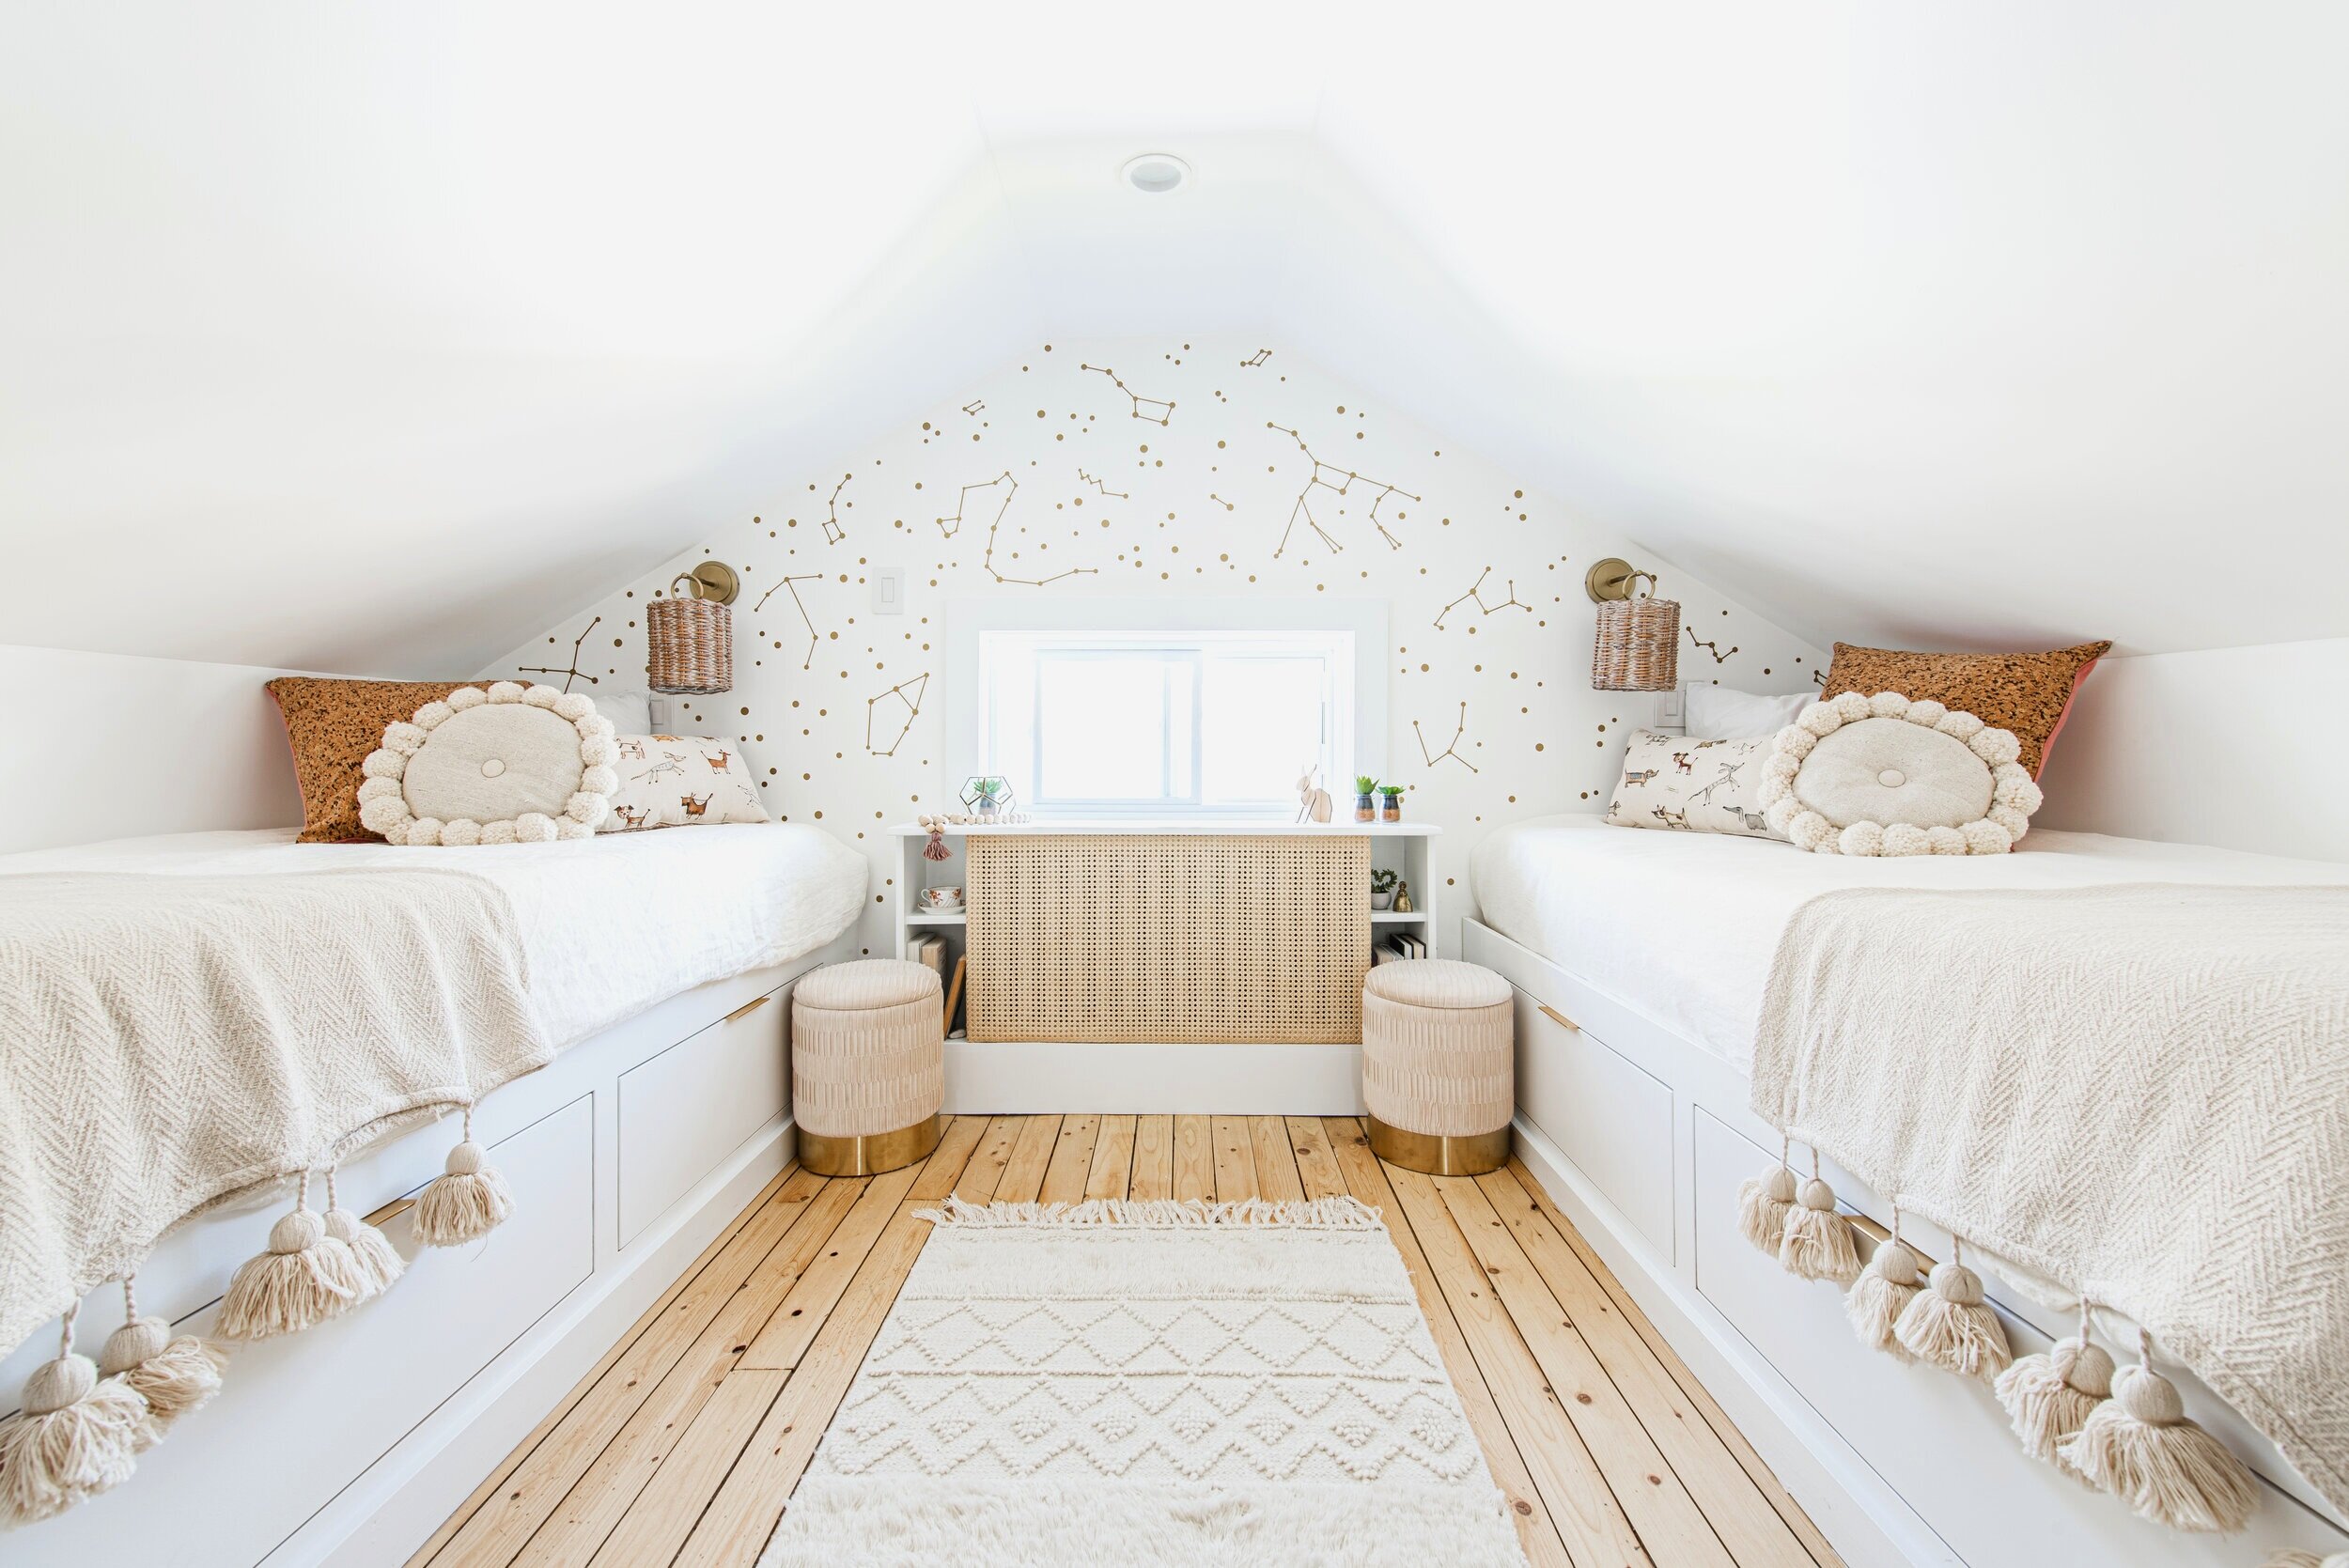
When I decided to make my own duvet covers for the 4 cubby beds in my bunk room, I had a particular material in mind —Linen— which proved difficult to find in a double wide. Therefore I've prepared a pattern for making a simple duvet cover with any fabric! The first thing that you’re going to need to realize is that this is a relatively simple project. As long as you can power a pedal and sew a straight line, you can wrap up in your very own duvet cover.
• SUPPLIES •

You only need 10 things to complete this DIY project.
6.PINS
7. SEWING MACHINE
8. THREAD
9. SEAM RIPPER
10. ZIPPER
1. FABRIC
2. MEASURING TAPE
3. QUILTING RULER
4. MARKER
5. SCISSORS
When choosing a fabric for a duvet, keep in mind that you’ll be cozying up to this cover for some time. You’ll want to keep an eye out for fabrics that are both pleasurable to the touch as well as easy to work with. Think of organic cottons and linens. To begin my sewing project, I headed to my local Fabricville to pick up some linen that I had had my eyes on. For the dimensions of my twin duvet cover, I referred to the duvet insert dimensions that I picked up from Ikea. TIP: You can always measure the dimensions of your current duvet as a reference, just remember to add some seam allowance on all sides.
• DIRECTIONS •
Before you begin, wash and dry your fabric. This way it will be pre shrunk, so there will be no unexpected changes in size after your finish sewing!

STEP 1.
Plan where you want your seams to be. Because my fabric was a regular width, I had to make some alterations in the duvets design. It is 4-panel pattern:
A front and back panel; utilizing the full width of the fabric to run down the front & back.
2 side panels; to connect the front and back panels.

STEP 2.
Measure and mark your fabric using a quilting ruler to achieve a perfectly square edge.
Pro Tip: Use a counter edge as your guiding line. I used my kitchen island to spread my fabric out on.


Step 3.
Cut front and back panels. Then use one of these panels to template for the length of the two side panels.

Step 4.
Use pins to attach the side panels to the front and back panels.

STEP 5.
Sew seams where the panels meet using your sewing machine and thread. Follow the 5/8 line on your machine, don’t double on the ends just yet.

STEP 6.
To finish off the raw edge of the fabric, trim it slightly and use a zig zag stitch. Now you basically surged the seams for a professional finish. I found this linen shed a lot in the dryer after washing, so having surged seams helps keep it in tact.

STEP 7.
How you choose to close the bottom of your duvet is dealers choice - buttons, Velcro or zipper. I chose a zipper, and this is how you create and invisible Zipper. To insert the zipper, sew a basting stitch along the bottom of the duvet cover.

STEP 8.
Next, spread the seam for your zipper so you can iron it flat.
STEP 9.
Pin the zipper facing down in the middle of your ironed seam. Feel for the crease as you pin so that the zipper is perfectly centred.

STEP 10.
Switch out your presser foot for a zipper foot. Now sew your zipper in place by following that handy little dotted line on both sides of the zipper. Make sure you keep your zipper in the crease of your seam and remove your pins as you go! Using a seam ripper tear out the basting stitch! Peek a boo- there’s your zipper!

STEP 11.
Lastly, trim back the fabric at the top of the duvet and sew it shut, finish off your seam with another zig zag stitch.

STEP 12.
Flip your duvet right side out and stick your duvet insert inside. For added ease of filling you can sew ribbon in every corner to tie your duvet insert and hold it in place. Now you are all ready to use your newly made duvet cover!!
• SWEET DREAMS & COZY Z’S •
It’s time to make the bed and get tucked in! Laze away and snuggle in your hand-made duvet. Behold, all of your creative hard work has paid off. Making your own Duvet covers is a much more affordable way to “get the look for less.” Although you may still be paying more of a premium price when discussing fabrics such as linens, sewing your own covers can save you that portion of the costs. TIP: If you know you’ve got some sewing projects lined up, keep an eye out for fabric sales at your local suppliers! You can easily score more bang for your buck! Or more fabric for your finances… ;)

Thank you so much for following my blog. I would love to see if any of you attempt to create your own woven cane furniture! If you’re feeling oh, so inspired, tag me in your projects so that I can marvel at your wonderful woven cane creations!
Instagram: @diyom.ca • Facebook: DIY Mom • Pinterest: @diymomca
xox DIY MOM xox
GREAT NEWS! • DIY MOM Season 3 is now available to WATCH on Bell Tv On Demand! If you are a bell cable customer, you can watch season 3 in 3 easy steps!
Click the “On Demand Button” located in the center of your cable tv remote.
Select the “Search” option and search for DIY MOM.
Click on DIY MOM and binge the new season!
This new season of DIY MOM features my complete attic transformation. Each episode showcases new DIY’s and creative designs that are sure to inspire you to pick up a power tool and DIY.
Finding Inspiration…
Inspiration can come from anywhere at anytime. The internet is a great resource for sparking your creative energies and discovering projects that you may enjoy trying! I knew that for my cubby room, I wanted to keep with my “Naturally Neutral” palette but still keep it fun for the kids. As for all my projects, I surfed the web for some inspiration. Upon writing this blog post, I also stumbled across another thread that could be useful when you’re planning to revamp or design a kids room: https://freshome.com/other-rooms/kids-room-ideas/ .