
How to make Paper Mache (Papier-mâché)
IT ALL STARTED WITH A LOVE FOR UNICORNS…
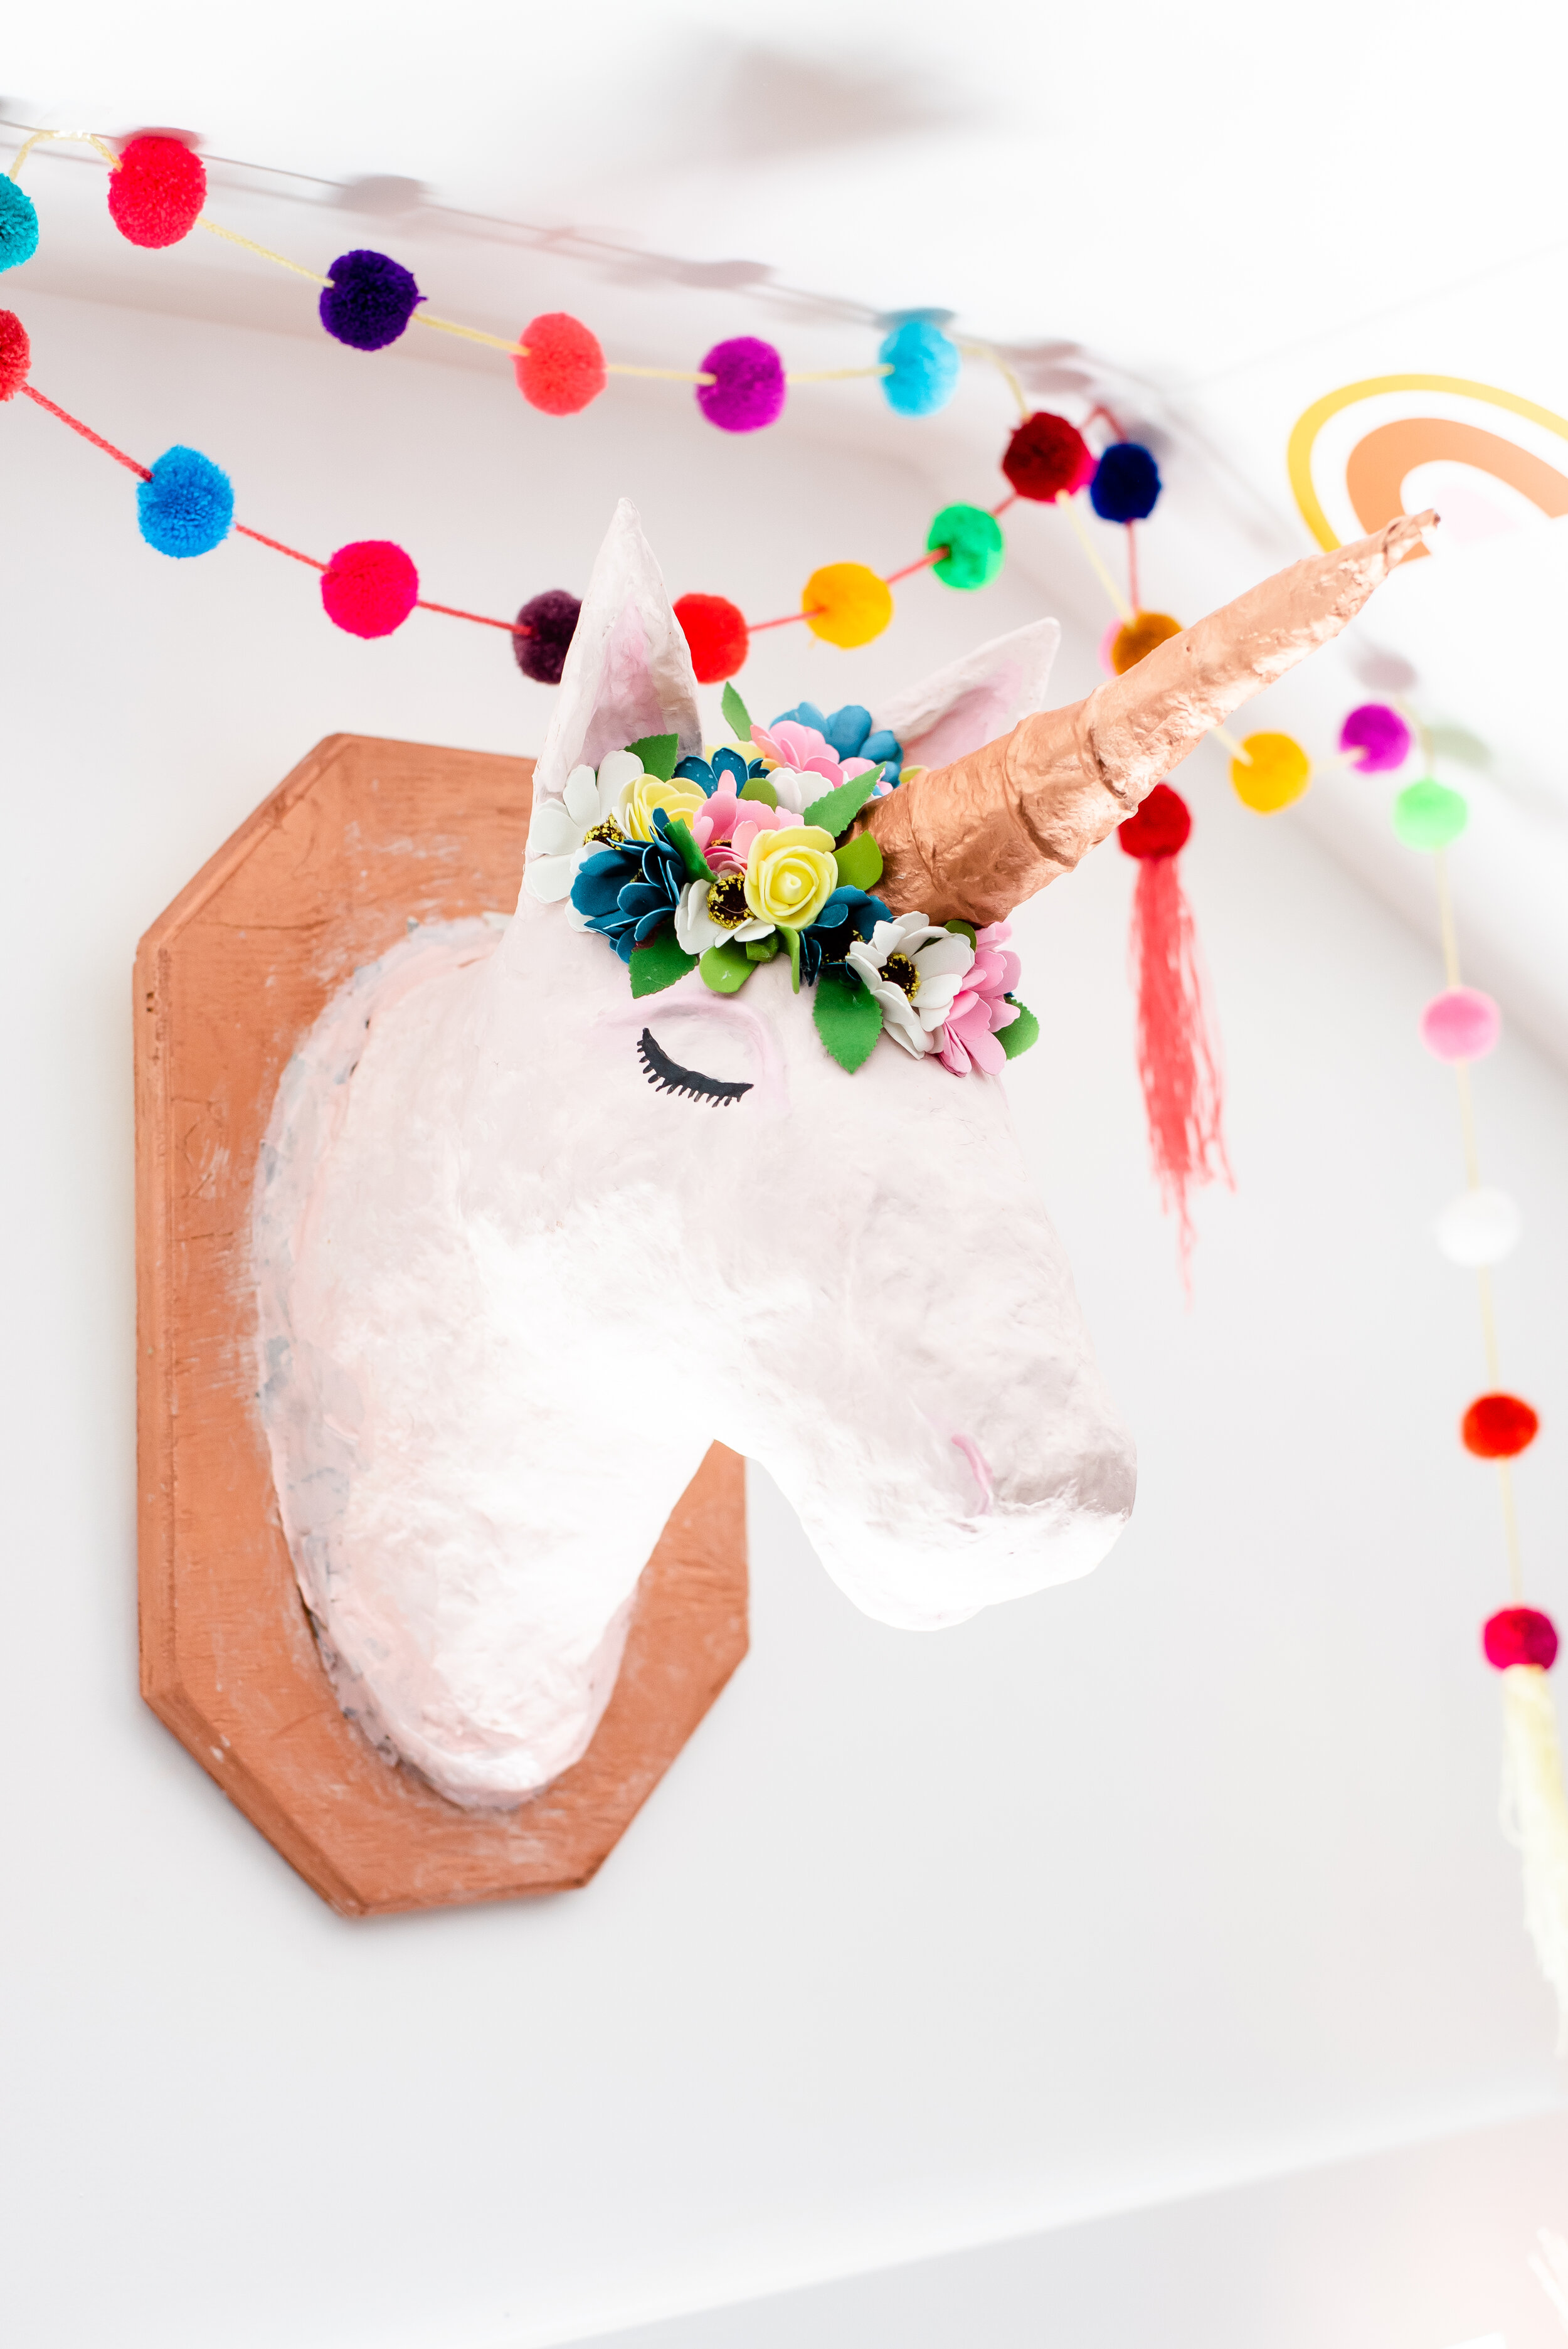
My daughter Lennon really loves unicorns, well really who doesn’t! They are magical, colourful and make everyone smile. When I began my renovation Lennon had an idea. She wanted a large Unicorn Head on the wall. Her idea seemed to come out of left field.
I started looking at buying a unicorn online and quickly thought… hmmm…. I bet I could make one myself. So I looked up how to make Papier-mâché and discovered it was quite simple and that I had everything I needed to make my own, right here at home.

LENNON LOVES UNICORNS…A GREAT ADDITION TO THE PLAYROOM RENOVATION
Papier-mâché isn’t something I’ve done for many many years. Probably since I was a kid making a volcano for a school science fair. I had so much fun working out this project and making a unicorn head for Lennon. It didn’t cost me anything, Only time. And time is something we all have lots of right now!

So roll up your sleeves, grab your kids, and prepare to get messy. Its Paper Mache Time!
SUPPLIES
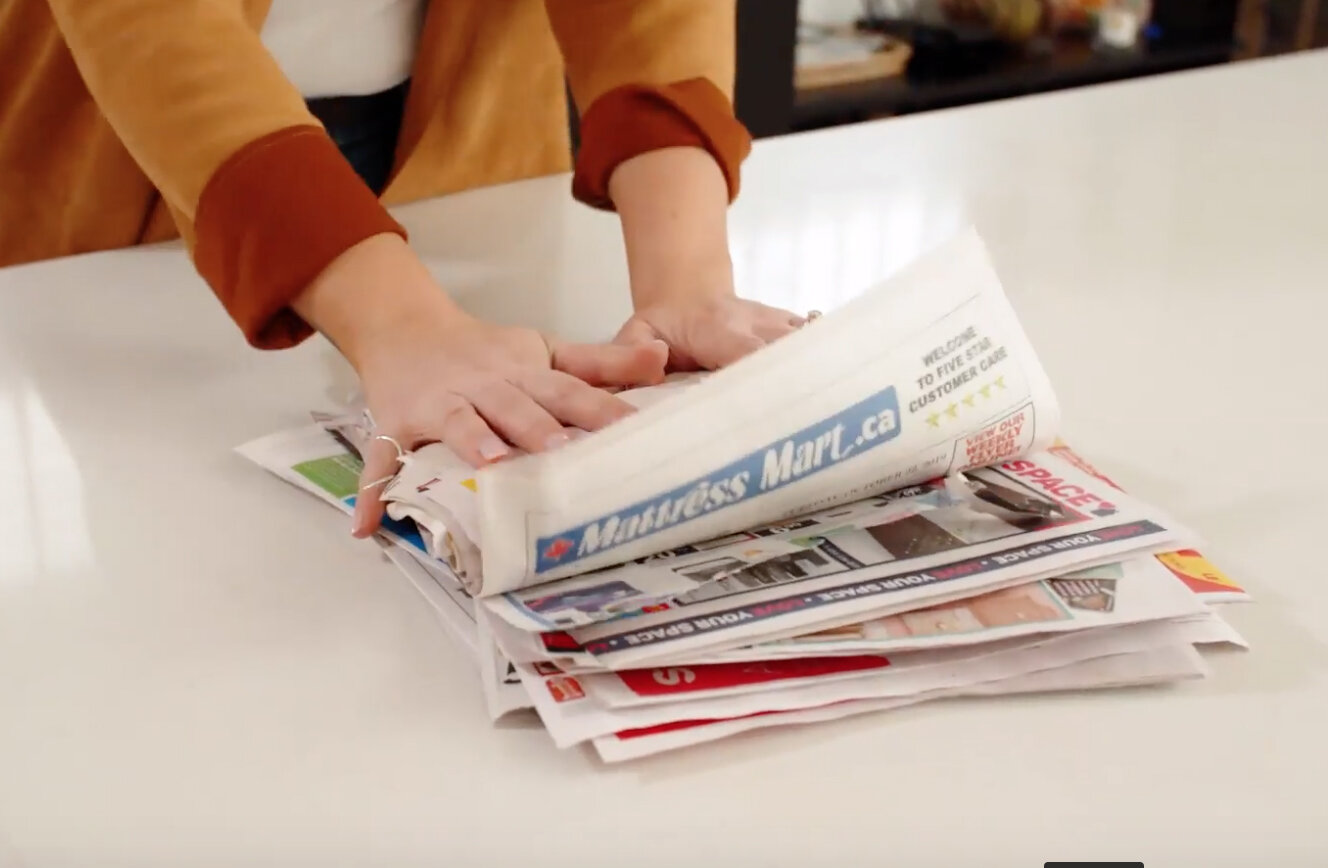
Newspaper
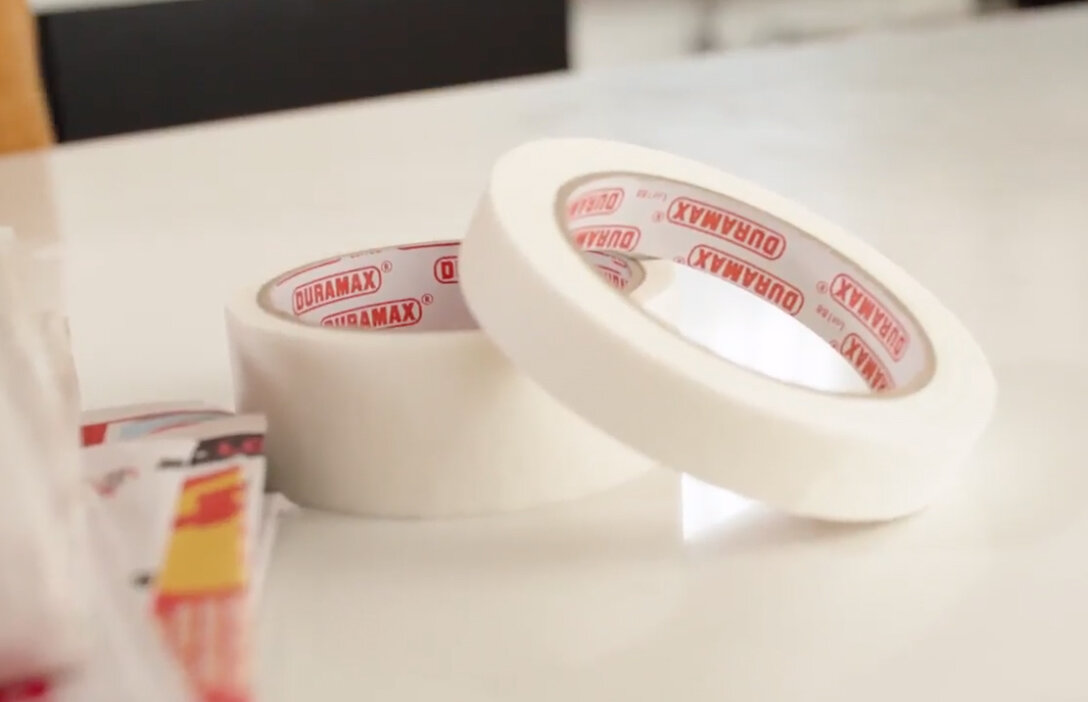
Masking Tape
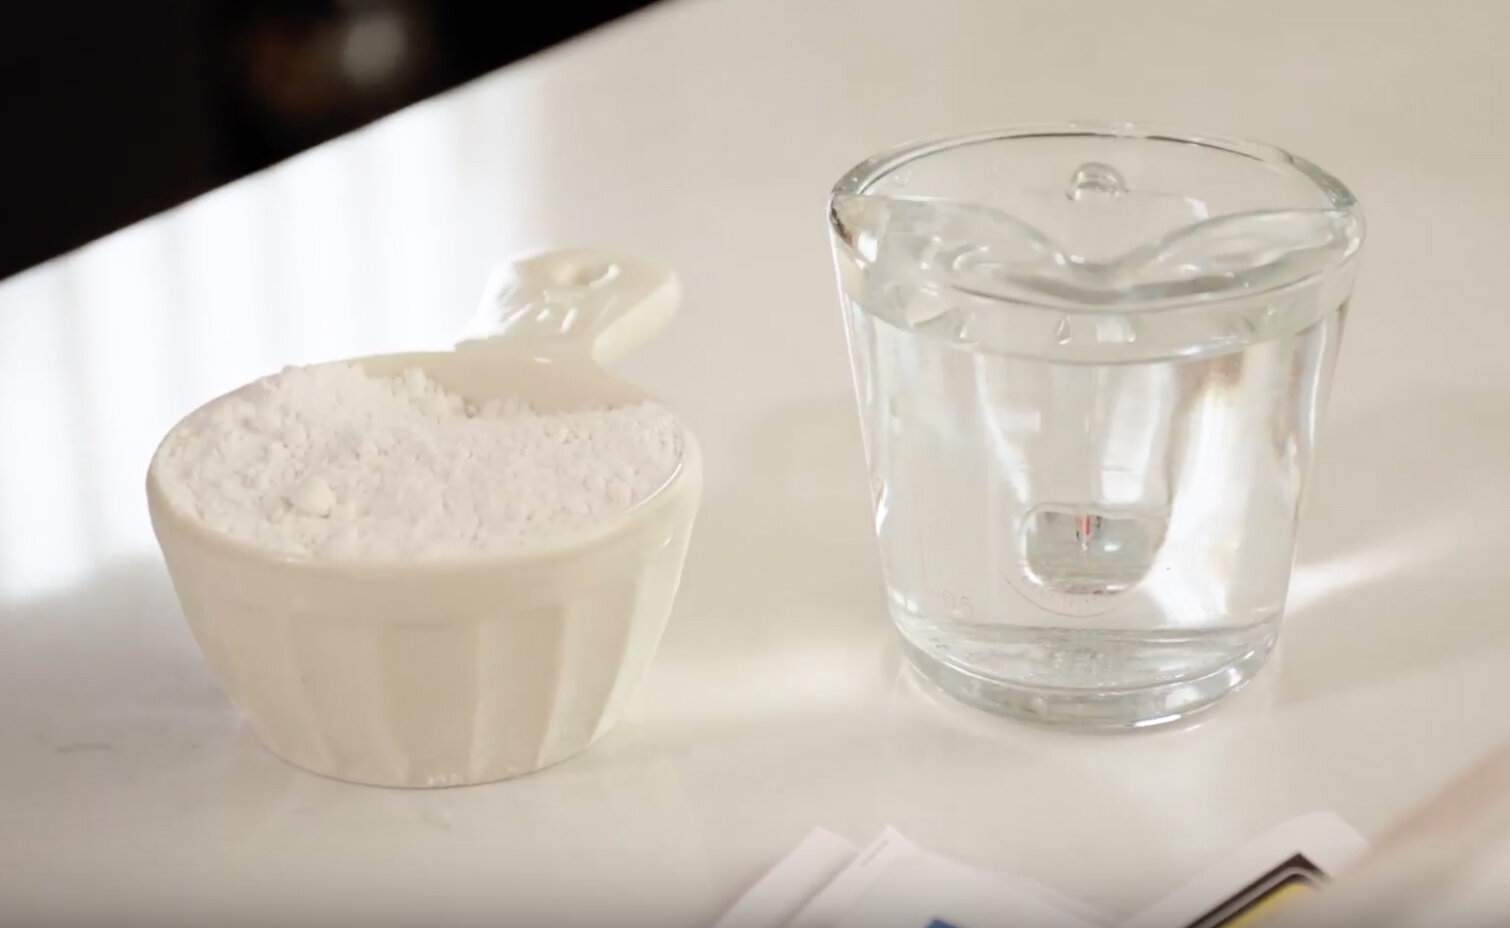
1 cup flour
1 cup water
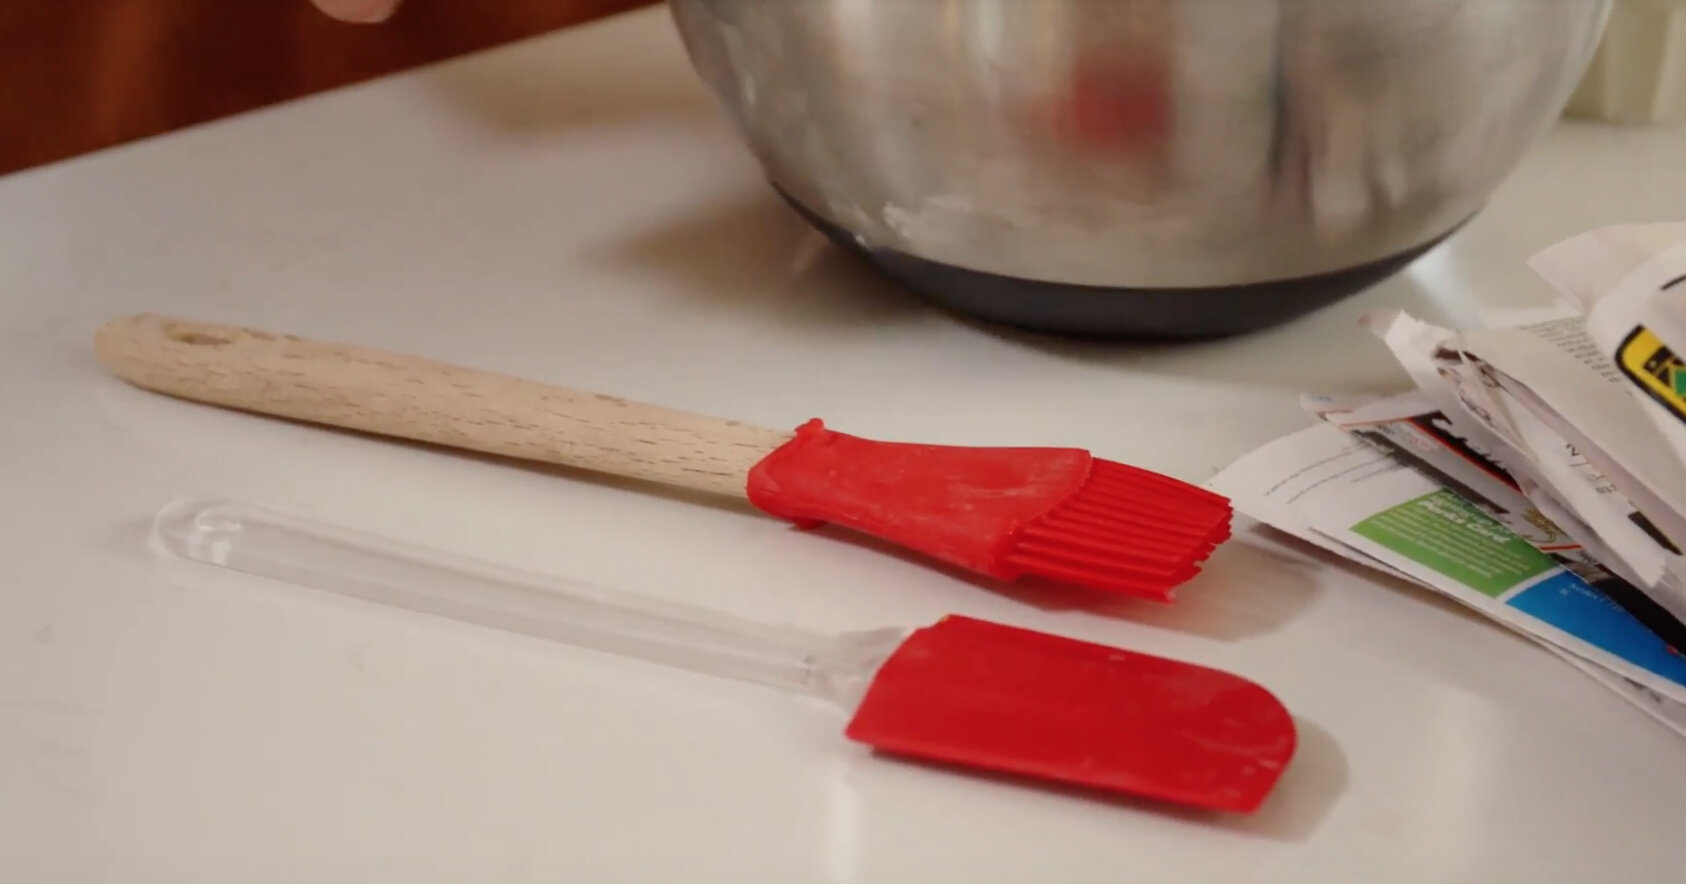
mixing bowl, spoon & basting brush
Paint, glue gun, sanding block
Copper spray paint
Flowers for decorating the Unicorn
Scrap light weight cardboard
DIRECTIONS

Gather up your supplies and get ready to make a master piece!

STEP 1
Make your Unicorn head form, with crumpled up newspaper. Use the masking tape to hold your news paper together.

STEP 2
Add to your form the neck and jowls of the horse head. A horse head is flat from nose to forehead

STEP 3
Use masking tape to attach the head to the neck and hold your rough form together.

STEP 4
To make the ears use some scrap cardboard like a cereal box or old paint chips. Something firm but not as firm as corrugated cardboard. Attach them with masking tape and fill in with newspaper.

STEP 5
Make the unicorn’s horn by forming the newspaper into a cone like shape and taping it onto the head. I then attached the whole head to a rectangular piece of material (I used a piece of styrofoam) to keep it in one place as I cover my form with paper mache.
Now that you have your form you can start the fun part! The Paper Mache!

STEP 6
Use your bowl to mix the flour and water to make the paste.

STEP 7
Tear strips of newspaper, dip it in the paper mache paste and start wrapping your form. Change the direction you are wrapping the newspaper as you layer to make a strong bond.

STEP 8
Use your basting brush to get the paste into all the nooks and crannies . I like to use a little extra flour and water to help fill in the holes and smooth it out.


Step 9
Continue to layer the form with your newspaper until every part of it is covered. Tear or cut paper into thin strips, then dunk them one at a time into the paste making sure they are fully coated and smoothing them over the shape. Use your paper to make added texture for hair, eye brow shape, mouth and horn.
STEP 10
Store in a cool dry place overnight (like the furnace room) until the newspaper has dried out and your form is stiff.

STEP 11
Repeat the process of layering paper mache on your unicorn head once again. Work towards a nice even coat. Keep layering them on until you feel that the shape is what you want and everything is fully covered. Use your hands to shape and smooth out your head. Let the head dry out over night again.

STEP 12
Sand out any bumps or lumps that you don’t like. You can even add more mache if you need to but remember you will need to let it dry again if you do that.

STEP 13
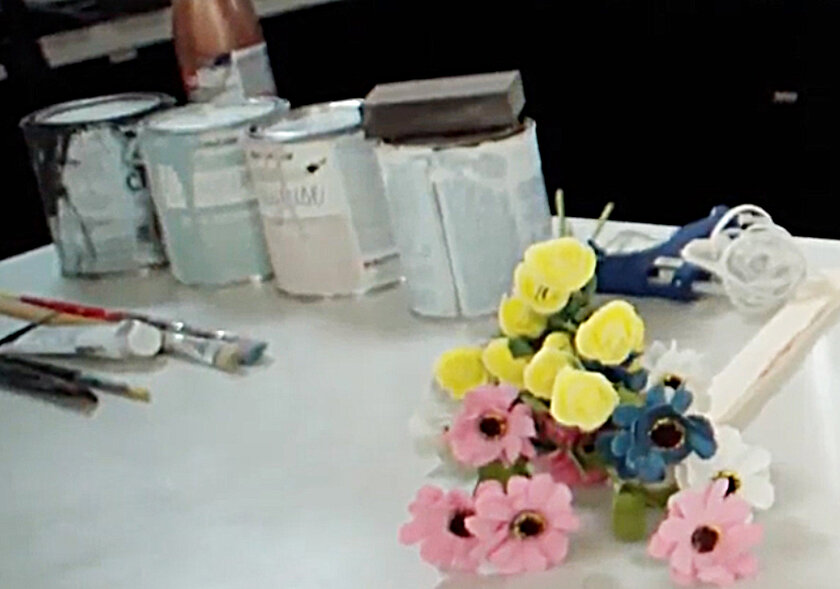
Now that you are happy with your form its time to paint on the base coat. It will need a good solid coat of paint. I used leftover paint I had around the house from old projects!
LET DRY OVERNIGHT!


STEP 14
Spray paint or paint the horn a metallic colour. I wrapped my unicorn form with a plastic bag and popped the horn through the top. I spray painted the horn with a copper metallic spray paint I had left over from another project. Remember if you are using spray paint you need a well ventilated area - I went outside on my deck.

STEP 15
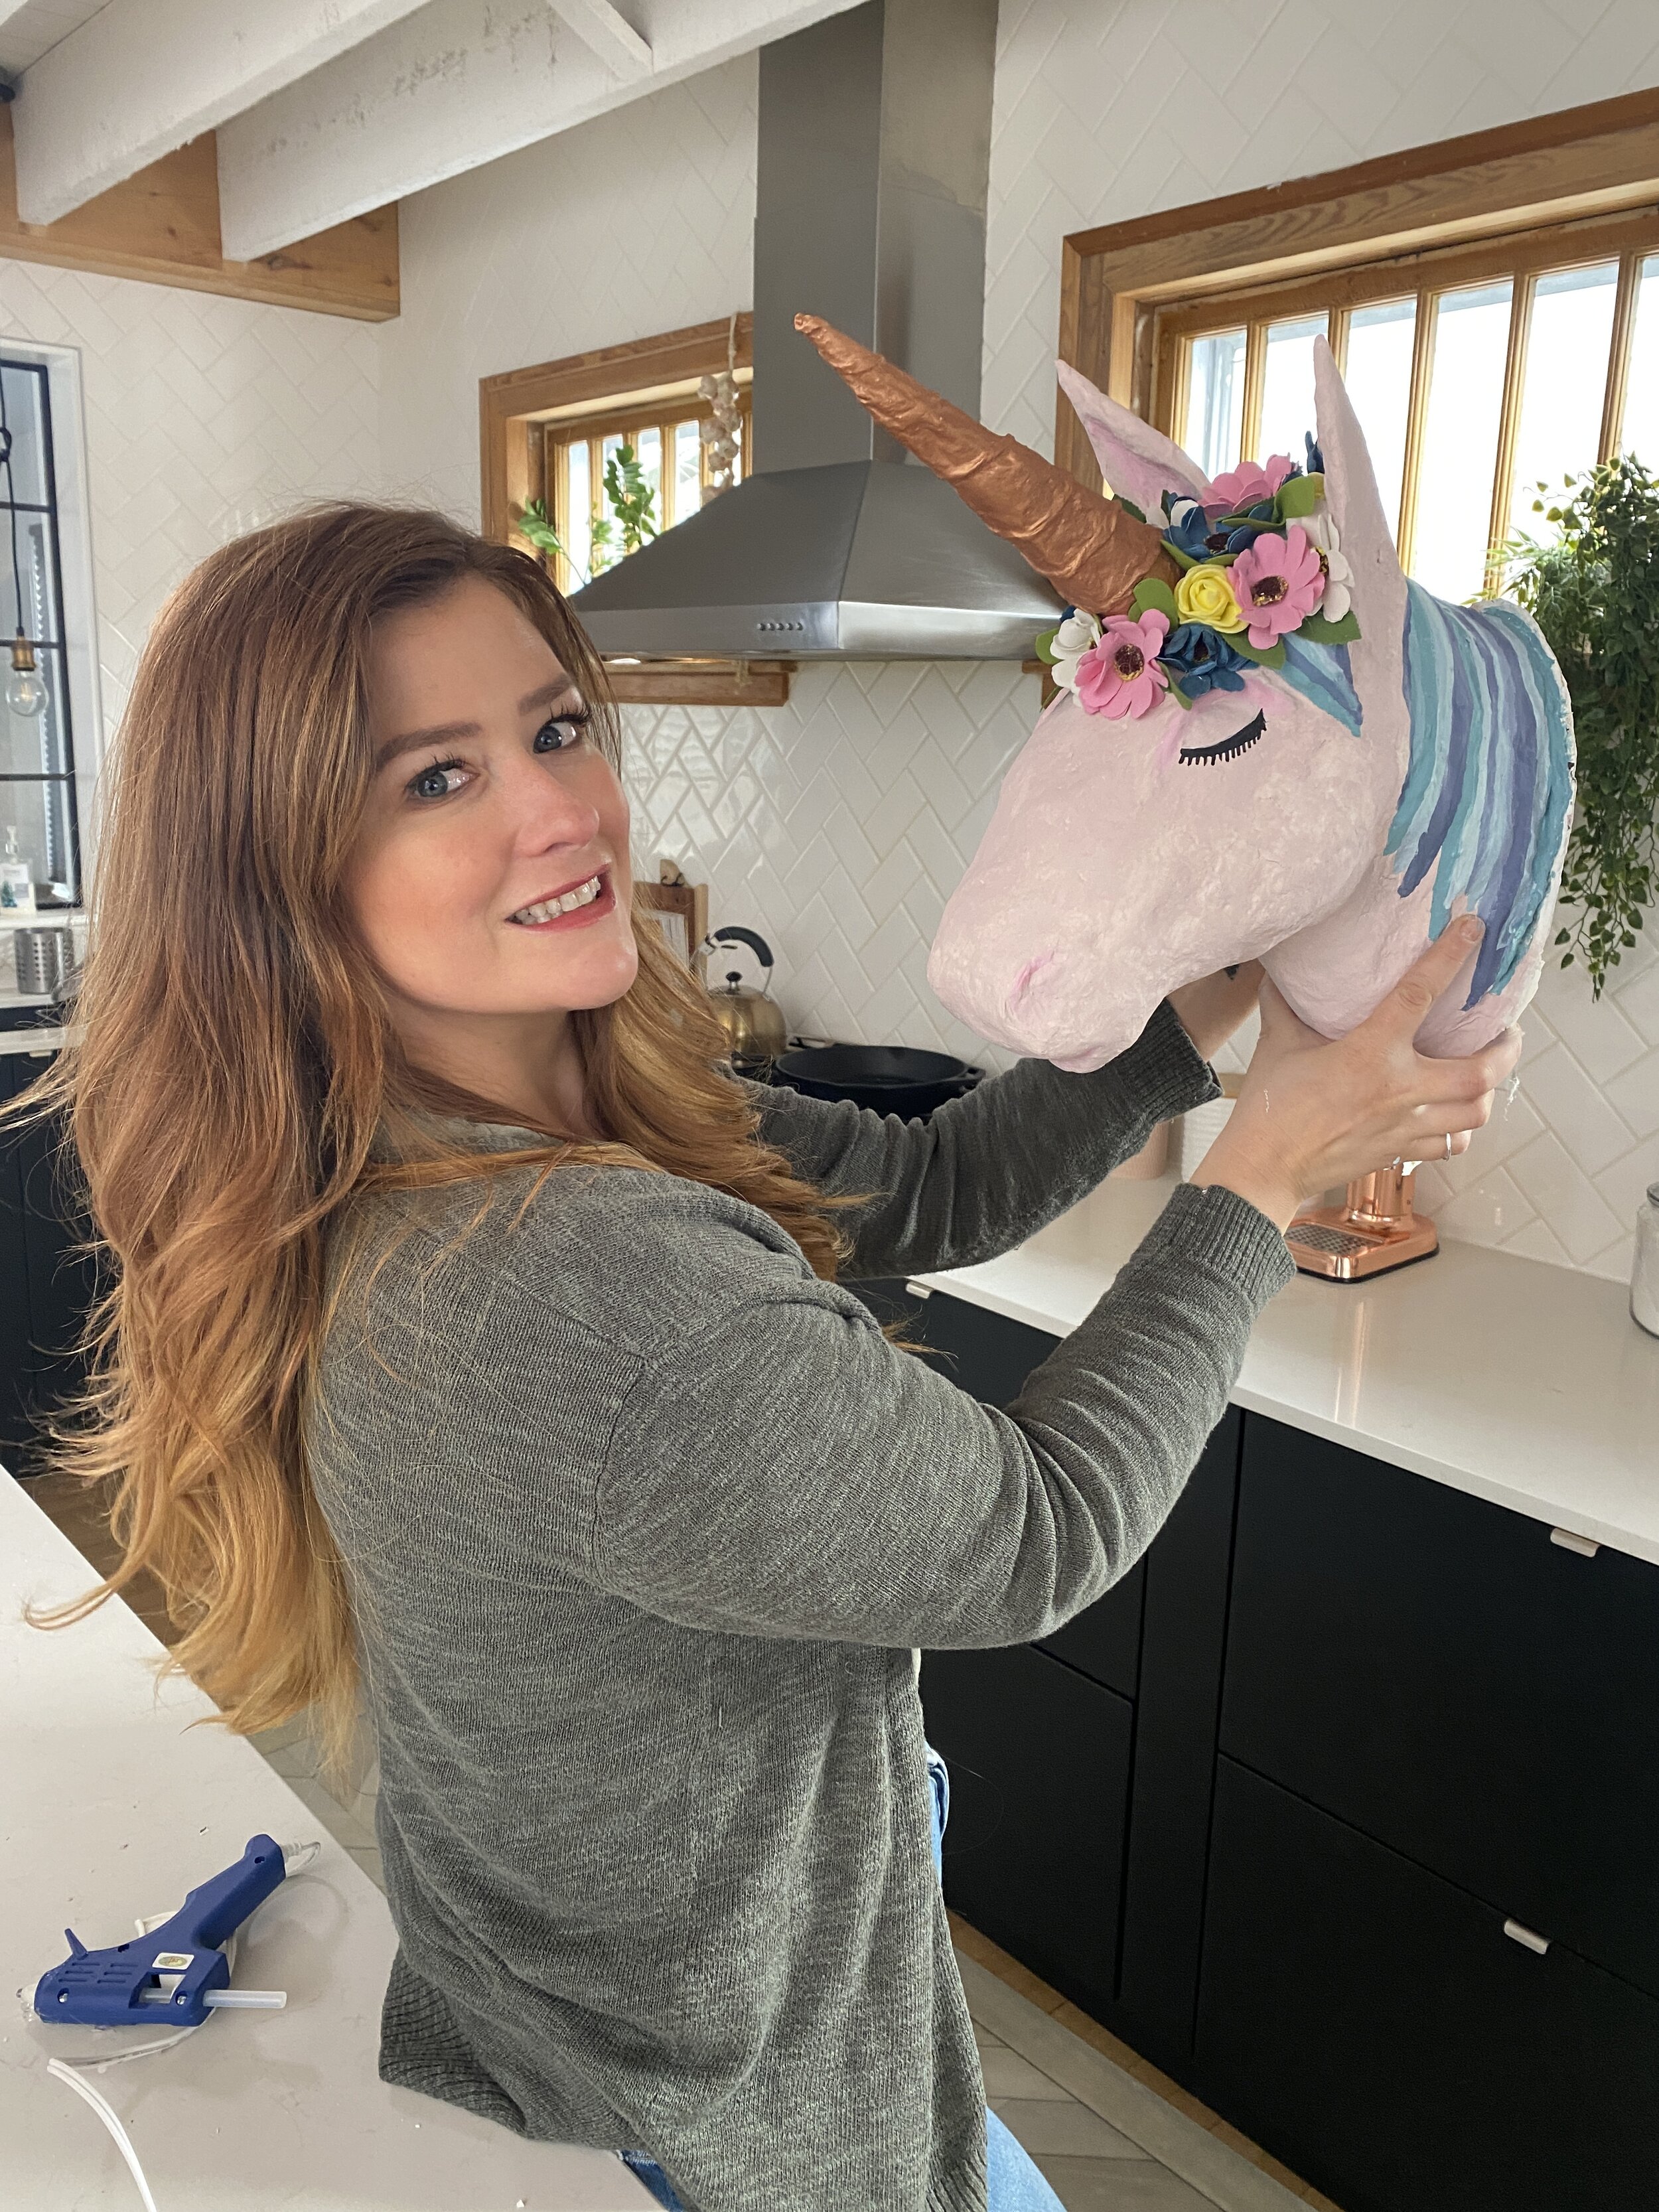
Here’s the fun part, time to give your unicorn personality. I painted my unicorn pink then painted on some blue hair and her eyes.

STEP 16
For the finishing touch I decided to give my unicorn a crown of flowers. I picked up some fake flowers at the dollar store, popped them off their stems and using a glue gun I stuck them on my unicorn created a flower crown.
That was a lot of fun. Making this Paper Mache Unicorn head was like art therapy for me.

If you want to watch a video tutorial of this project check it out on my youtube channel here!
Thanks for checking out my Paper Mache Blog.
I can’t wait to see what you come up with! Share your journey with me and photos of your creations!
XOXO
DIY MOM