Everyone always wants to know how much a bathroom renovation will cost…
Well the answer is not as simple or clear as one would hope for.
A bathroom renovation costs anywhere from 10 to 100 thousand dollars, much of which depends on the finishes you select. It’s also why it’s so important to build a footprint for each project so you know exactly where your money is going. Take flooring for example, if you prefer large stone marble walls and floors in lue of ceramic ones, you best get ready to pay more!
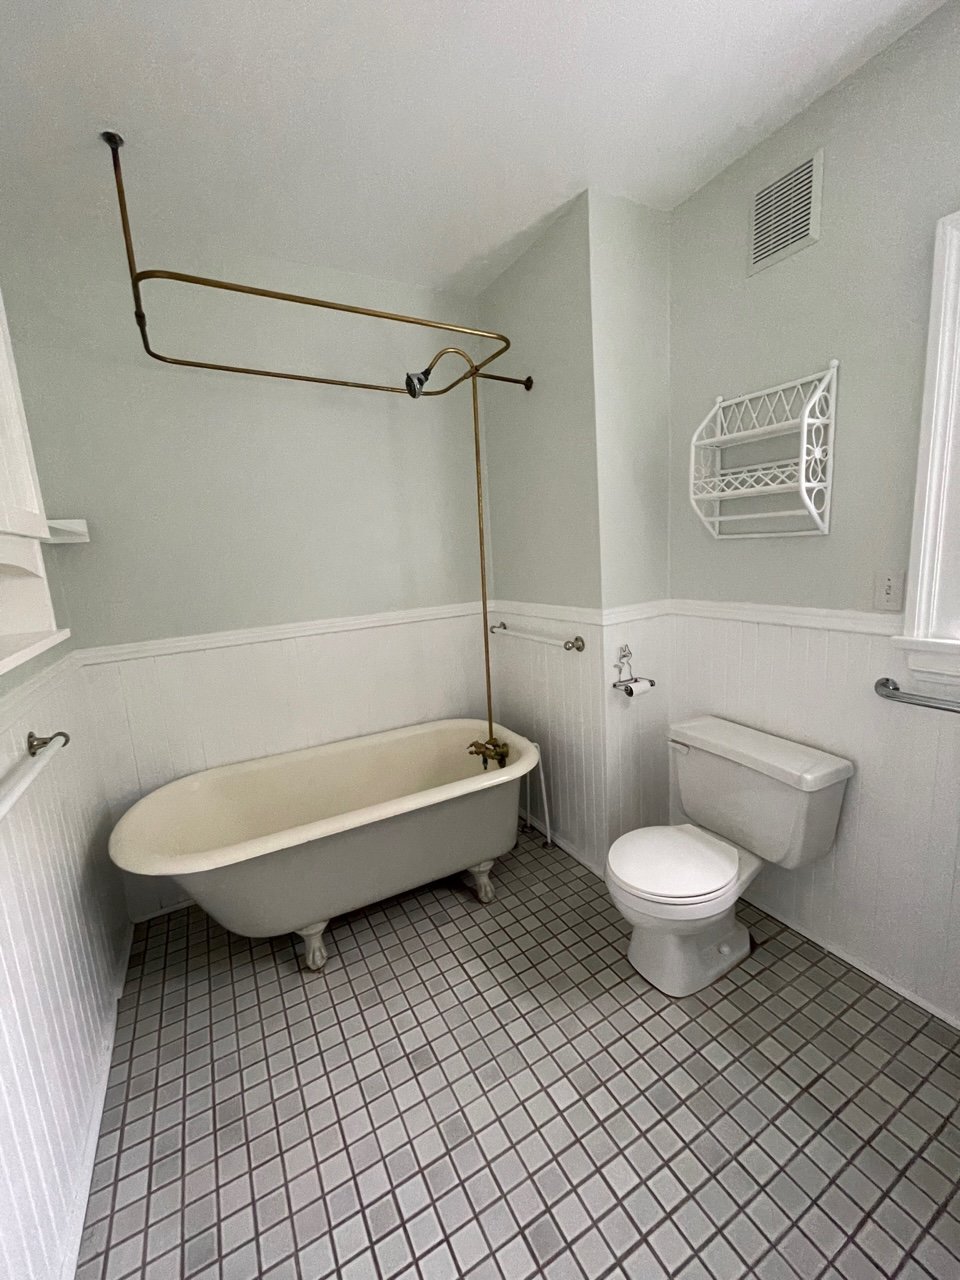
Clawfoot Tub Before
Lucky for me, my bathroom ensuite was part of a larger renovation, that included an extension on our old craftsman style home, so I was able to start fresh. The space was an empty canvas ready for me to paint on the plumbing and layout.
During the initial demo we removed the original 1920 clawfoot tub. I’d heard stories of how cozy these tubs were and thought including it in my design was a wonderful way of acknowledging the era of the home.
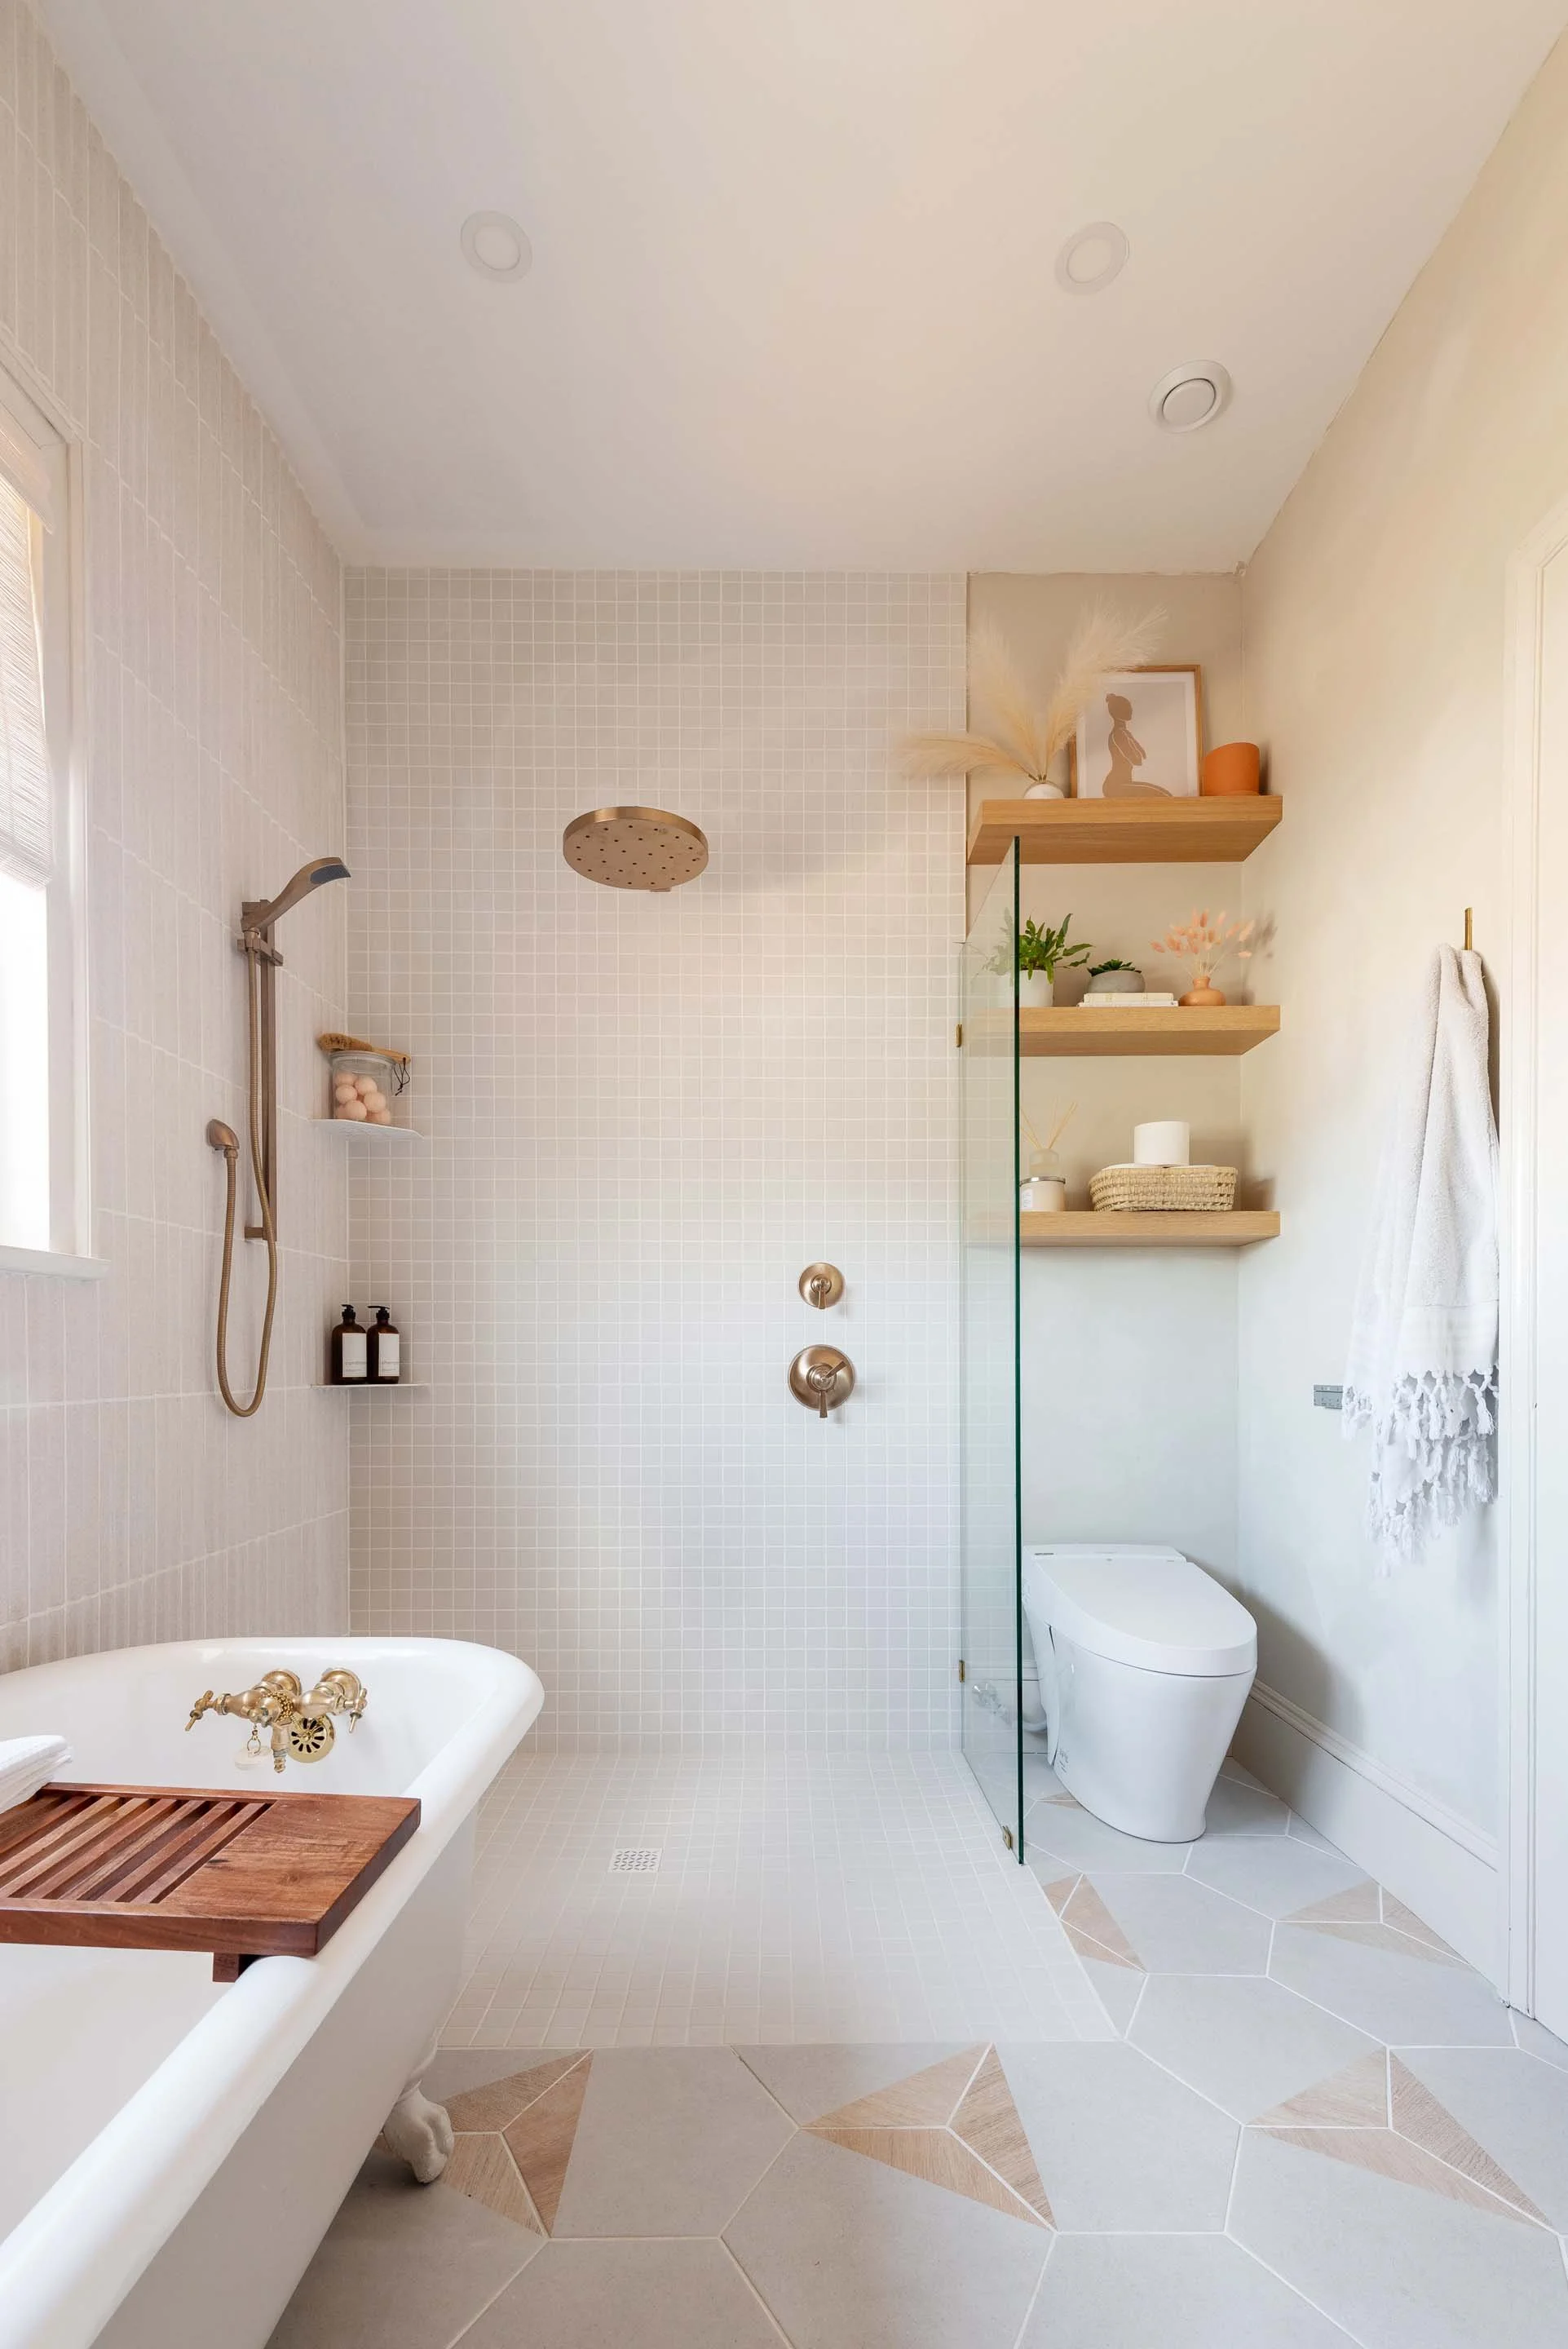
Other elements I envisioned for my new ensuite bathroom was a double sink vanity, a curb-less shower and a canopy shower head with an extendable hand tap (to make cleaning the claw foot tub easier). I’d also always wanted a bidet toilet and lucked out finding a deluxe model from American Standard, the Advance Clean SpaLet 100 Bidet, which included a heated seat, dryer and multi functioning water levels.
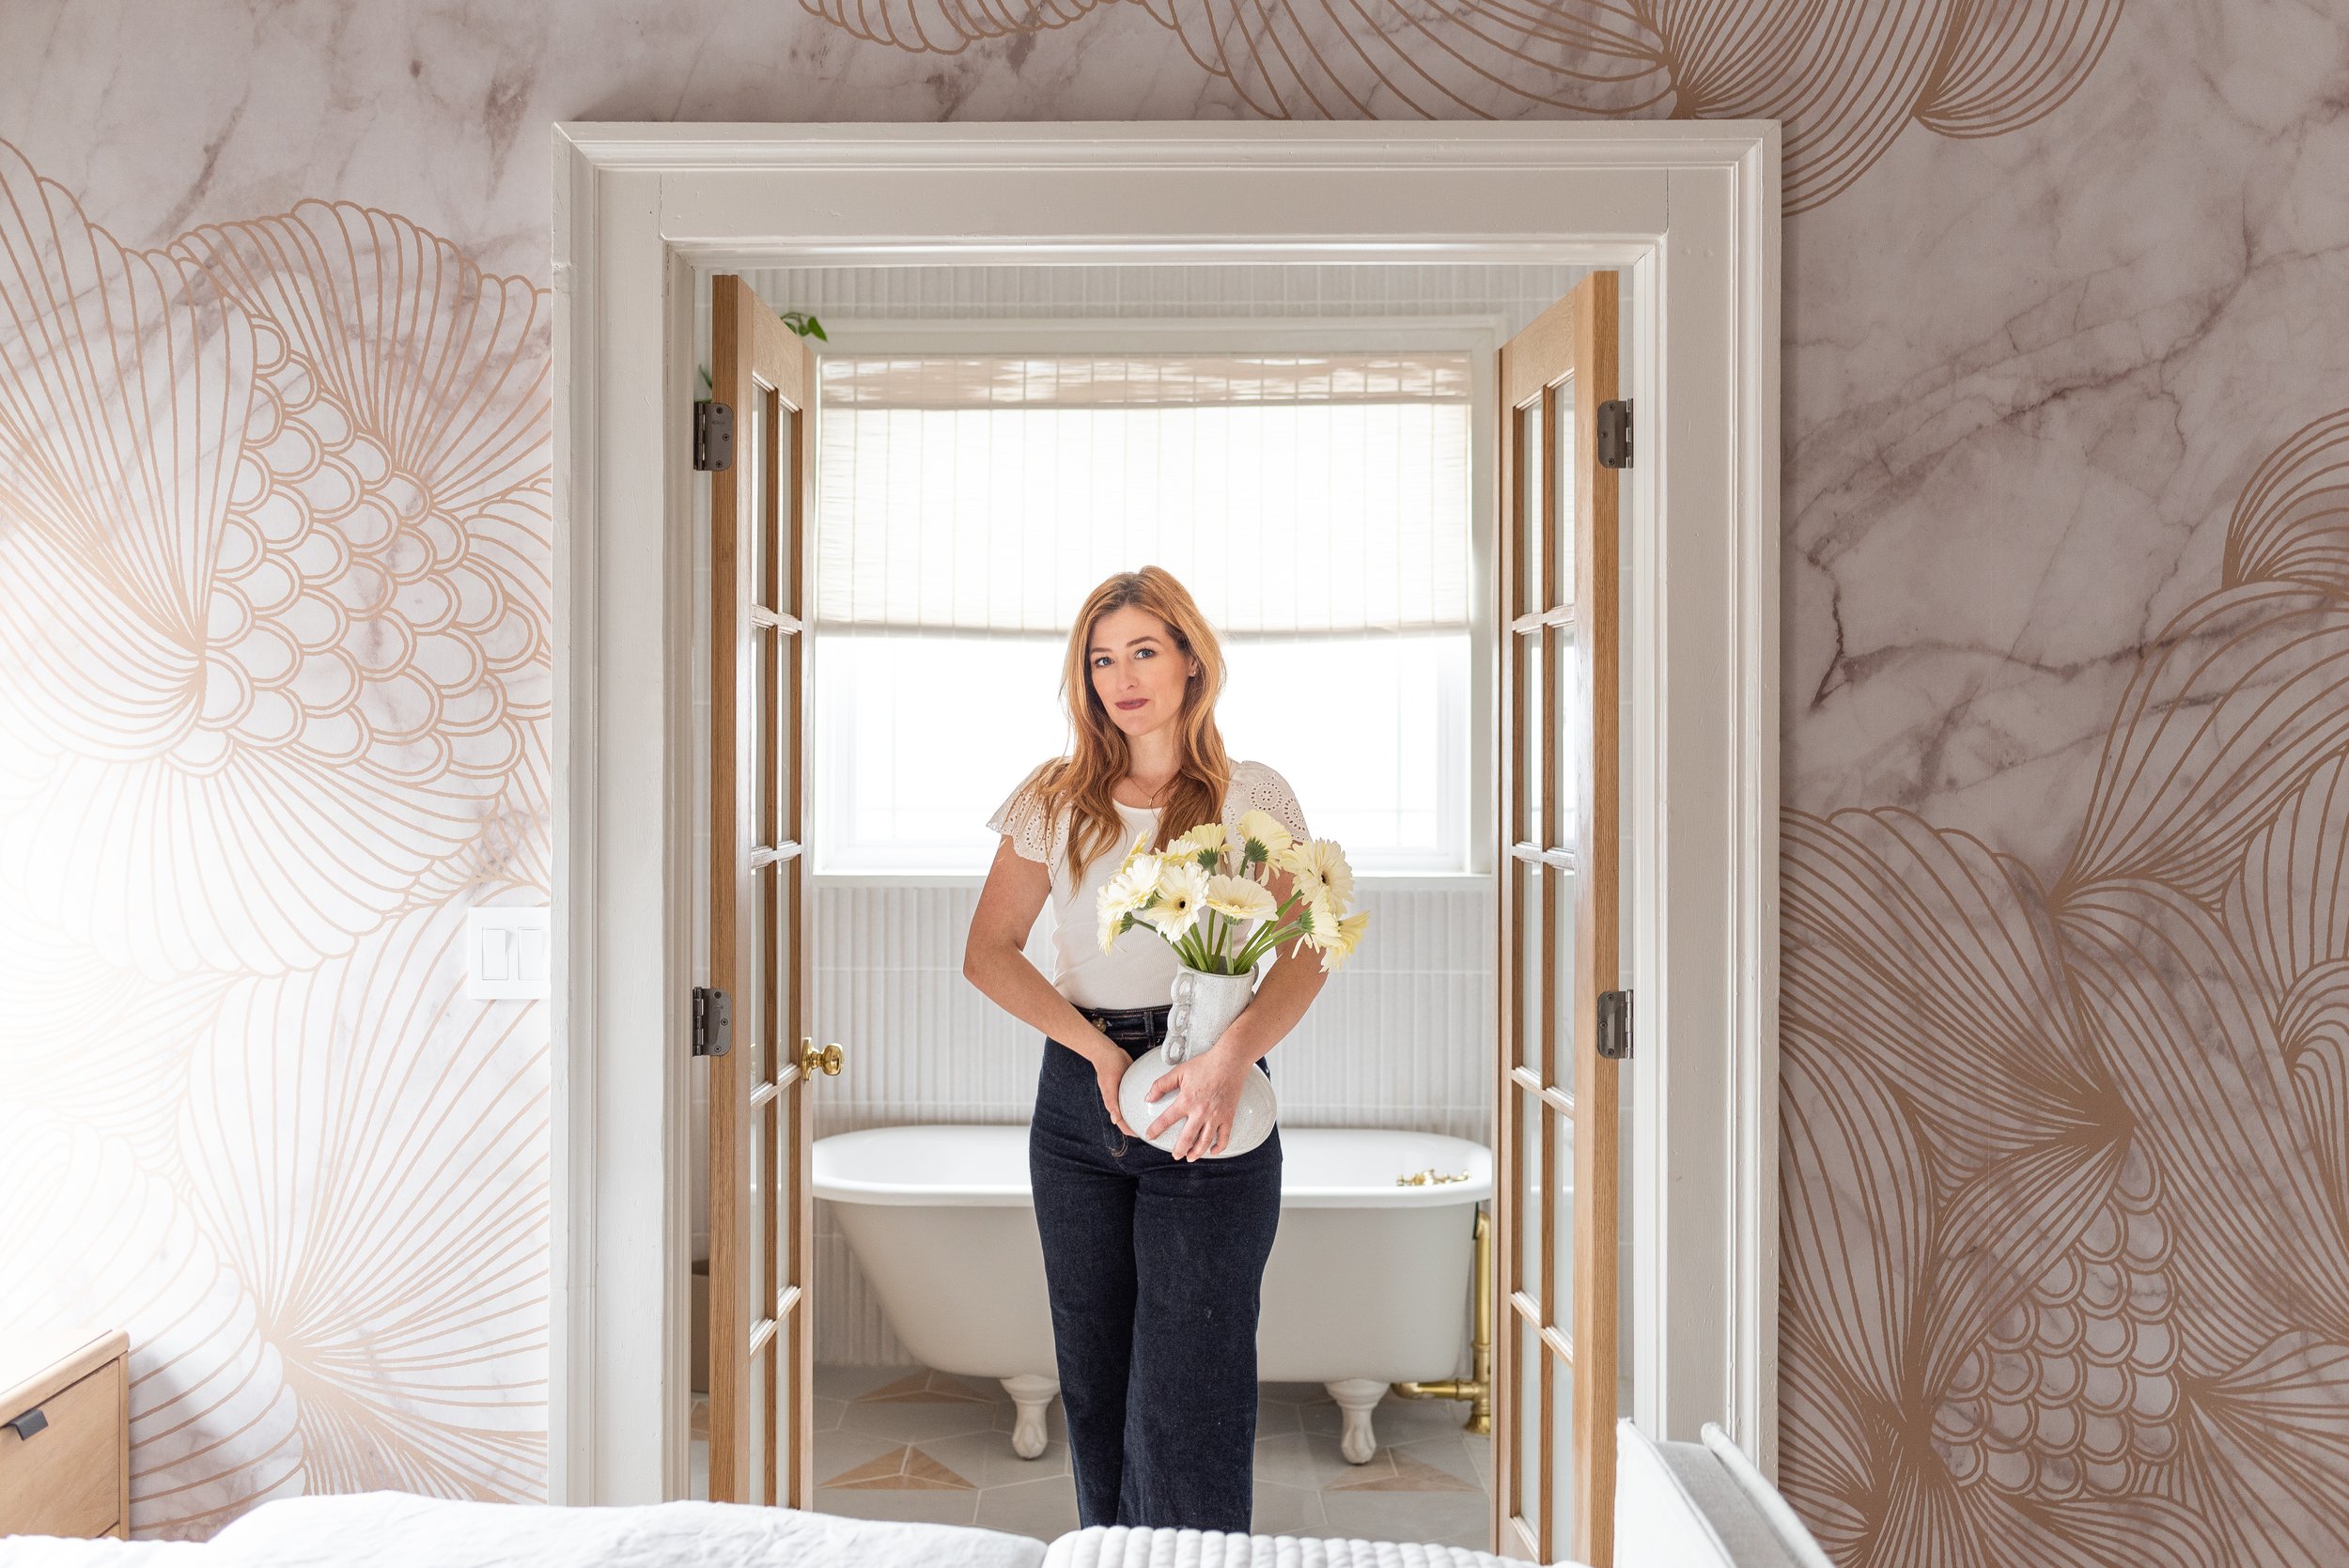
I fell in love the with idea of french doors opening up into the bathroom and sourced two beautiful solid white oak doors from Metrie that fit the space perfectly. In my mind it was clear, the double french doors would open to reveal the old clawfoot tub under a large window centred in the room. What a statement!

American Standard Advance Clean Spa Let Toilet is a dream come true!
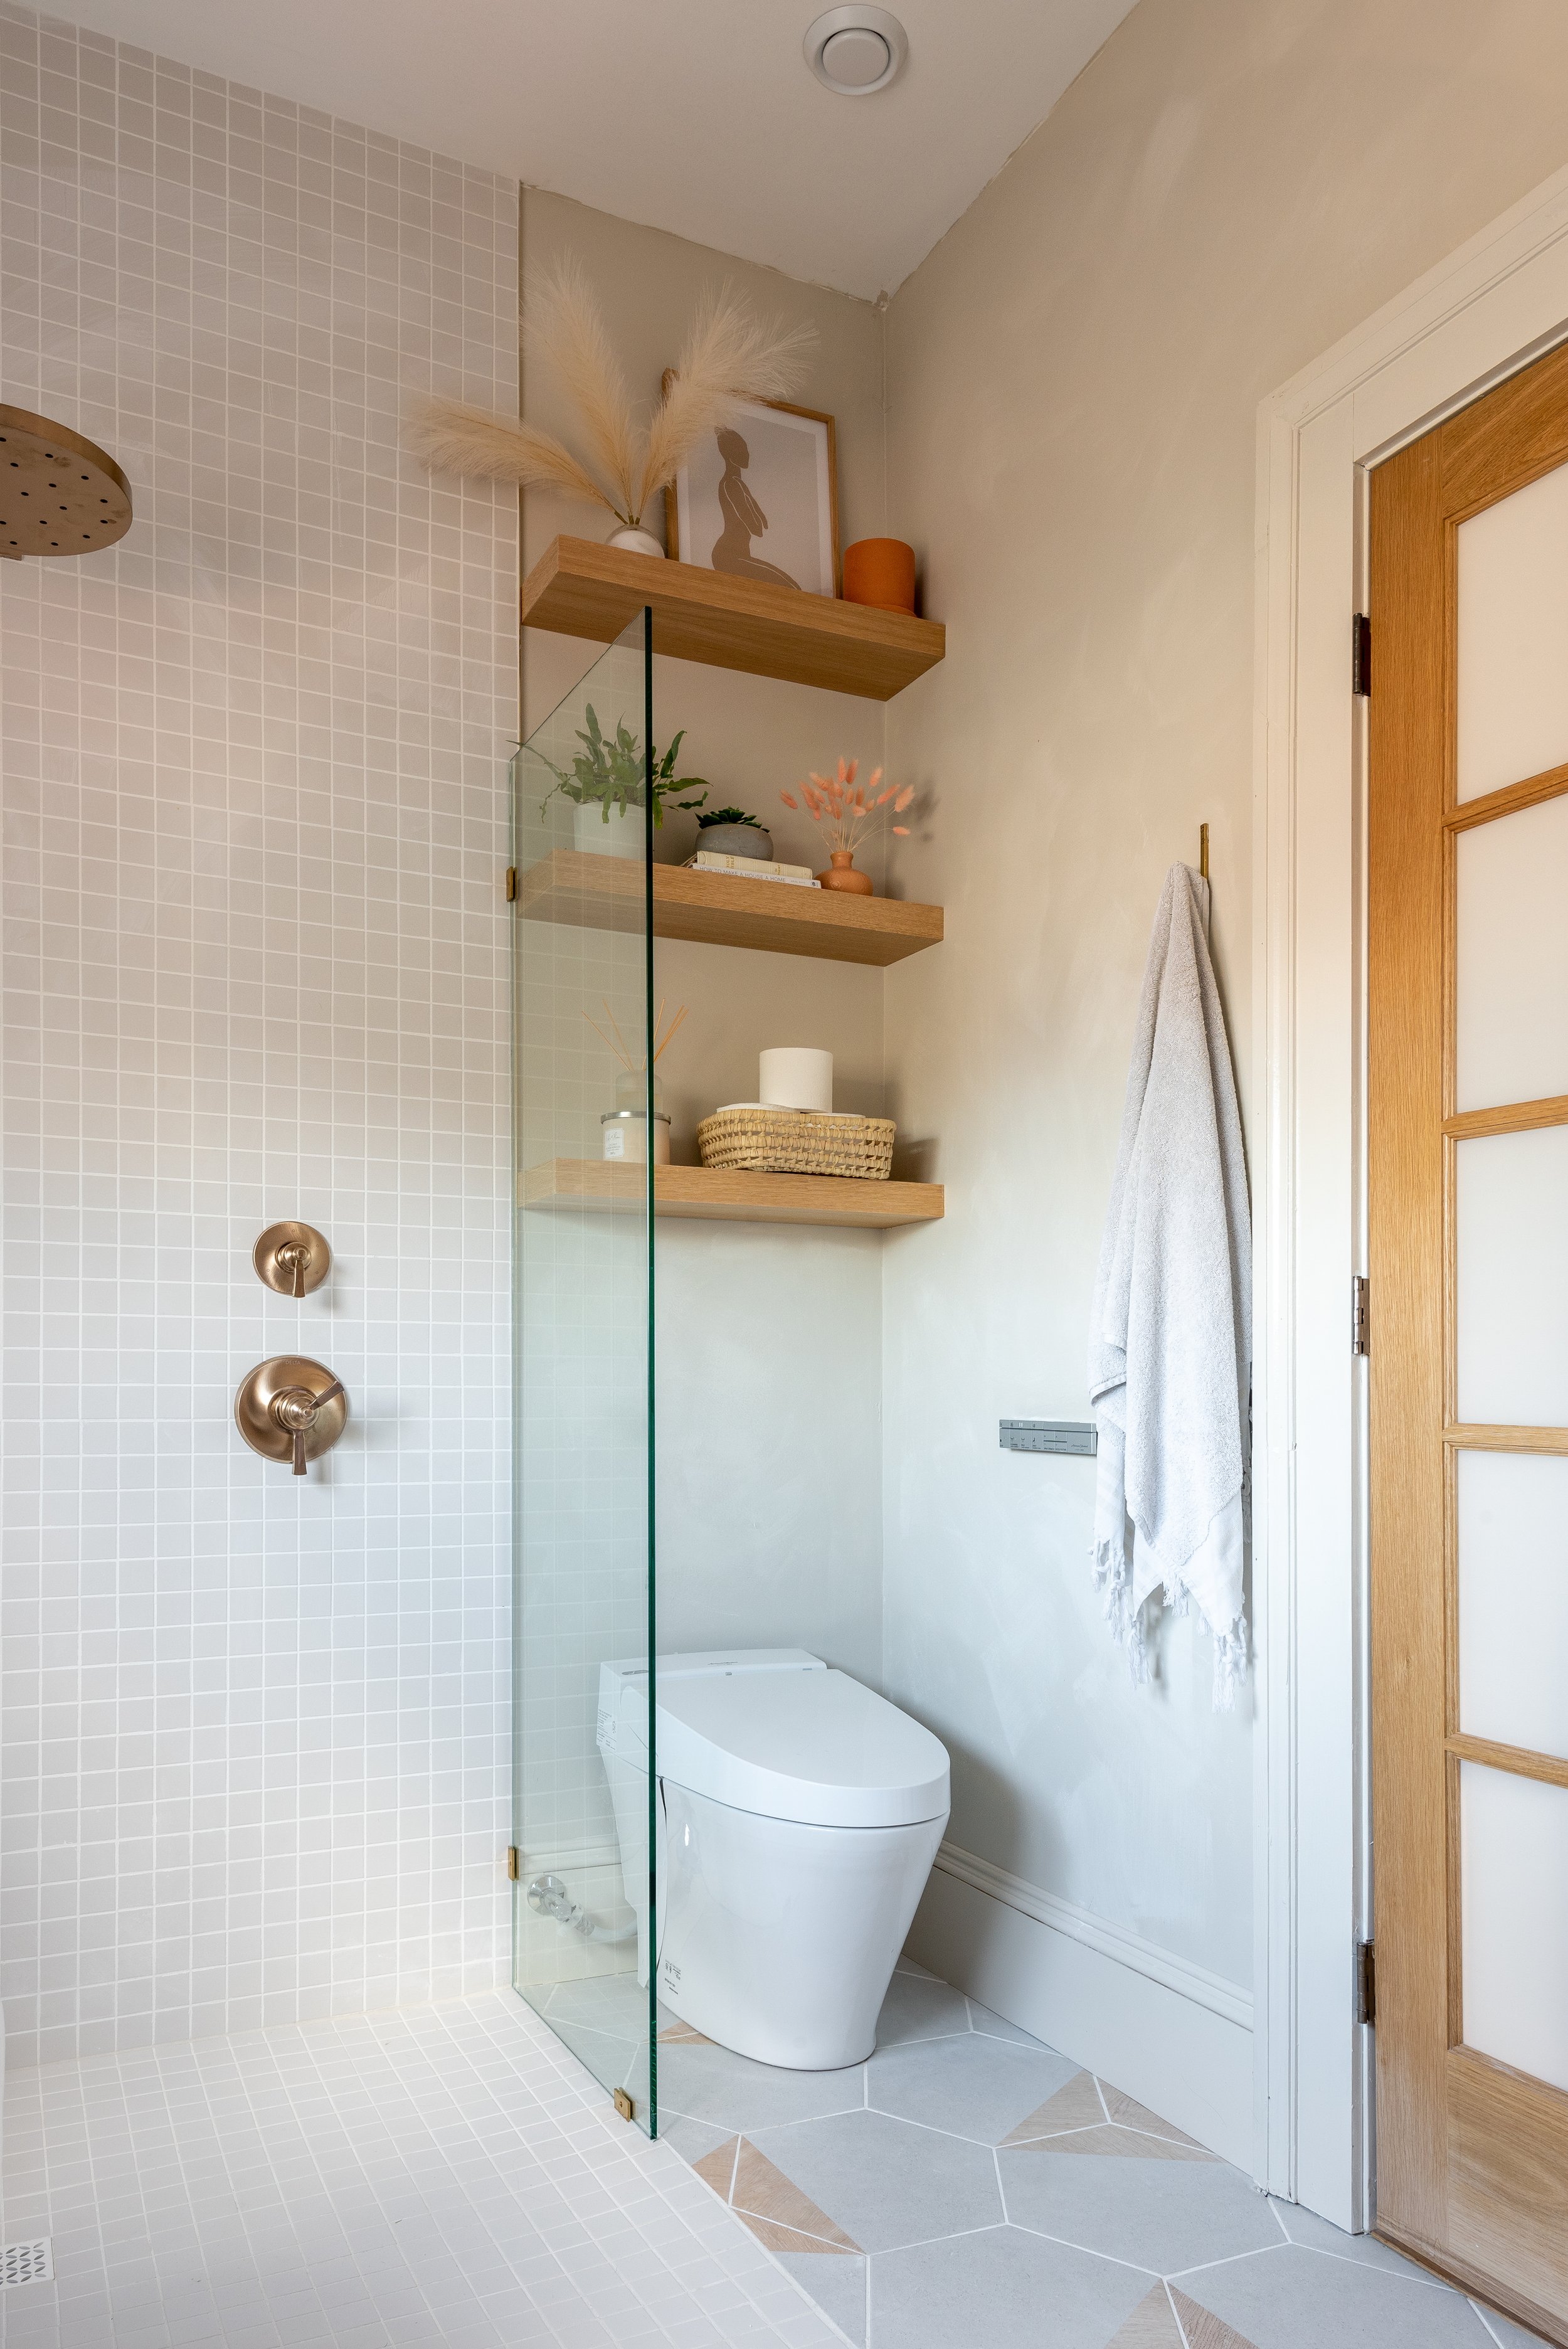
A simple glass partition separates the toilet from the curb-less shower.

Oak french doors from Metrie swing open to reveal the ensuite.
With my wish list, and the floor plan parameters in place, I started designing a mood board and selecting my tiles. Finding a floor tile was more challenging than I thought, so I ended up taking the lime hex tiles provided by Elegant Flooring, originally intended for my basement bathroom, and moved them upstairs to the ensuite. Next, I fell in love with a textured tile called “Stripes” from Wow tile, and wanted them to be a feature in the room from floor to ceiling and behind the vanity. These tiles were special order, and would take months to arrive so I ordered them early into my renovation journey.
Once I had the physical tiles in hand I quickly realized their texture created concern, perhaps the plumbing finishes wouldn’t fit around them, a less experienced tiler took one look at them and said… I don’t think so.

Champagne bronze rain shower head from Delta Faucet.
In order to skirt around the issue, I decided to pick a wall tile for the shower (artisan white from Centura ) a classic tile I used in my last renovation) . This tile is flat and blends in with nicely enough that I could move forward with the bathroom renovation. Everything was coming together beautifully, all my Delta Faucet fixtures in champagne bronze that I had selected had arrived and the plumbers were well on their way rouging in the shower, toilet and sinks.
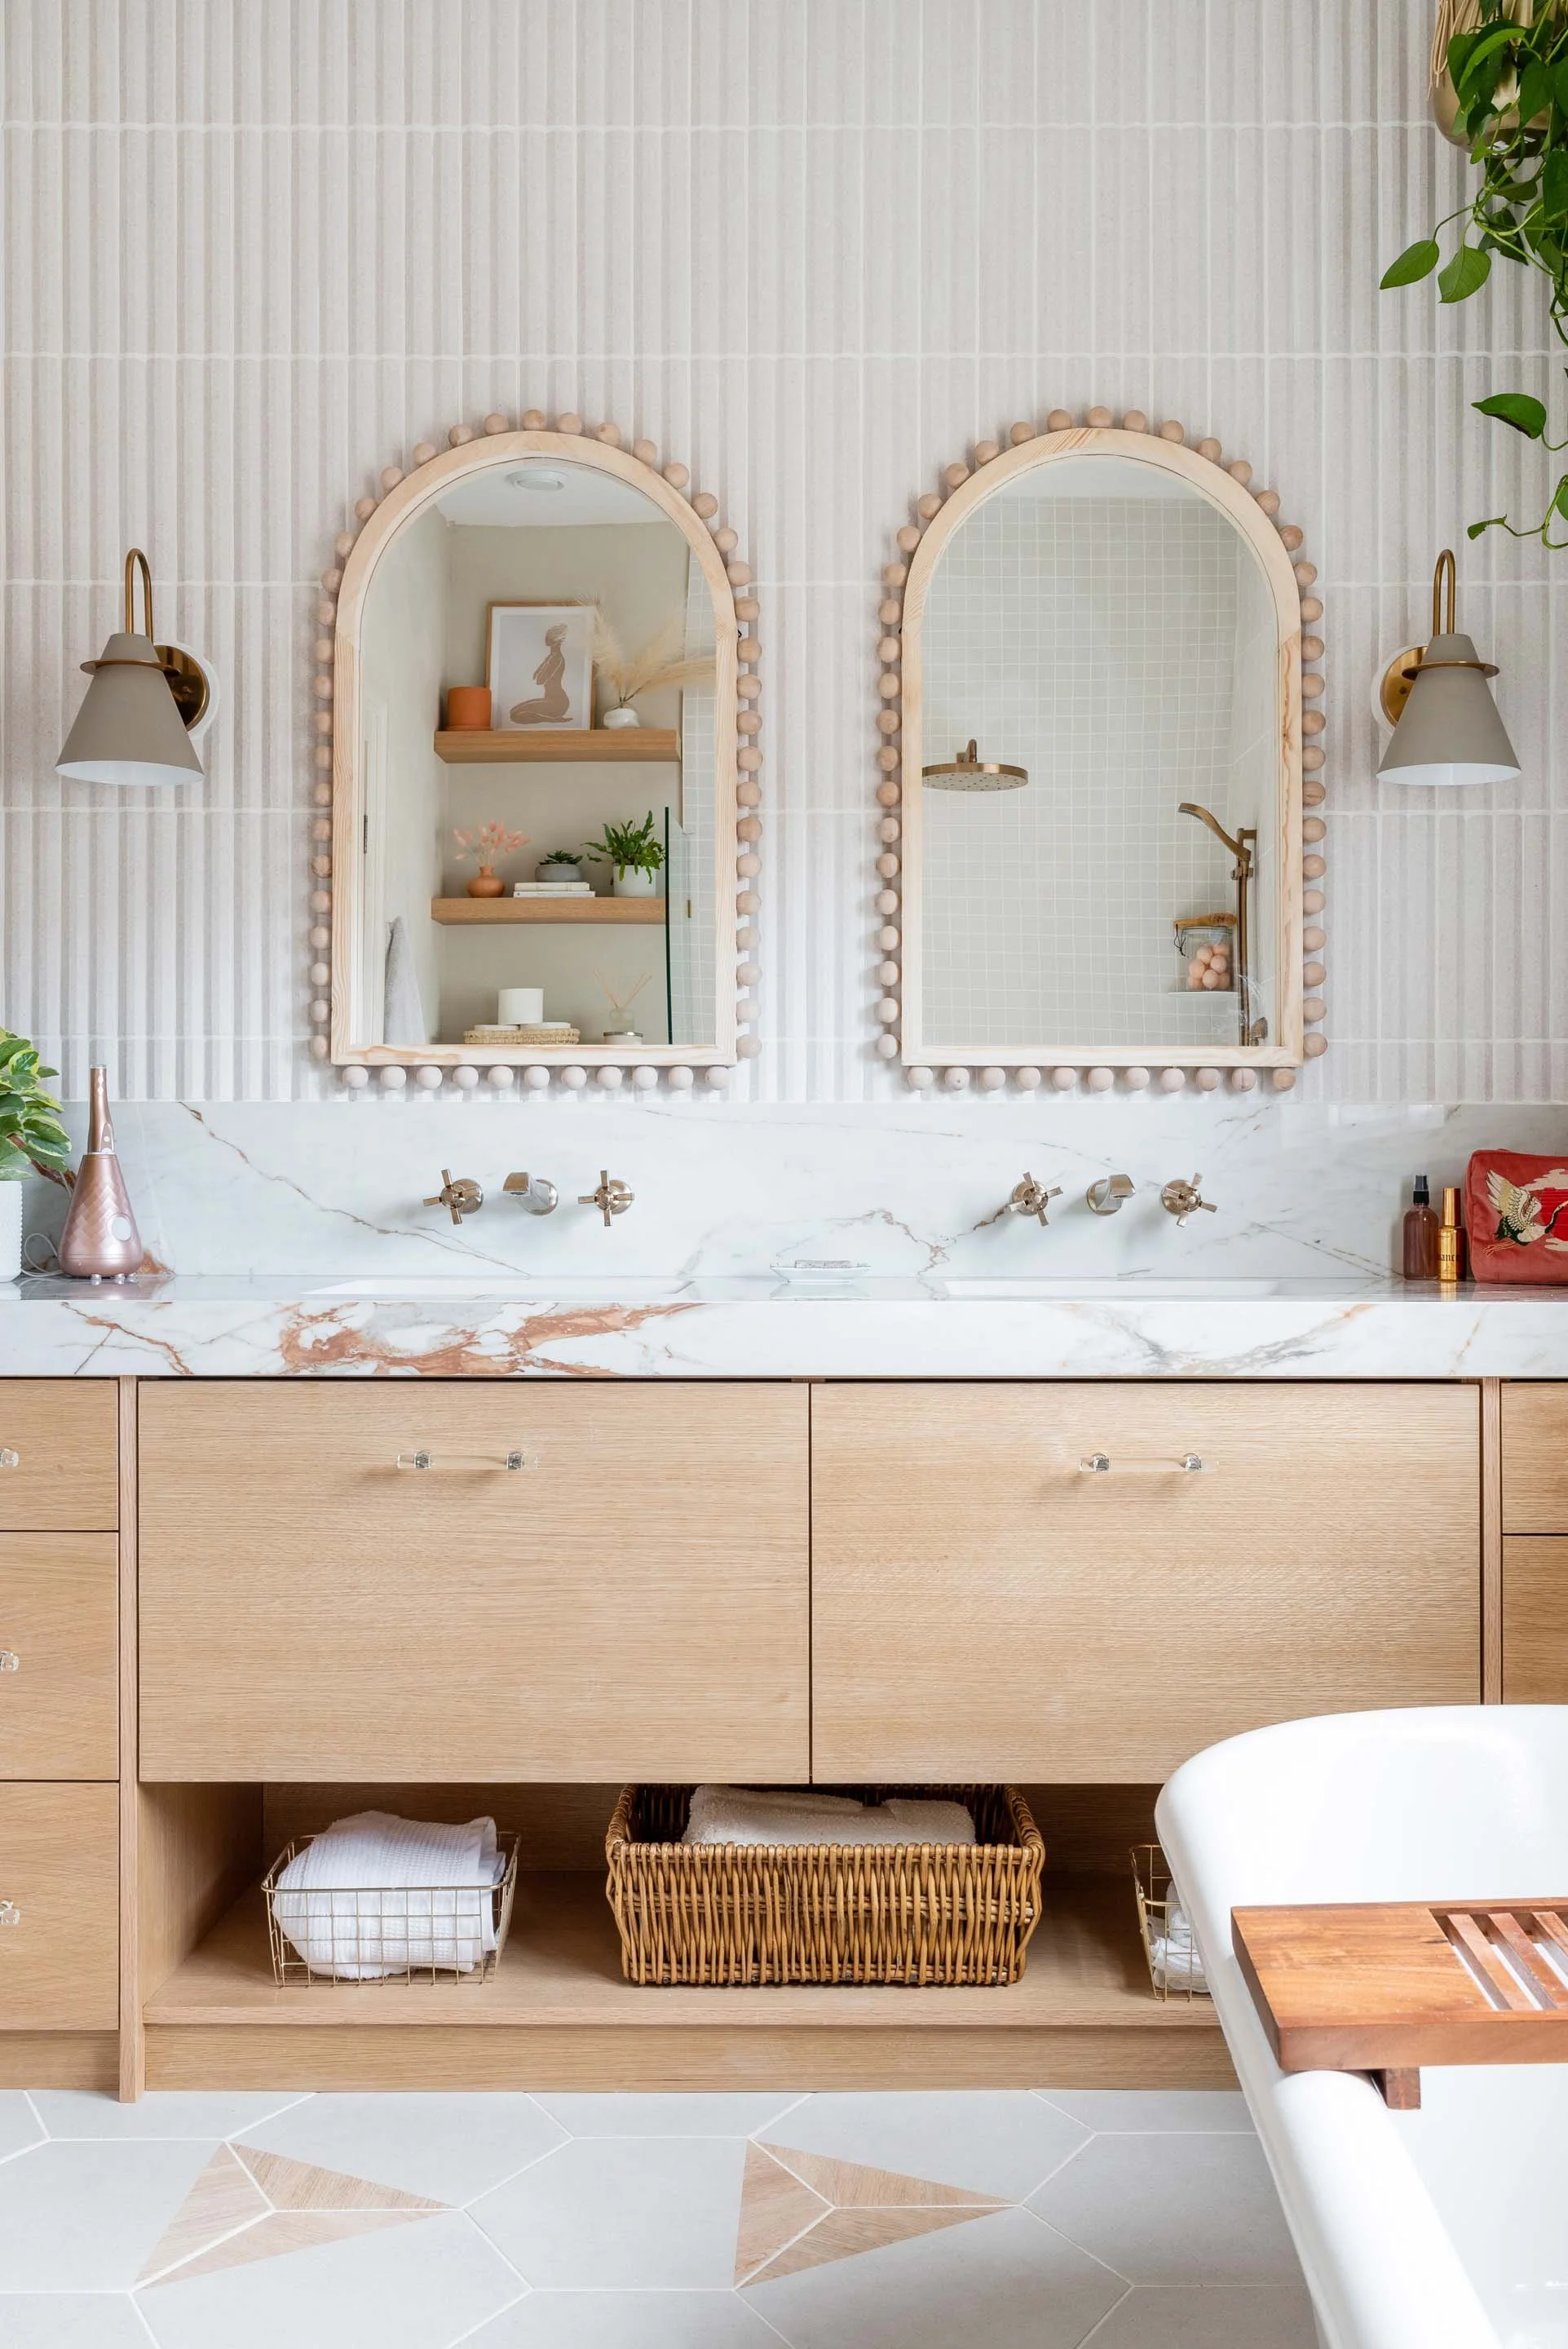
Custom double sink Vanity built with furniture grade oak plywood.

The interior of the clawfoot tub was in rough shape!
Then our next issue arose…. where to get the clawfoot tub refinished. I called around, asked my social media audience for leads, but kept striking out. Refinishing this tub was starting to be a real pain. With the tub interior and enamel in such rough shape, I started to look for alternative options. A new tub? A plastic insert? I decided to put a pin in it while I dealt with larger issues surrounding my renovation.
More issues popped up - of course they did! My new experienced tiler, said he could work with the texture of the stripes tile but was concerned about the large scale of hex tiles sloping to the drain of the curb-less shower. Too many cuts and raw edges would make it difficult and unsafe. He asked if I could pick a different tile for the shower floor…
Oh boy, this was really throwing a wrench in my design plans. Another tile? I was going for cohesion and throwing another tile into the mix wasn’t sitting well. Off to Wacky’s flooring I went, to take a look at their selection for floor and wall tile. If I could keep my tile selections to 3 instead of 4 I just might be able to pull off the look I wanted.
I settled on a simple square matte white tile for the shower wall and floor and hoped that running it from the floor to the ceiling might make it look intentional. My tiler was relieved when I brought back a 2x2 square tile for him to work with. So the artisan white tiles were on the cutting room floor and we were back on track with my bathroom renovation.
Small square tiles used on the shower floor flow up the wall right to the ceiling.
With the floor under control, my attention turned to the vanity. I started looking for off the rack options that might work in the space. I loved the solid wood vanities in my previous home, but my plumbing was set with the sinks specifically placed 29 inches from each other in the middle, so drawer banks could be on either side. There was nothing that would work with the perimeters that were set, so the only option was custom. I drew out my vision for the vanity and worked with my carpenter on the build details.
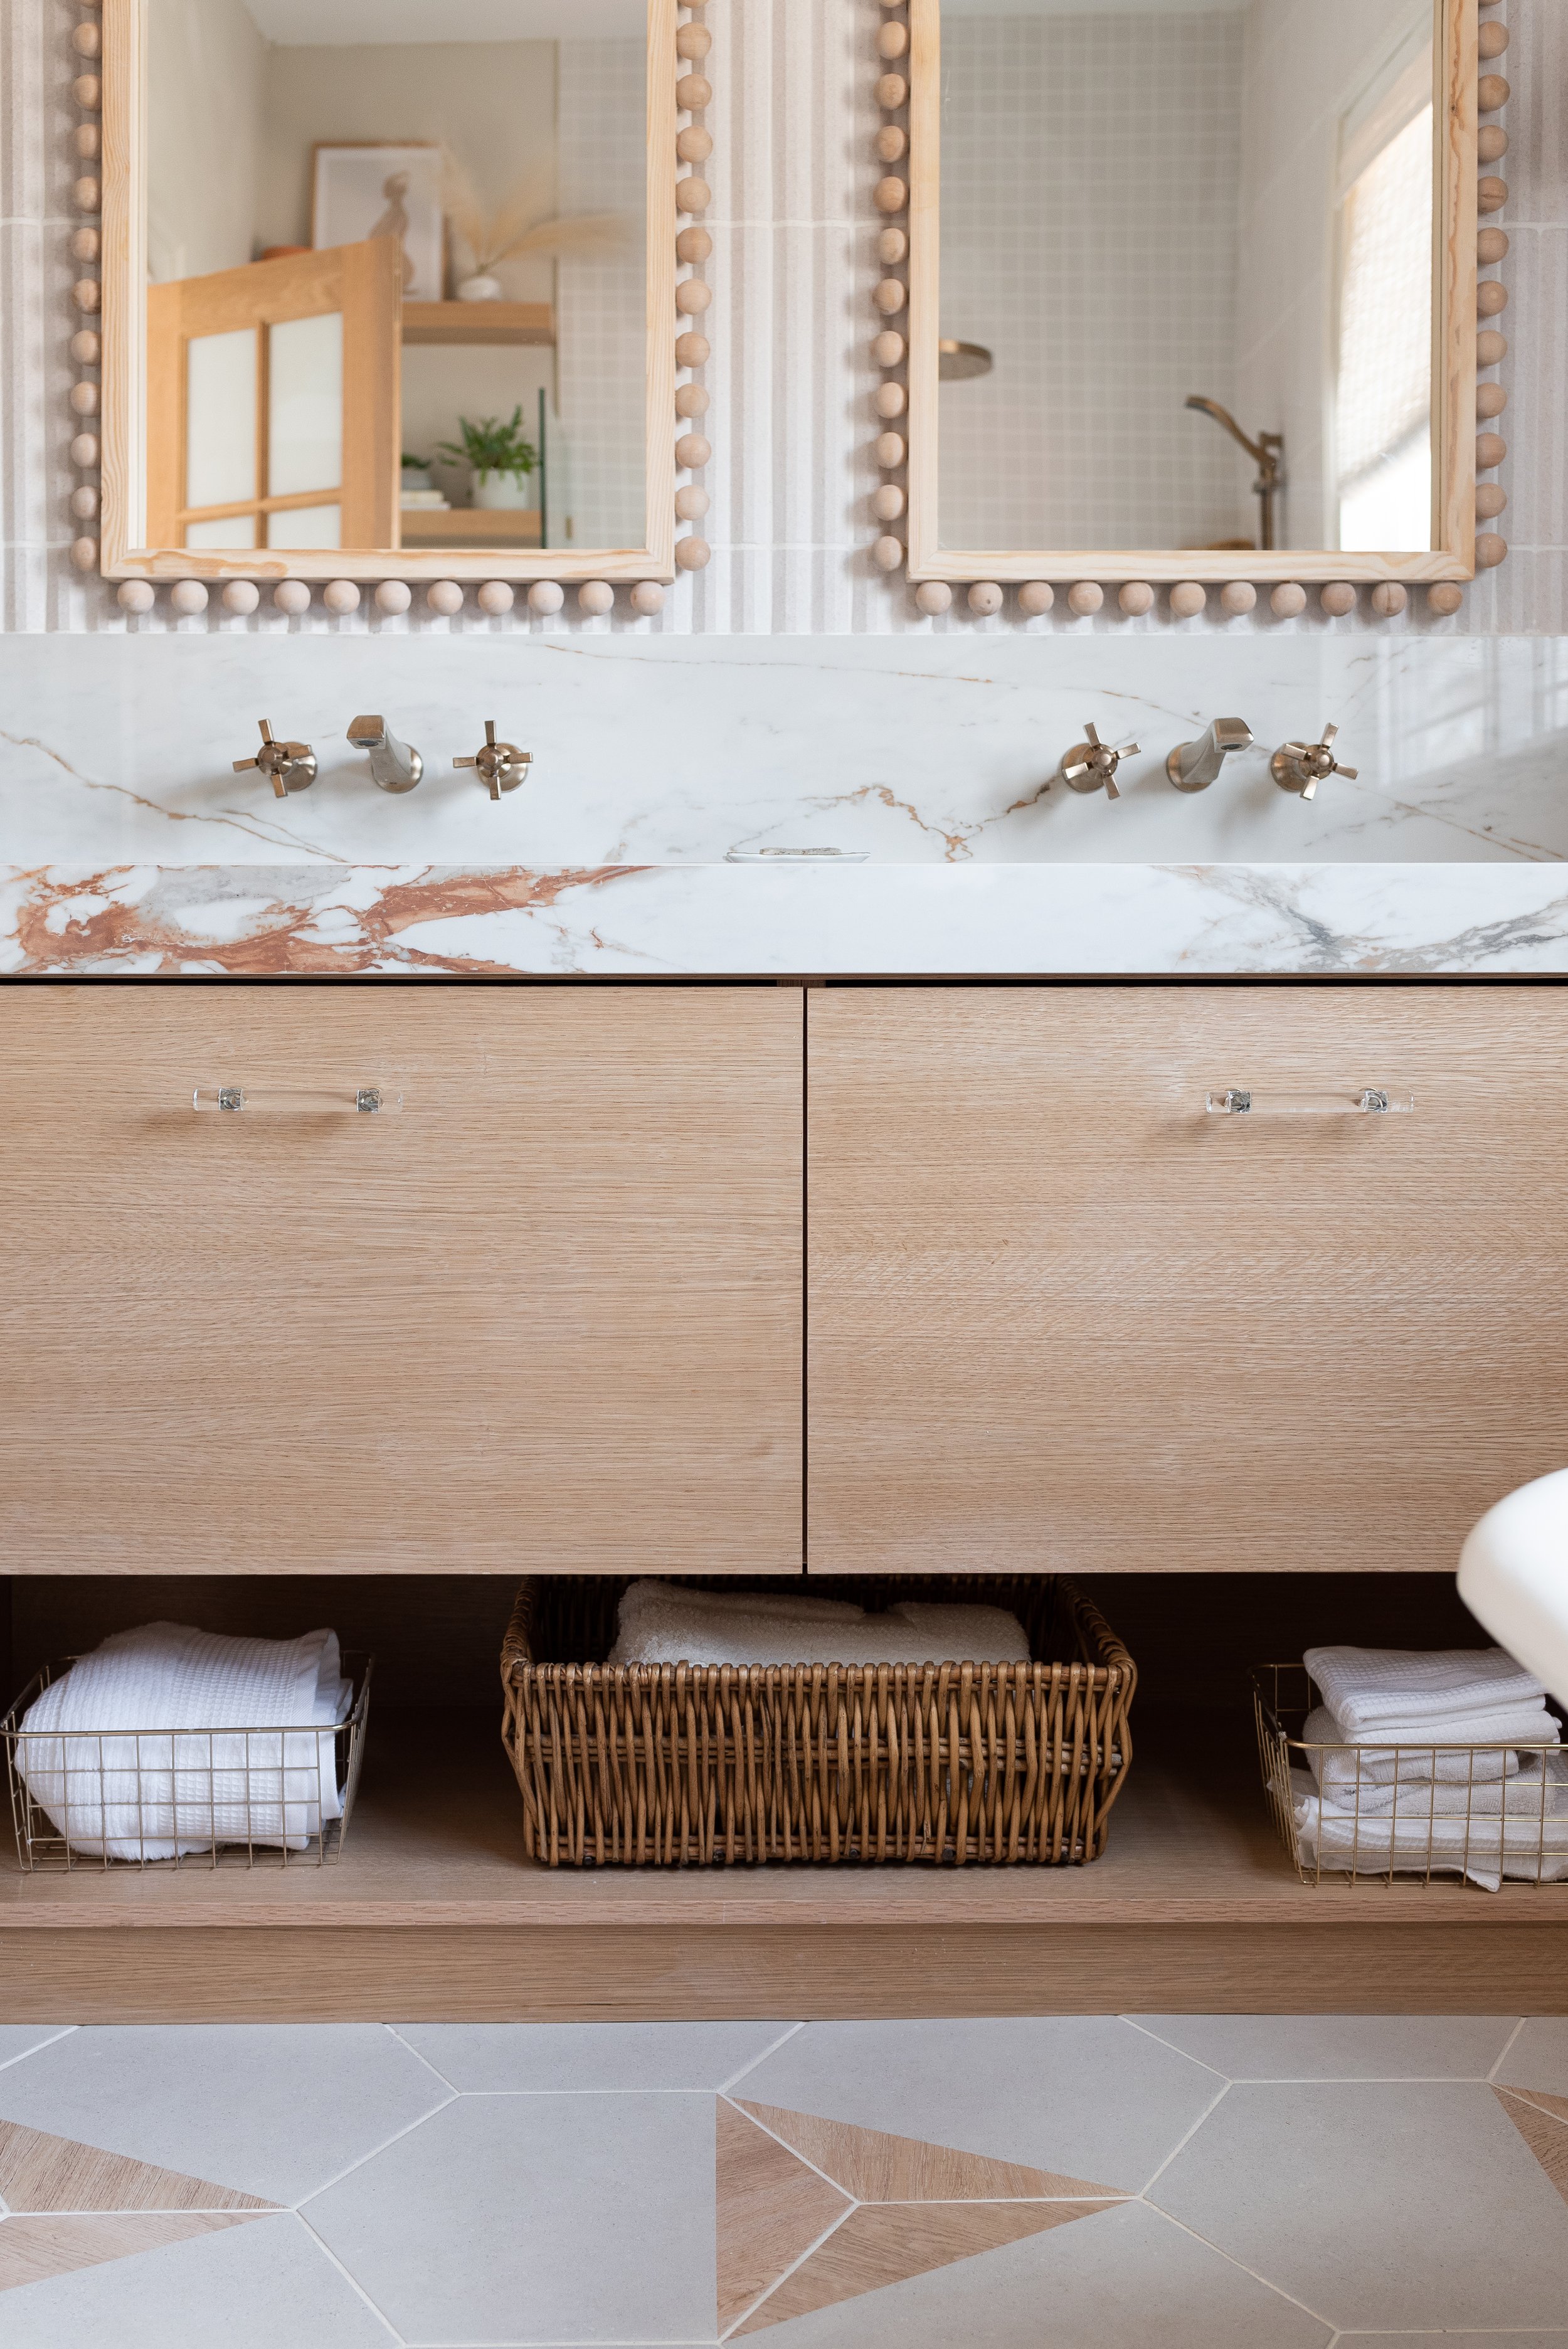
Completing the space a simple vanity cabinet designed by me and built custom by my carpenter.
We were able to pick up the furniture grade plywood I needed from Robert Bury, and Handy Harry started making the cuts and building the vanity. To finish off the cabinet we stained it with Nano defence (keeping the natural Oak look) and I selected the modern glass pull from Emtek.
While the vanity was being built, I selected my counter top. Wanting something unique with dramatic veining, I discovered the new Awake Stone from Dekton and wondered if it would be right for the room. With so much going on with the tile, floor, and vanity, was I overdoing it with the big bold stone pattern?
I decided to go with my gut instinct and just do it! I asked the manufacturer Living Stone to produce a chunky edge counter and a backsplash high enough to cover the plumbing and simplify the tile job. It worked! I loved the look! I think the Awake Stone was the exact amount of bold that I needed to really make this vanity pop!
After the vanity was complete and the countertops installed, the tilers came back to finish off the wall behind the mirrors with the textured Stripes Tile.
I hung the wood arched mirrors from Mercana that Lazy Boy in Halifax had ordered me, and all that was left before the big photo shoot was to find some sconces to go next to my mirrors and the right blind for the big window above the clawfoot tub.
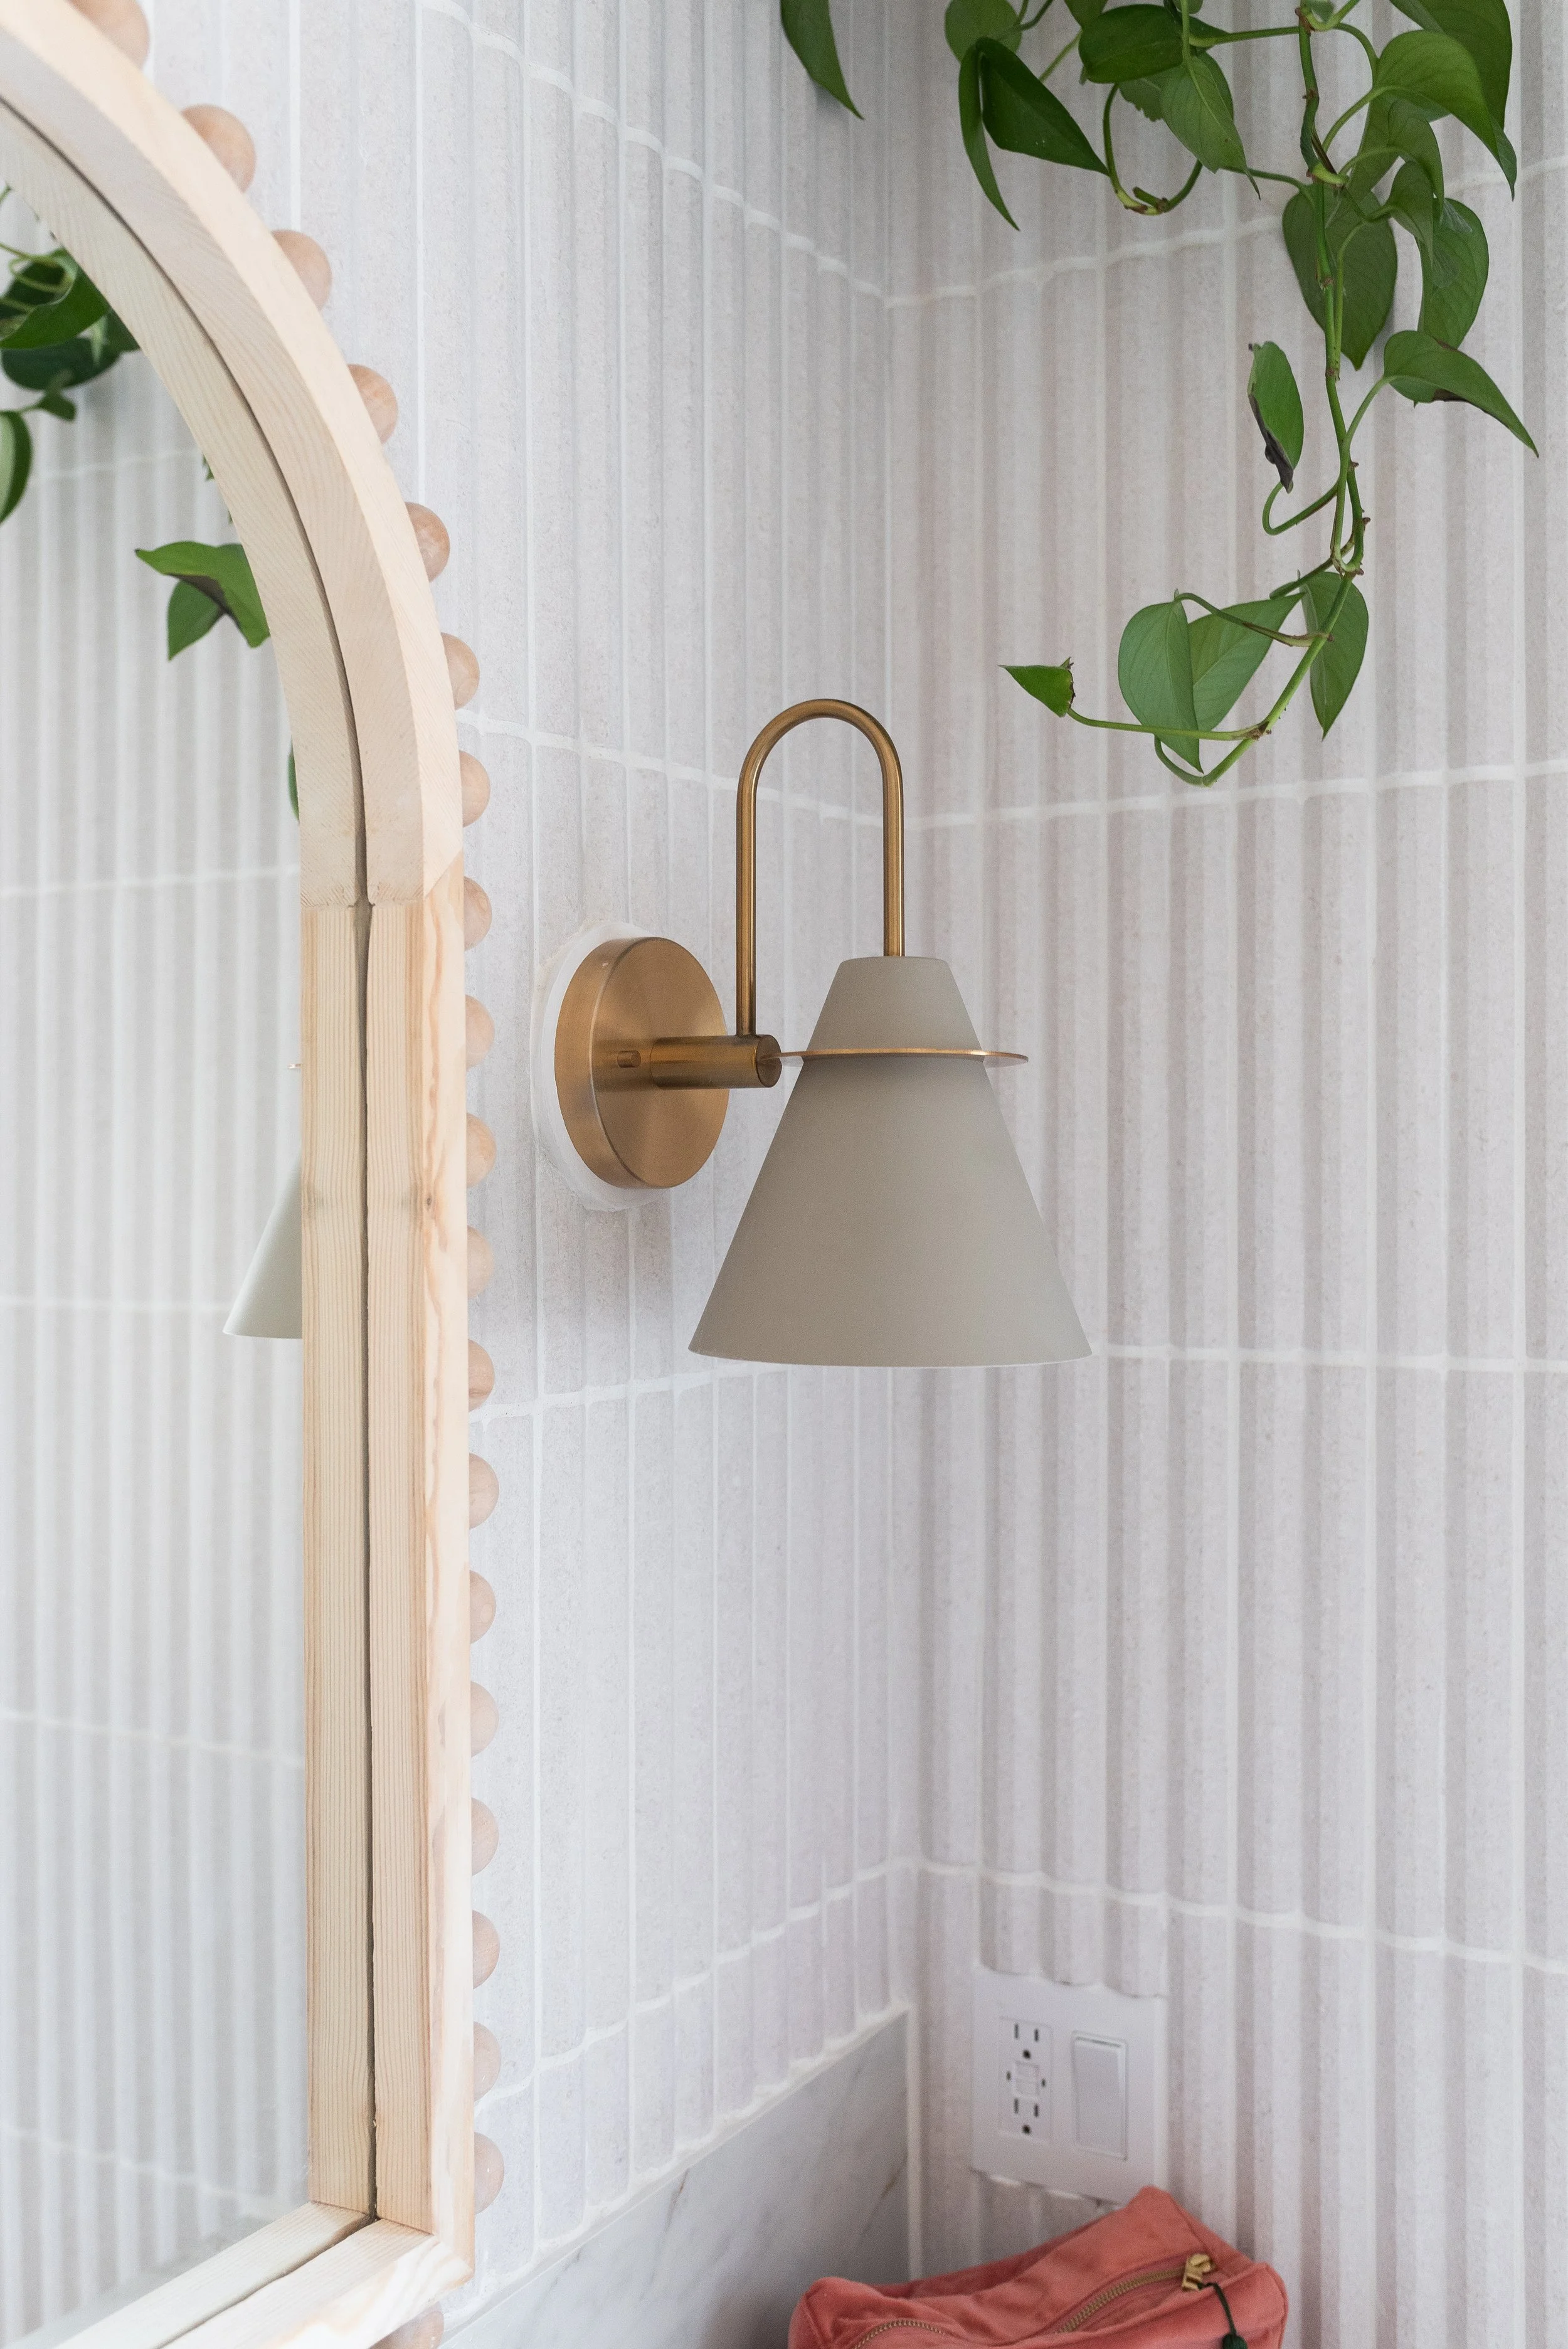
The Talia Sconce from Kent was the perfect tone for the room.
I popped over to Kent to see what they might have in stock. I felt like I had a horse shoe around my neck when I found the Talia Sconce (only $109) hanging on the wall. It was just the right neutral colour palette with a touch of gold, perfect! But, ugh, they were out of stock and I needed them TODAY. The sales rep checked and another store had them in stock so I rushed over to snag two of the last ones - hooray!
While at Kent, I took a peek at the blinds available in store. There was a bamboo roll up shade of particular interest to me that came in 4 colour ways. I thought the white would make a lovely soft natural fibre for the bathroom window but the 60 Inch blind that was on the shelf was slightly large to be mounted to the the interior of the window. On the bright side, they were quite inexpensive (only $71.99) and after being quoted thousands of dollars for wooden shades like the windows on my main floor, I thought perhaps I could figure out a way to cut them to fit…they were wood after all.
As luck would have it, I did figure out a way to cut them. I used a pair of scissors to cut down the width, then used the chop saw to trim the wood binder at the top. I shortened them and secured the bottom ropes with a hot glue gun. After that, I glued a piece of sheer fabric liner onto the back. When it was time to install them, I ditched the hooks and staple gunned them right to the window trim. And there you have it, for under $100 coupled with a little elbow grease (and my DIY mom experience), I had the custom wooden blind look I wanted from the start.
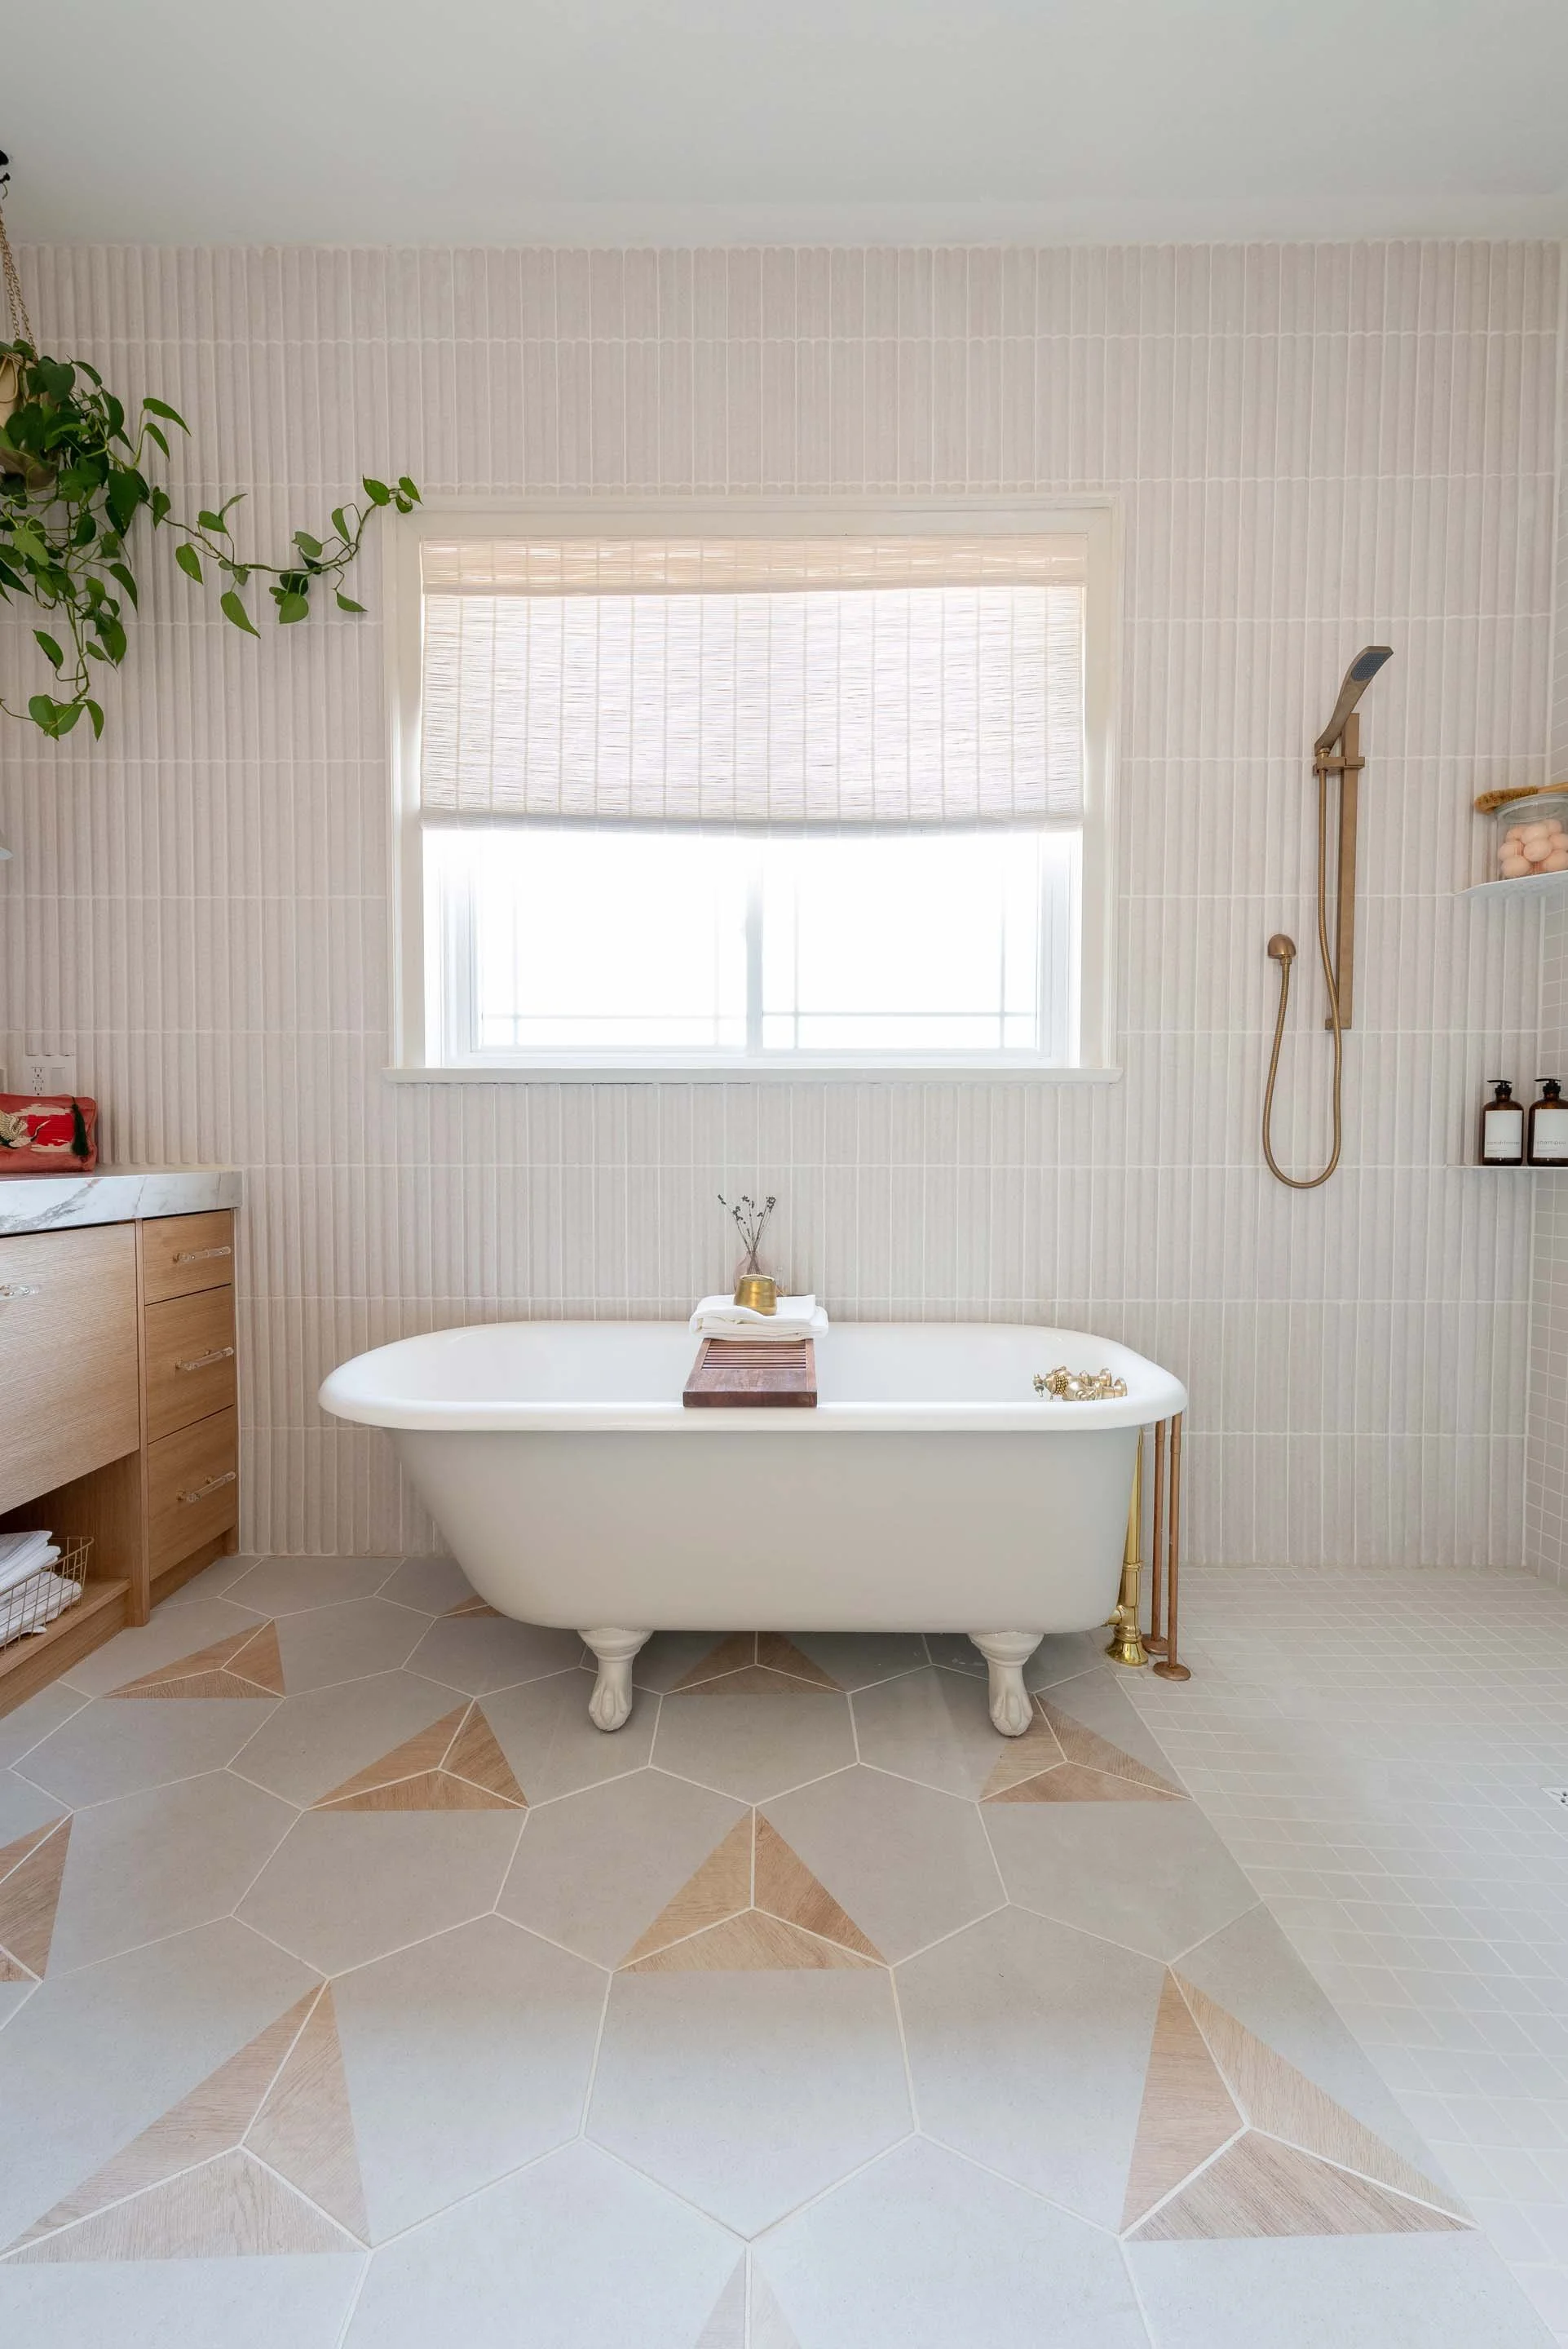
The final look of my 1920 Clawfoot Tub under the large window with the wooden bamboo blind.
Last but not least I finally found a local business to refinish my Clawfoot Tub! Beautiful Baths came to my home, sanded down the interior and reglazed my tub for $1400. So worth it! If you ask me, they are true miracle workers!
My plumbers Worx Mechanical retro fitted the old plumbing to work in the tub and installed the rest of my beautiful Champagne bronze Dorval wall mounted faucets from Delta Faucet Canada. It was no longer a vision, it was a reality!
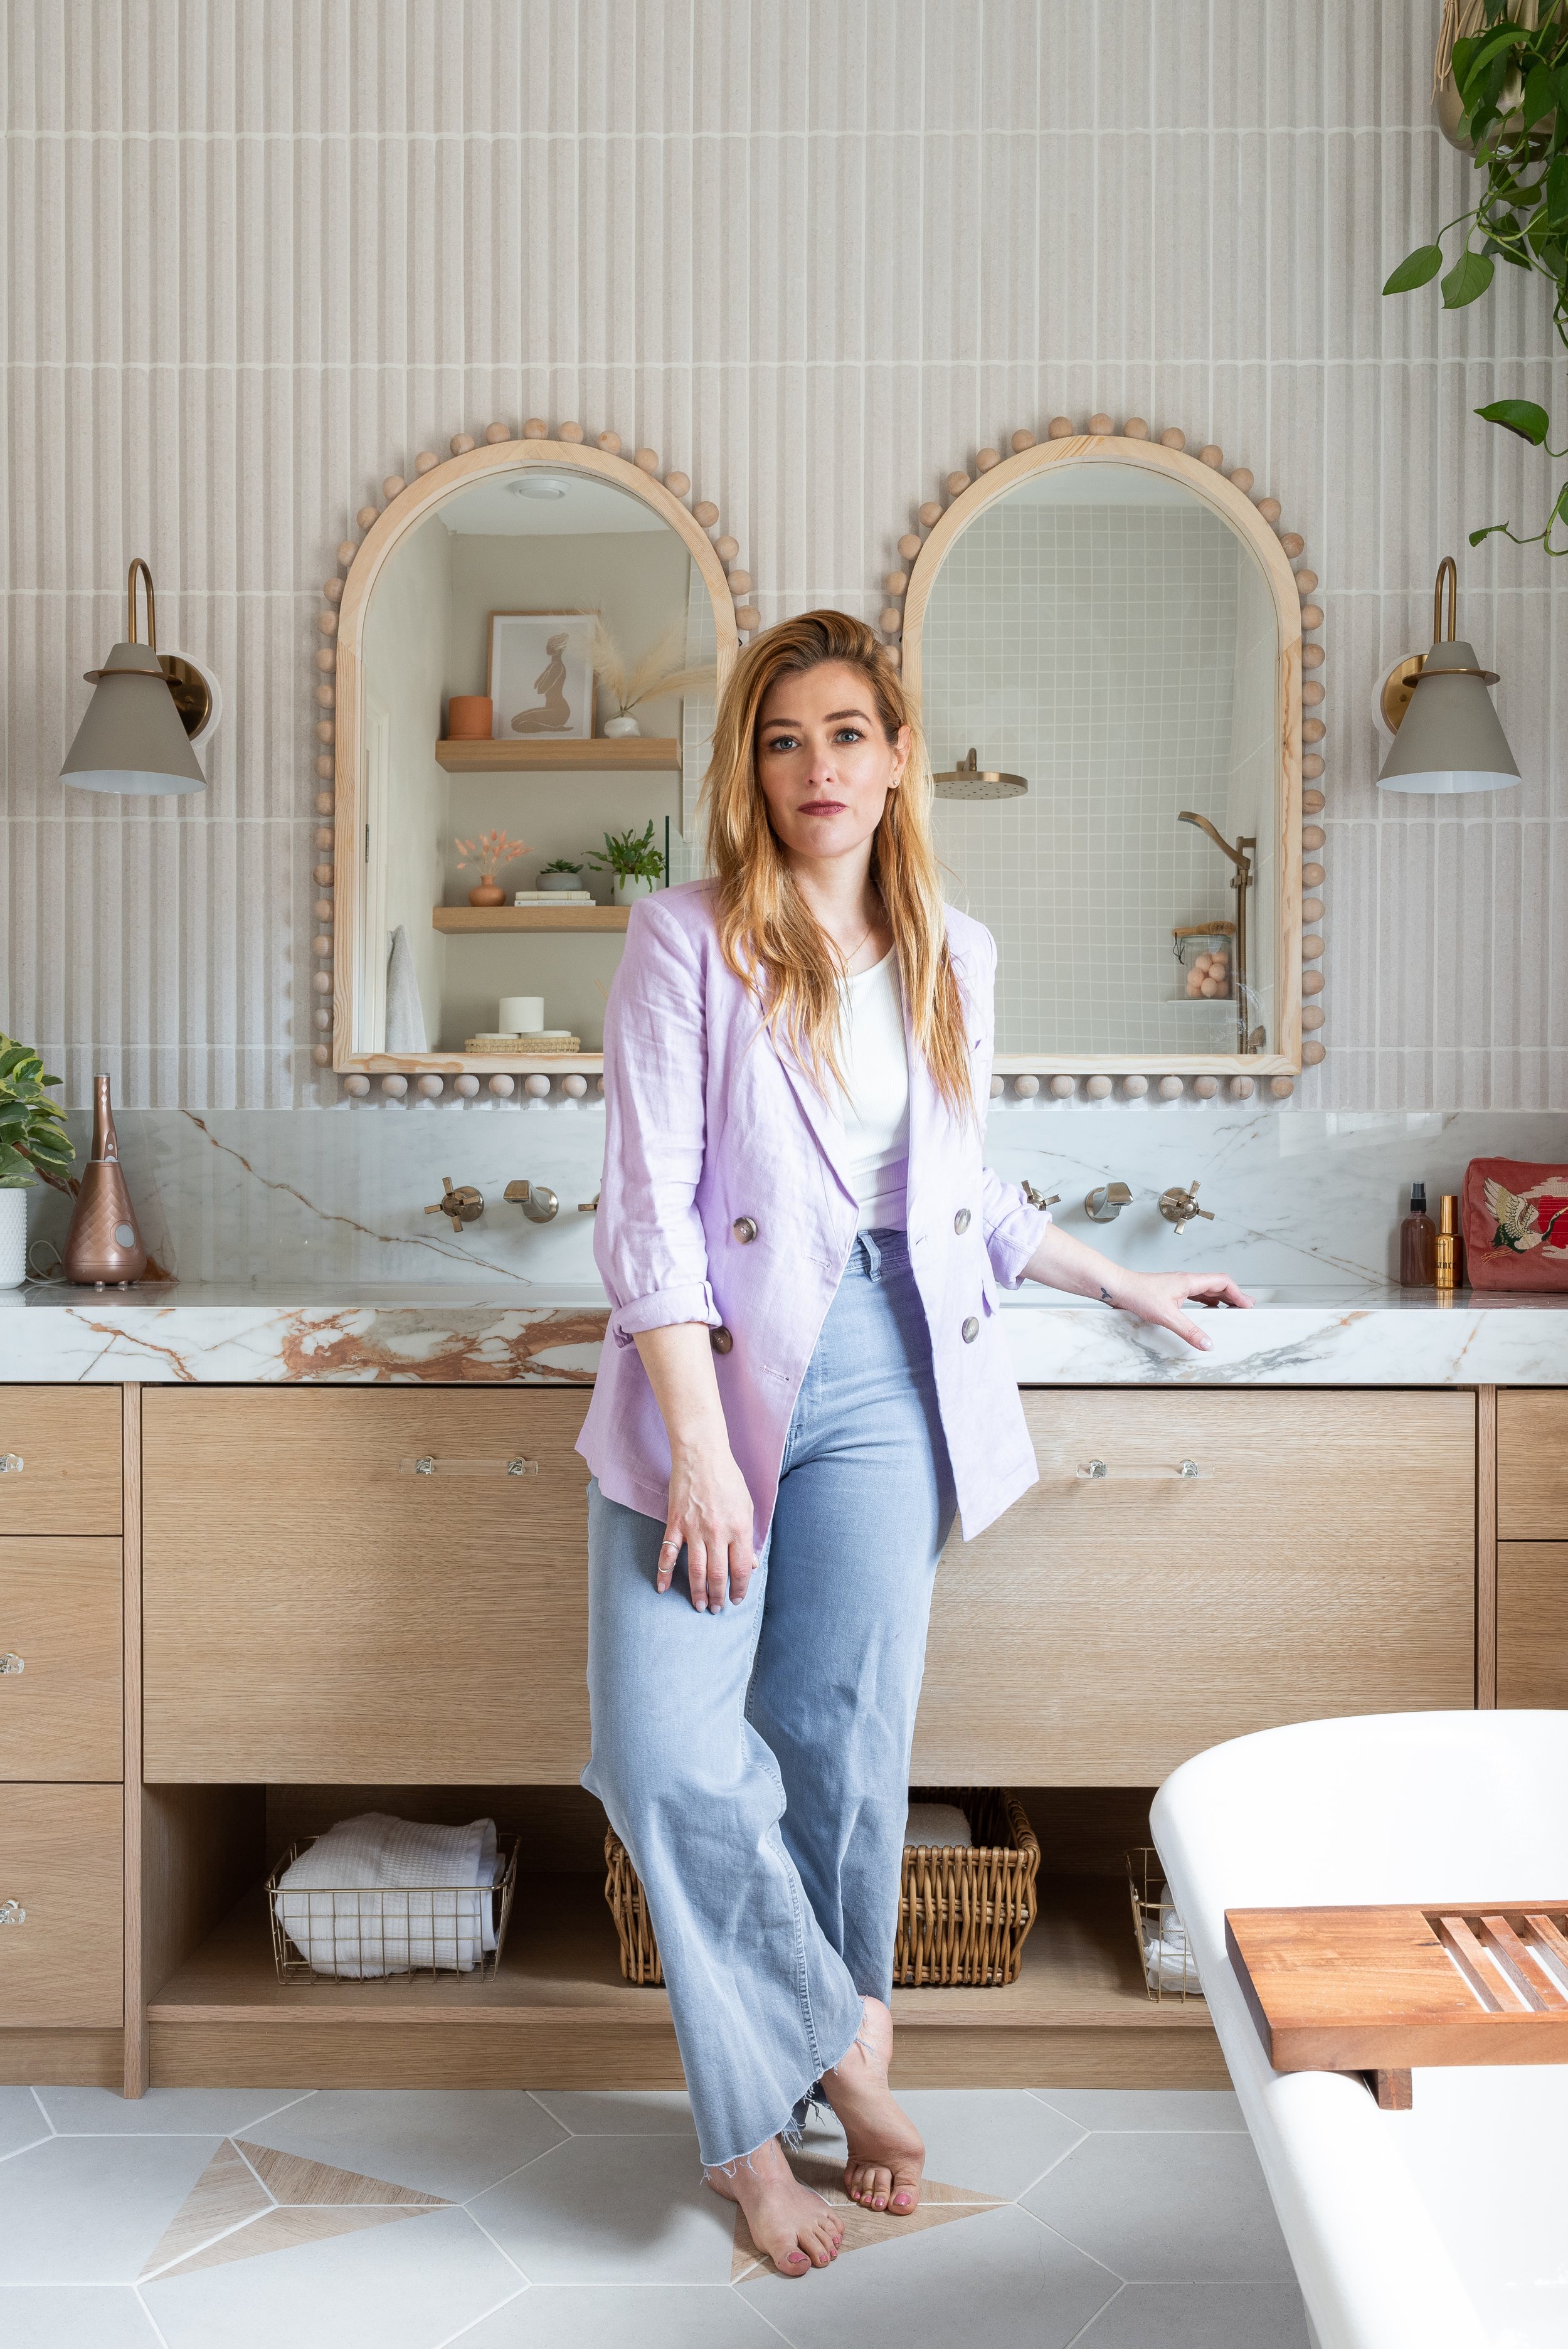
DIY MOM and designer Rebekah Higgs stands barefoot in her completed bathroom space.
So my bathroom is complete, a neutral haven away from the choas of the day. Let me know what you think of my design choices in the comments below! Feel free to share and pin my photos and content if you love it!