How I brought this principle bedroom suite to life with carefully curated furniture, lighting and home accents.
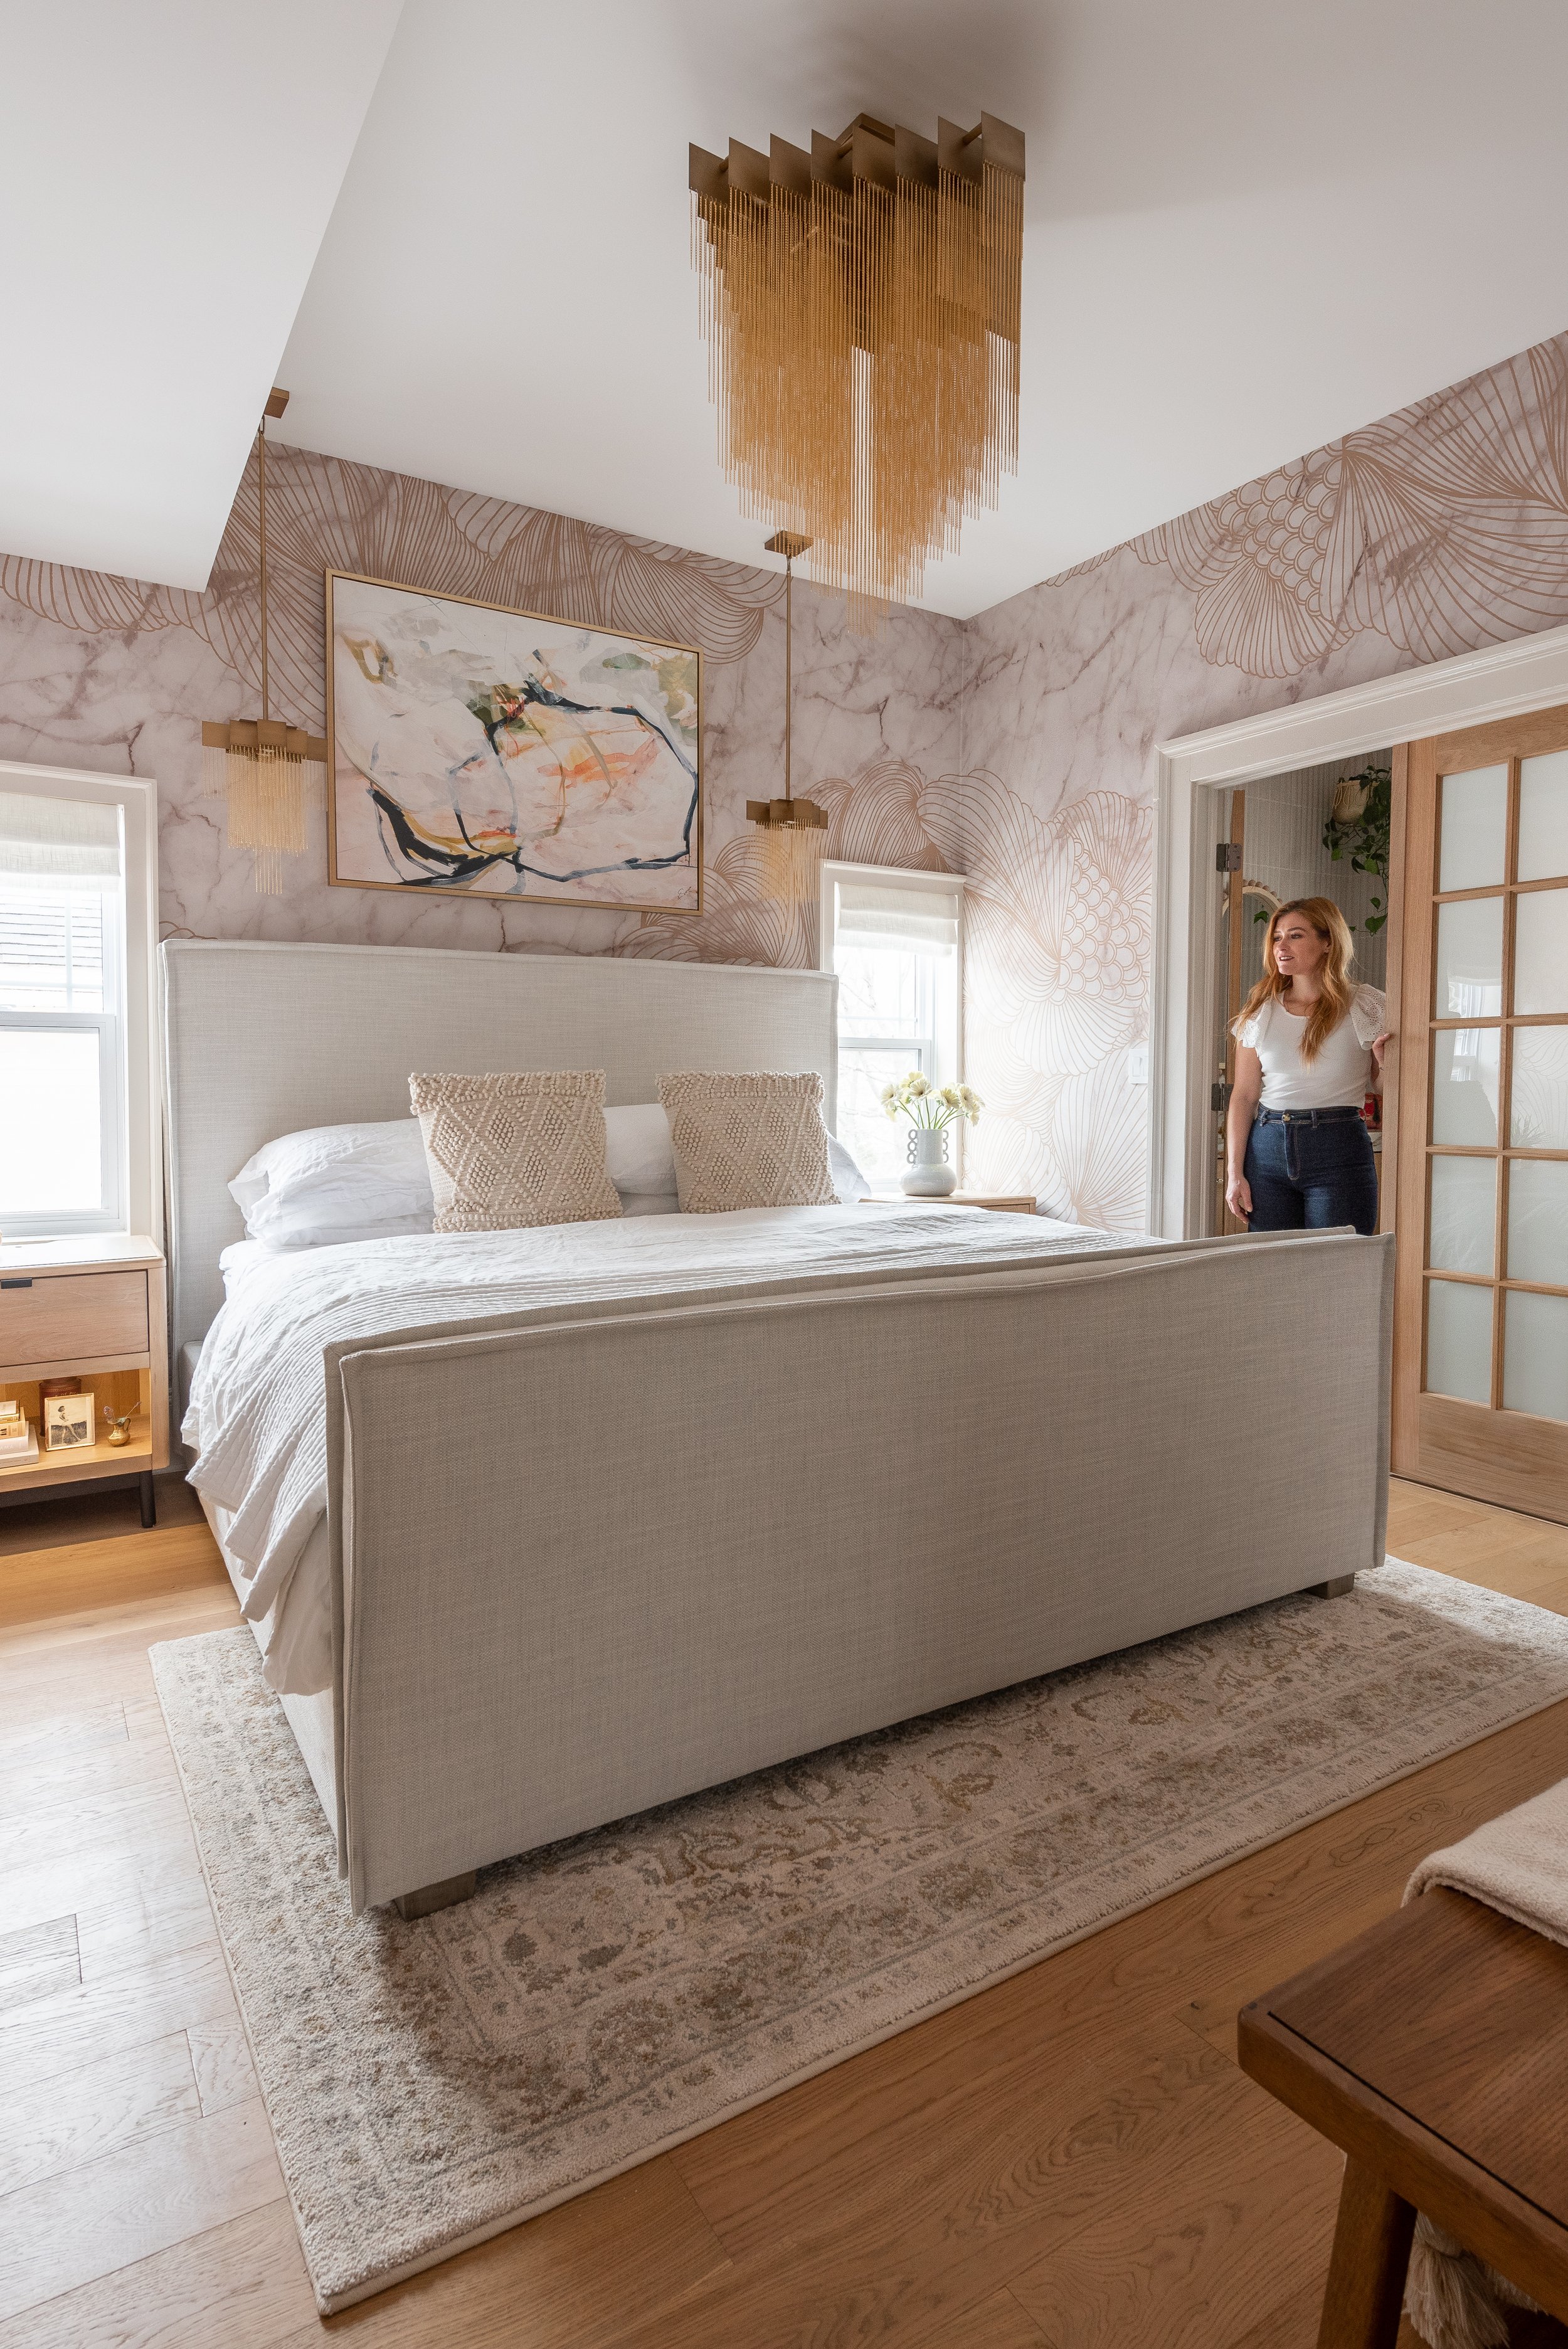
Now on my third major personal home renovation, I have gotten to know what I love and prefer when it comes to my principle bedroom. I wanted this space in my craftsman style home, built in 1922, to feel like a glamorous hotel room. A quiet and tranquil space to get away from the busyness of life and renovations. Anyone who has an active imagination will empathize with me when I say how challenging it can be to turn off my mind truly experience the rest and relaxation my brain needs at night.
With this in mind, I started my mood boards for my bedroom early in this homes renovation journey.
The first thing I selected was the wall mural I wanted to use in my bedroom. The paper I found called Opulence, became the theme for my entire home. I large scale print, that is measured and custom printed for you exact space is what separates a wall mural from the usual wallpaper. This wallpaper comes in 5 colour ways, and despite my usual inclination for pink, I opted for the more neutral option in marble, knowing this would be a splendid back drop for the rest of my room.
You can see in the photo to the right that the wallpaper frames the dramatic Oak double doors and original trim into my ensuite bathroom perfectly. With such a spectacular wall print, minimal art is needed to fill the space. The marble and gold is echoed elsewhere in the rooms design.
Next I was on to my lighting selections. I’ve partnered with Eurofase on previous projects and have long loved the quality and designs they offer.
I was drawn to the lustrous collection of delicate, gold metal chains in the Bloomfield Chandelier. I had never seen anything like it, and with the extra high ceiling space this home gifted with me post extension, I thought there was no better way to wow my audience than with this transitional piece. The Eurofase website describes this light as a cascading waterfall, and with the lights on I have to agree. It’s a visual stunner!
Matching chandelier and pendent from the Bloomfield collection at Eurofase.
When it came to my bedroom furniture I really lucked out by being able to source the perfect pieces locally! The Atrium in Highfield park Dartmouth Nova Scotia, is a one stop shop for all your furniture needs. With 3 amazing stores all in one location I was able to find the exact bed frame, nightstand, art and benches I needed to complete my bedroom. Everything I needed was in stock and ready to be delivered directly to my home. With furniture delays and shipping challenges I have faced over the last few years, this was such a breath of fresh air. It’s also worth the mention that the Atrium is the largest furniture retailer in Atlantic Canada and a family owned and operated business.
So off i went to the atrium to pick out my bedroom furniture and instantly I fell in love with the upholstered Sawyer King Bed on the floor in Gallery 1. The Stitched flanged slipcover over muslin upholstered footboard/side rails was the perfect anchor for my bedroom room. I love its simplicity, elegance and stature. This is a timeless piece and exactly the comfort one wants when crawling into bed at the end of a long day.
I recommend a trip to Gallery 1 if only to browse their jaw dropping selection of hand picked beautiful decor and furniture.
Sawyer slip cover king bed from Gallery 1 furniture, Abiola Artwork from World Wide Furniture.
Finding the perfect night stand for this room was a slight challenge. I was working with a very specific room dimension and window height. The floor plan of my 100 year old home gave me just the right amount of space to fit a king bed with windows on either side. When I stumbled on the Freslowe nightstand in the Ashley Furniture showroom, I breathed a sigh of relief. It was the exact size and style I was looking for, plus the warm wood tone complimented the slip cover bed perfectly! I also love the unique display shelf with night light feature and the built in plugs in the back. It’s such a great find.
Freslowe Nightstand works perfectly with the Sawyer King Bed.
As a bonus I was able to get the Abiola Wall Art for above the bedframe and the adorable Dakmore bench from World Wide Furniture. Also located in the Atrium. They truly have options for all looks and design aesthetics- traditional, transitional and modern, at all price points. Plus they offer no interest and no payment financing options. Trust me, when you are at the end of your renovation budget like I am, this makes all the difference.
Dakmore bench can work in any space in your home.
Pressed for time and wanting my bedroom to feel complete. I quickly made these no sew valences to cover my inexpensive room darkening roller shades from Kent Building Supplies.
With some white linen from the local fabric store I carefully folded and ironed the pleats into place, using a fabric tape to secure the seams, I slowly ironed the glue into place and then staple gunned the completed valence to the underside of my window trim. Each curtain took me around 40 minutes to fabricate and instal.
The room darkening roller shades were cut to size at Kent Building Supplies and easy to instal myself.
So that wraps up my bedroom blog and the details behind this principle room. What do you think? Do you love this room as much as I do? Leave a comment below with your thoughts and questions on my bedroom design choices.
I hope you were able to catch my segment with CTV Atlantic, but in case you missed it, I am sharing it here!
It’s all in the details and my celestial bathroom design has plenty of them, but can you spot them all before I point them out? Here are some tips and tricks you might want to consider if it’s time to revamp your bathroom space.
• Tackling the Issues •
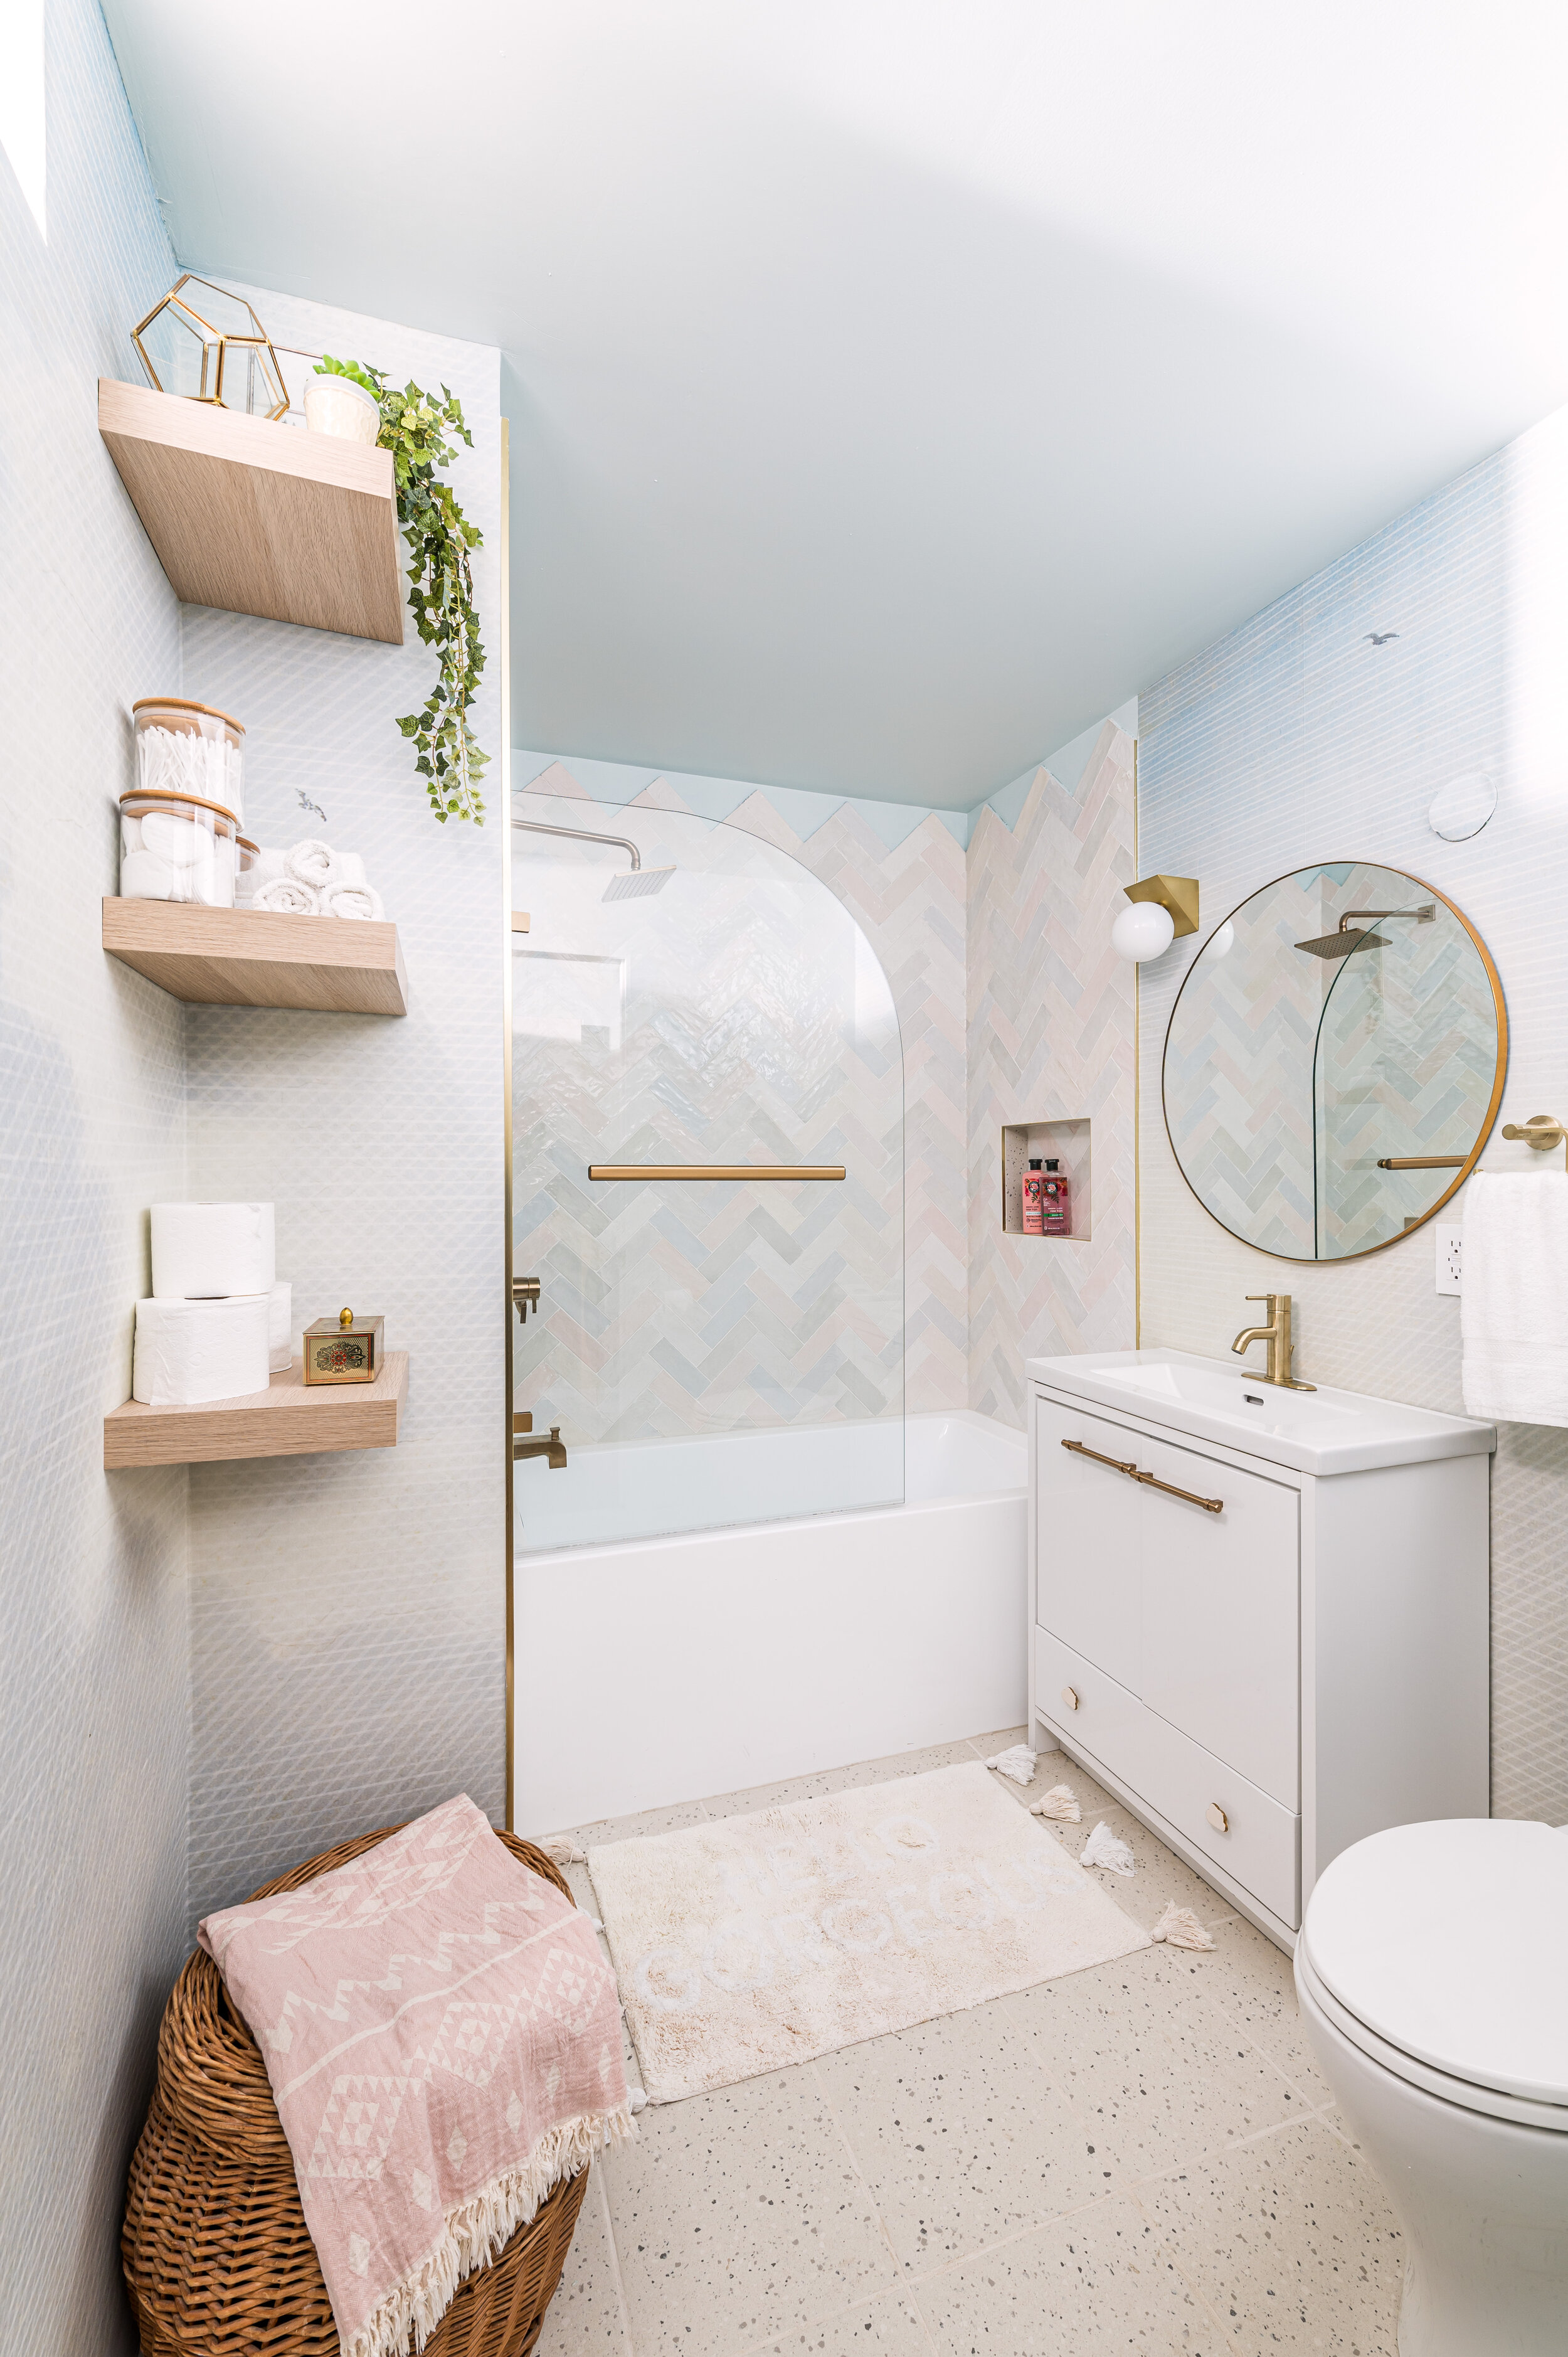
Living in a bungalow means that some spaces may be located in your home’s interior with no windows. To keep my reno on budget, we left all the existing exterior walls and windows as they were, but drastically changed the layout internally. This left me with a bathroom with no natural light. So what do you do when nature isn’t in the space? You bring nature in!
Succulents and Faux Plants
Succulents love the steam of the shower and faux plants don’t need natural light to thrive. This is a great way to give your guests the feeling of freshness when they are in a closed space!
Piano Windows
No natural light? No problem. Installing piano windows into the interior walls of your home is a great way to harmoniously manipulate the light into those darker spaces. The face of my bungalow gets the most enviable light during the day, I figured it could spare a bit where needed! Flowing in from my mudroom and into my bathroom, even the smallest bit of natural light goes a long way.
Wallpaper
Maybe you haven’t thought about putting wallpaper in a bathroom since the 80s - but why not?This Cloud wallpaper from JF Fabrics is not only gorgeous but a truly special way to add a unique touch to any interior space. Why I chose this wallpaper? The quality is top-notch, so it will wipe-down easily and withstand the steam and sweat from the shower. And again because this bathroom is missing a window, this cloud wallpaper gives the illusion of airy lightness. The result is a room that feels light and crisp.
This Cloud wallpaper is the perfect match for my Riviera Melange tiles from Centura.
Painted Ceilings
Painting the ceiling to blend into the wallpaper not only carries the eye upwards, but is a playful way to make the peaked tile at the top of the shower pop. I selected Misty Morning by Dulux Paints as the perfect combo of blue and teal for this heavenly space.
Tile Selection
The entire bathroom inspiration started with the Centura Catalogue. I found this image and instantly knew that this is what I wanted to do with the soft and colourful La Riviera Melange Tile. The unfinished peaked top was a fun play on the mountains, but also gives an extra design moment in the space. Easy to tile and even easier on the eyes!
My Tile Inspiration came from the Centura Catalogue
Glass Option
In stead of shower rod and curtain, I opted for an arched glass shield from Vigo .
With no gold hardware options in stock, I grabbed the Rustoleum metal spray paint and gave it a shake. One tact coat, and two additional coats later, I have what I envisioned for this space. An architectural touch that lets the tile design shine through.
The initial layout for my bathroom had the toilet next to the tub. I saw an image of a sink next to the tub on instagram and thought… that is such a better looking photo, why didn’t I think of that? So I made a decision to swap the sink and toilet plumbing. When my original vanity selection arrived, I quickly realized the proportions were too large for the room. I needed a new vanity, and quick so I went to Home Depot in a panic on a Saturday night, hunting for the right vanity. Luckily This Glacier Bay vanity was available, the right size and super affordable at $249 right off the shelf.
The only issue with my off-the-rack vanity was that they hardware it came with was silver when all my accents in this bathroom are brass and gold. A simple search in the Home Depot hardware isle led me to a pleasant discovery. Cloud-shaped nobs!! They’re adorable for this kids’ bathroom and really tie the theme together! These gold Richelieu handles are available at Home Depot and fit the pre-drilled holes in the vanity perfectly, so swapping them was easy.
< The original hardware was silver. I was able to swap them out for a custom look without having to drill new holes.
Gold fixtures from Delta make this full bath feel luxurious.
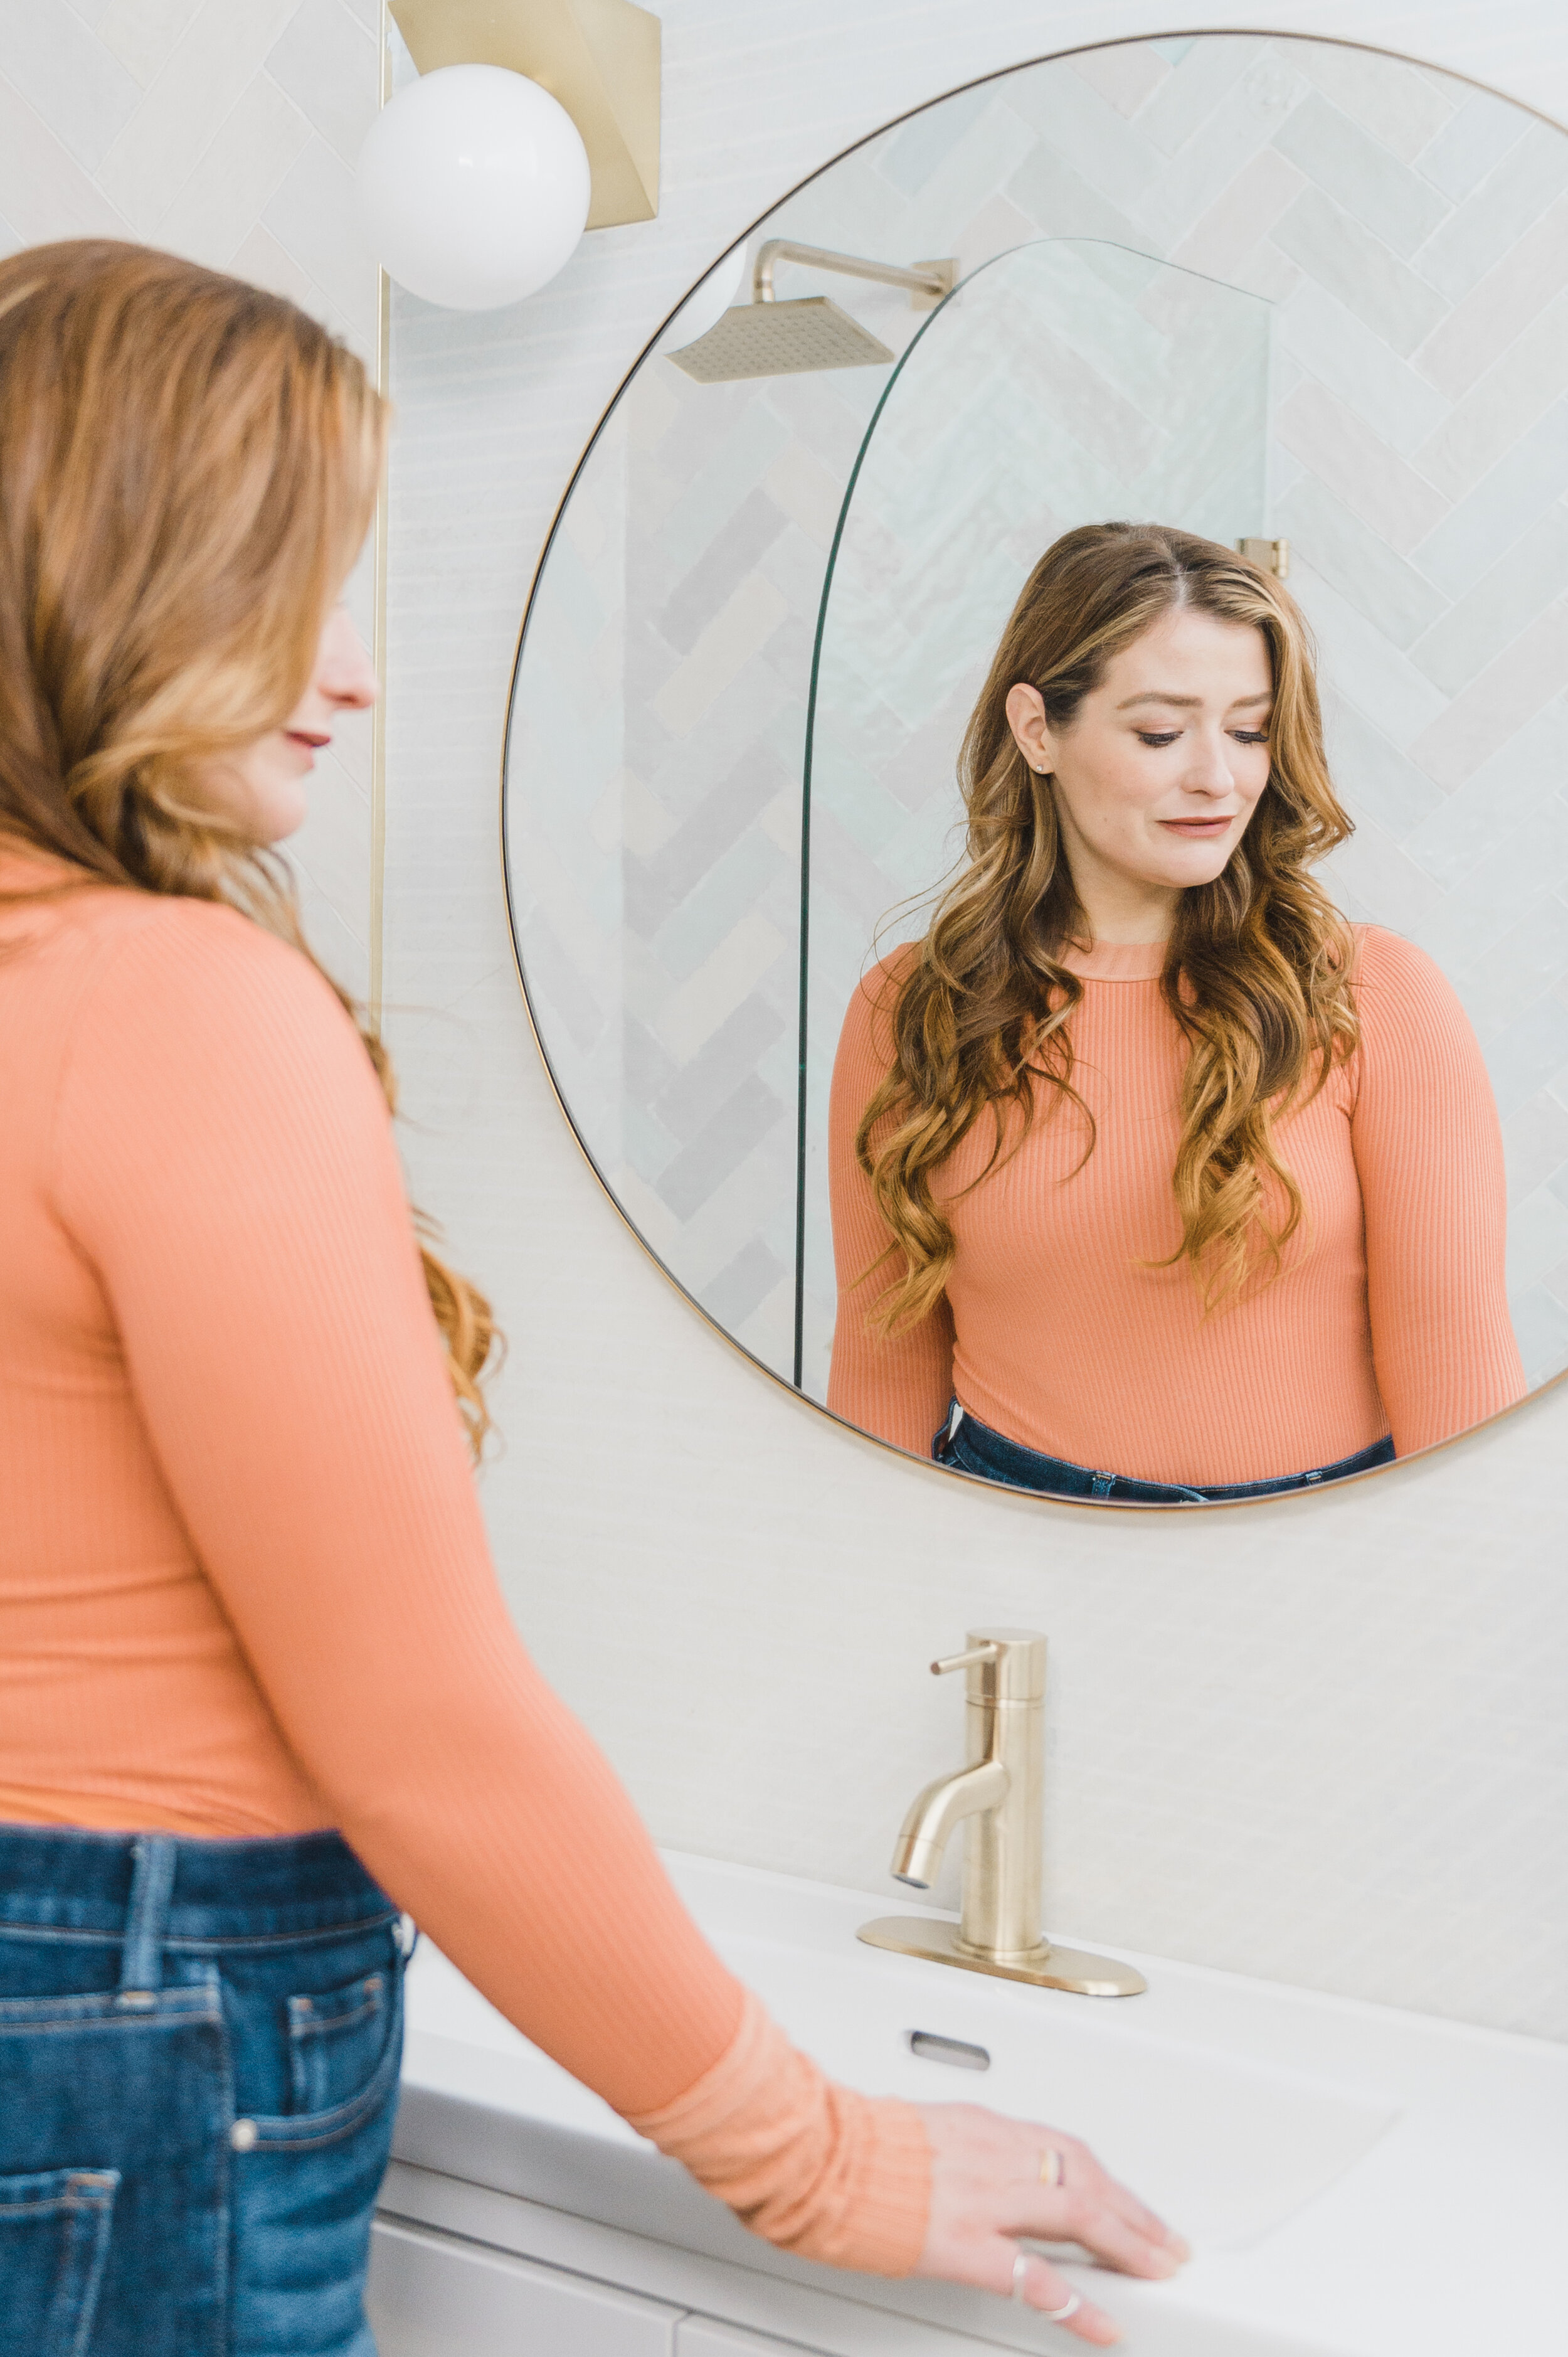
Round Mirror and Pop Culture Round Bulbs
The Aspyn Bath & Vanity from Mitzi are an affordable option with a modern twist. I enjoy the way the round mirrors and the round lights with aged brass touches work together to reflect this cohesive design.
Are you in quick crunch for some last minute seasonal decor?
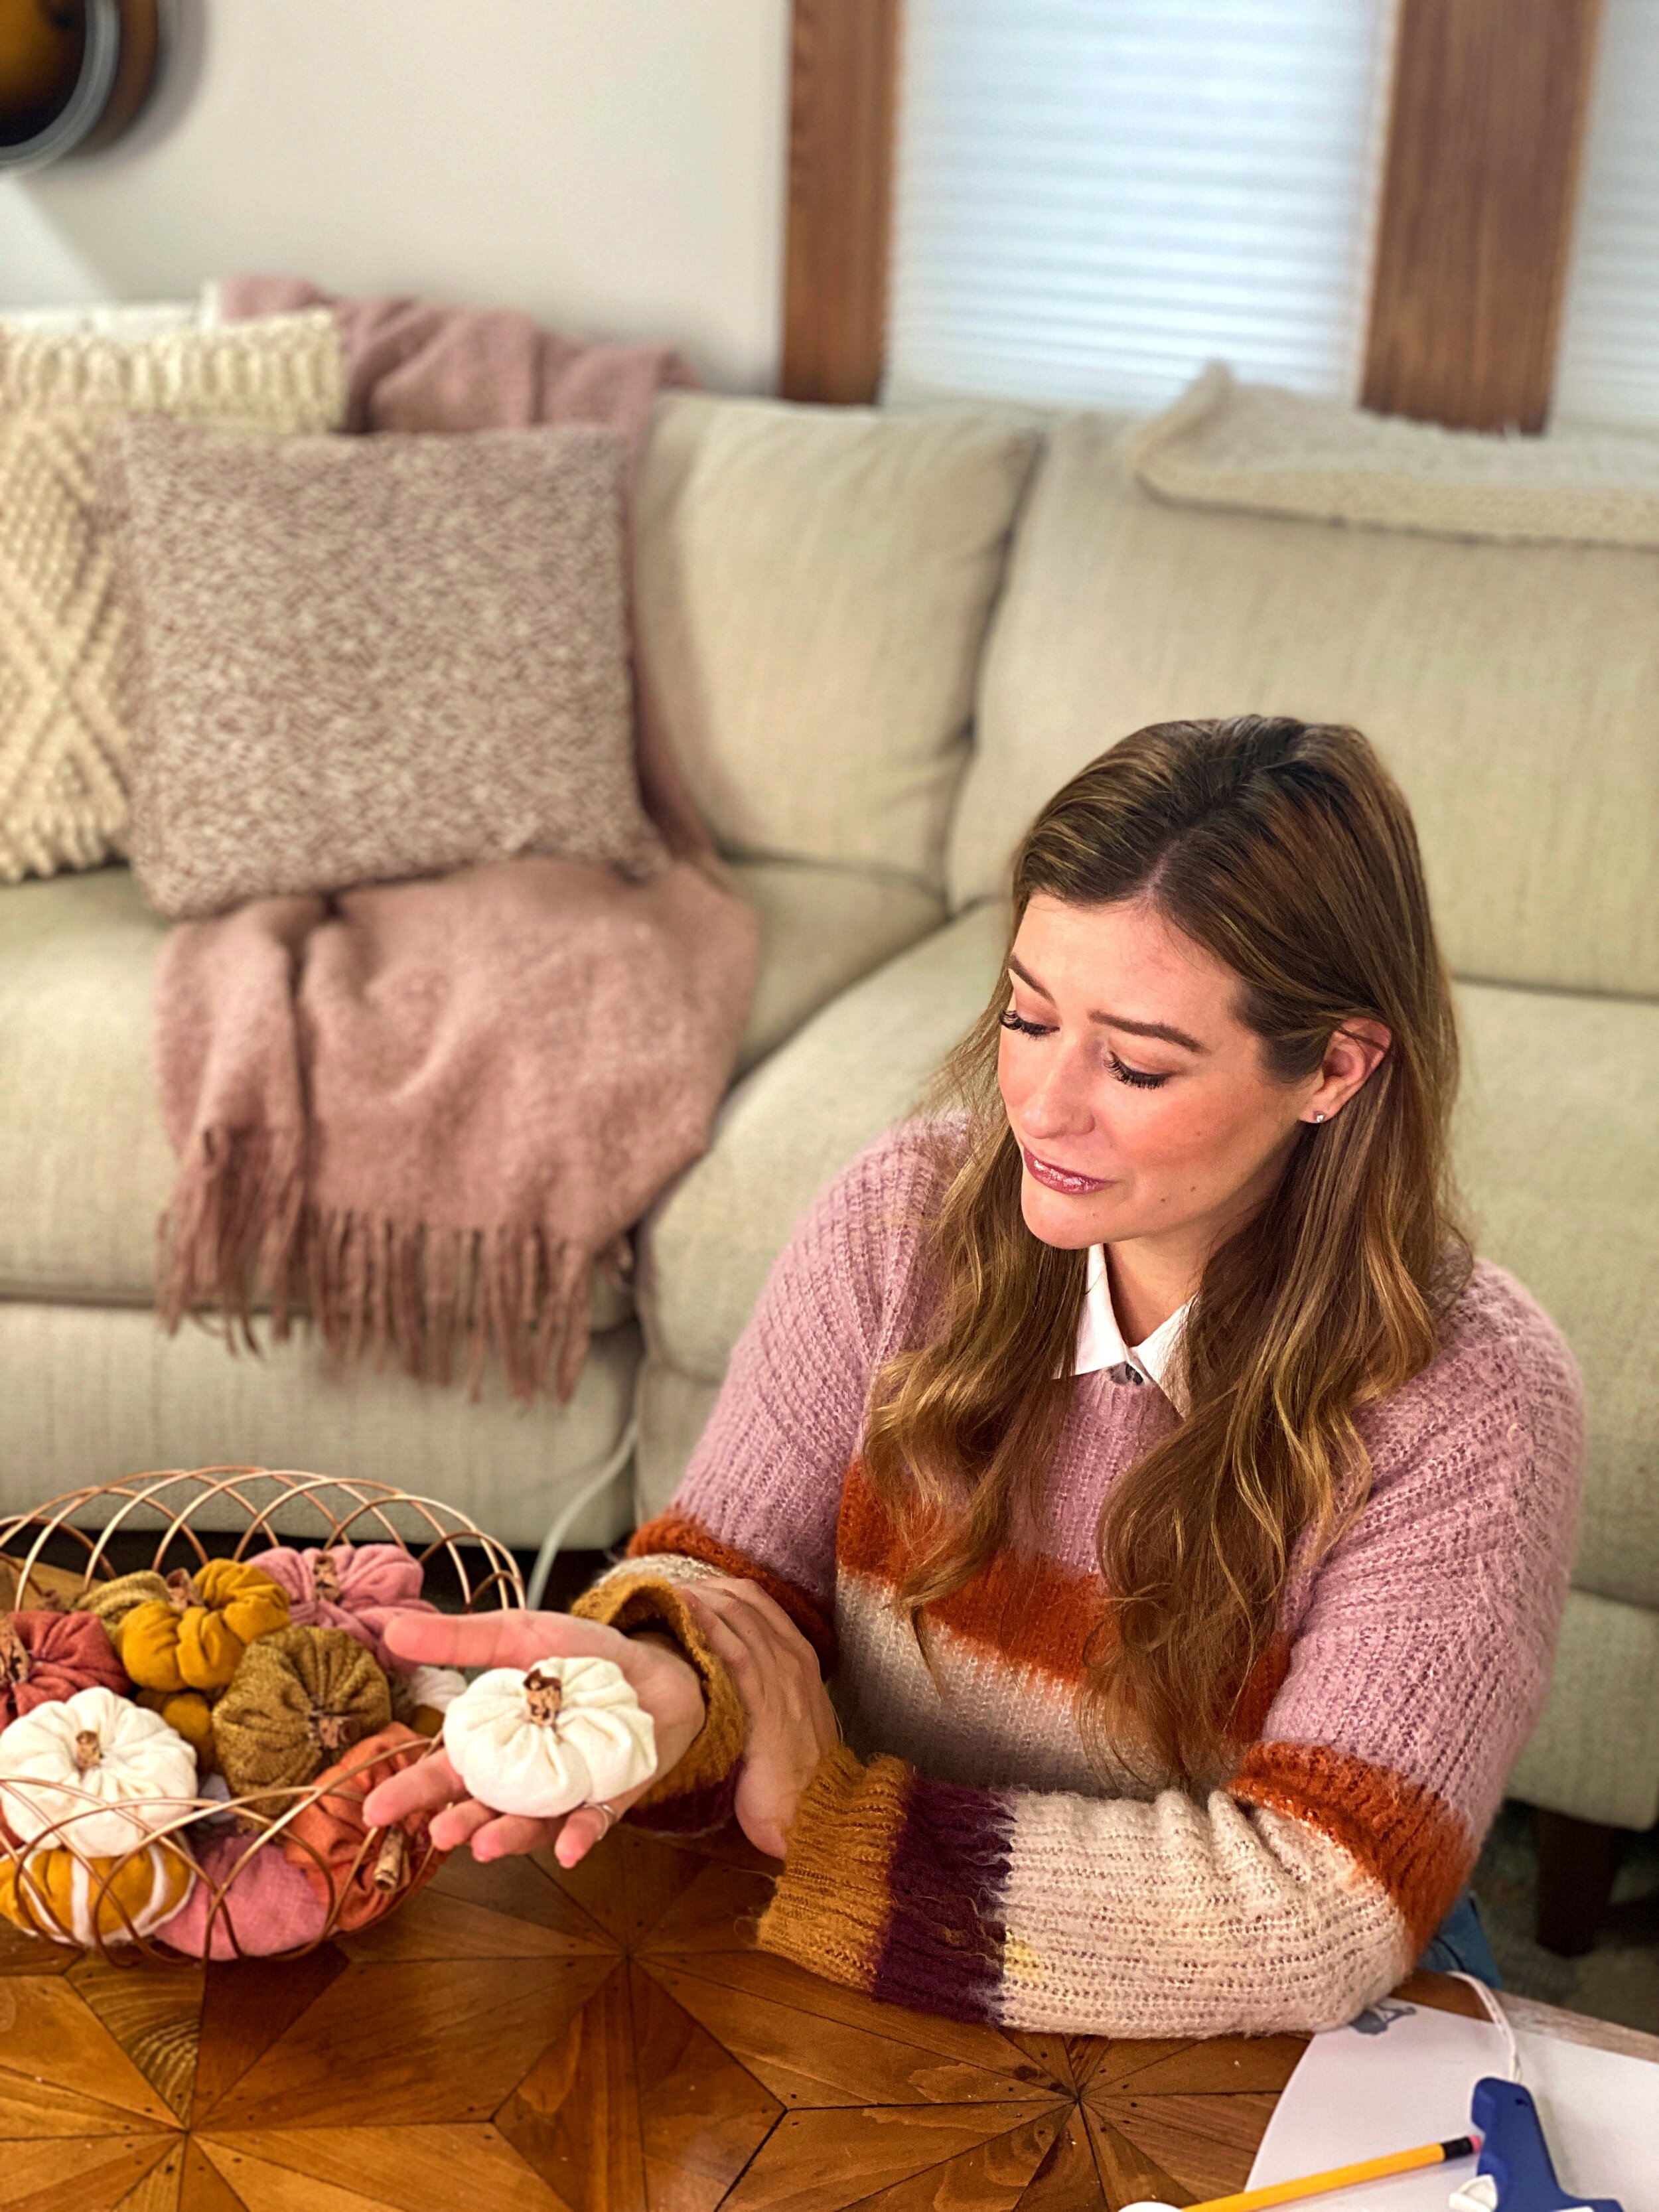
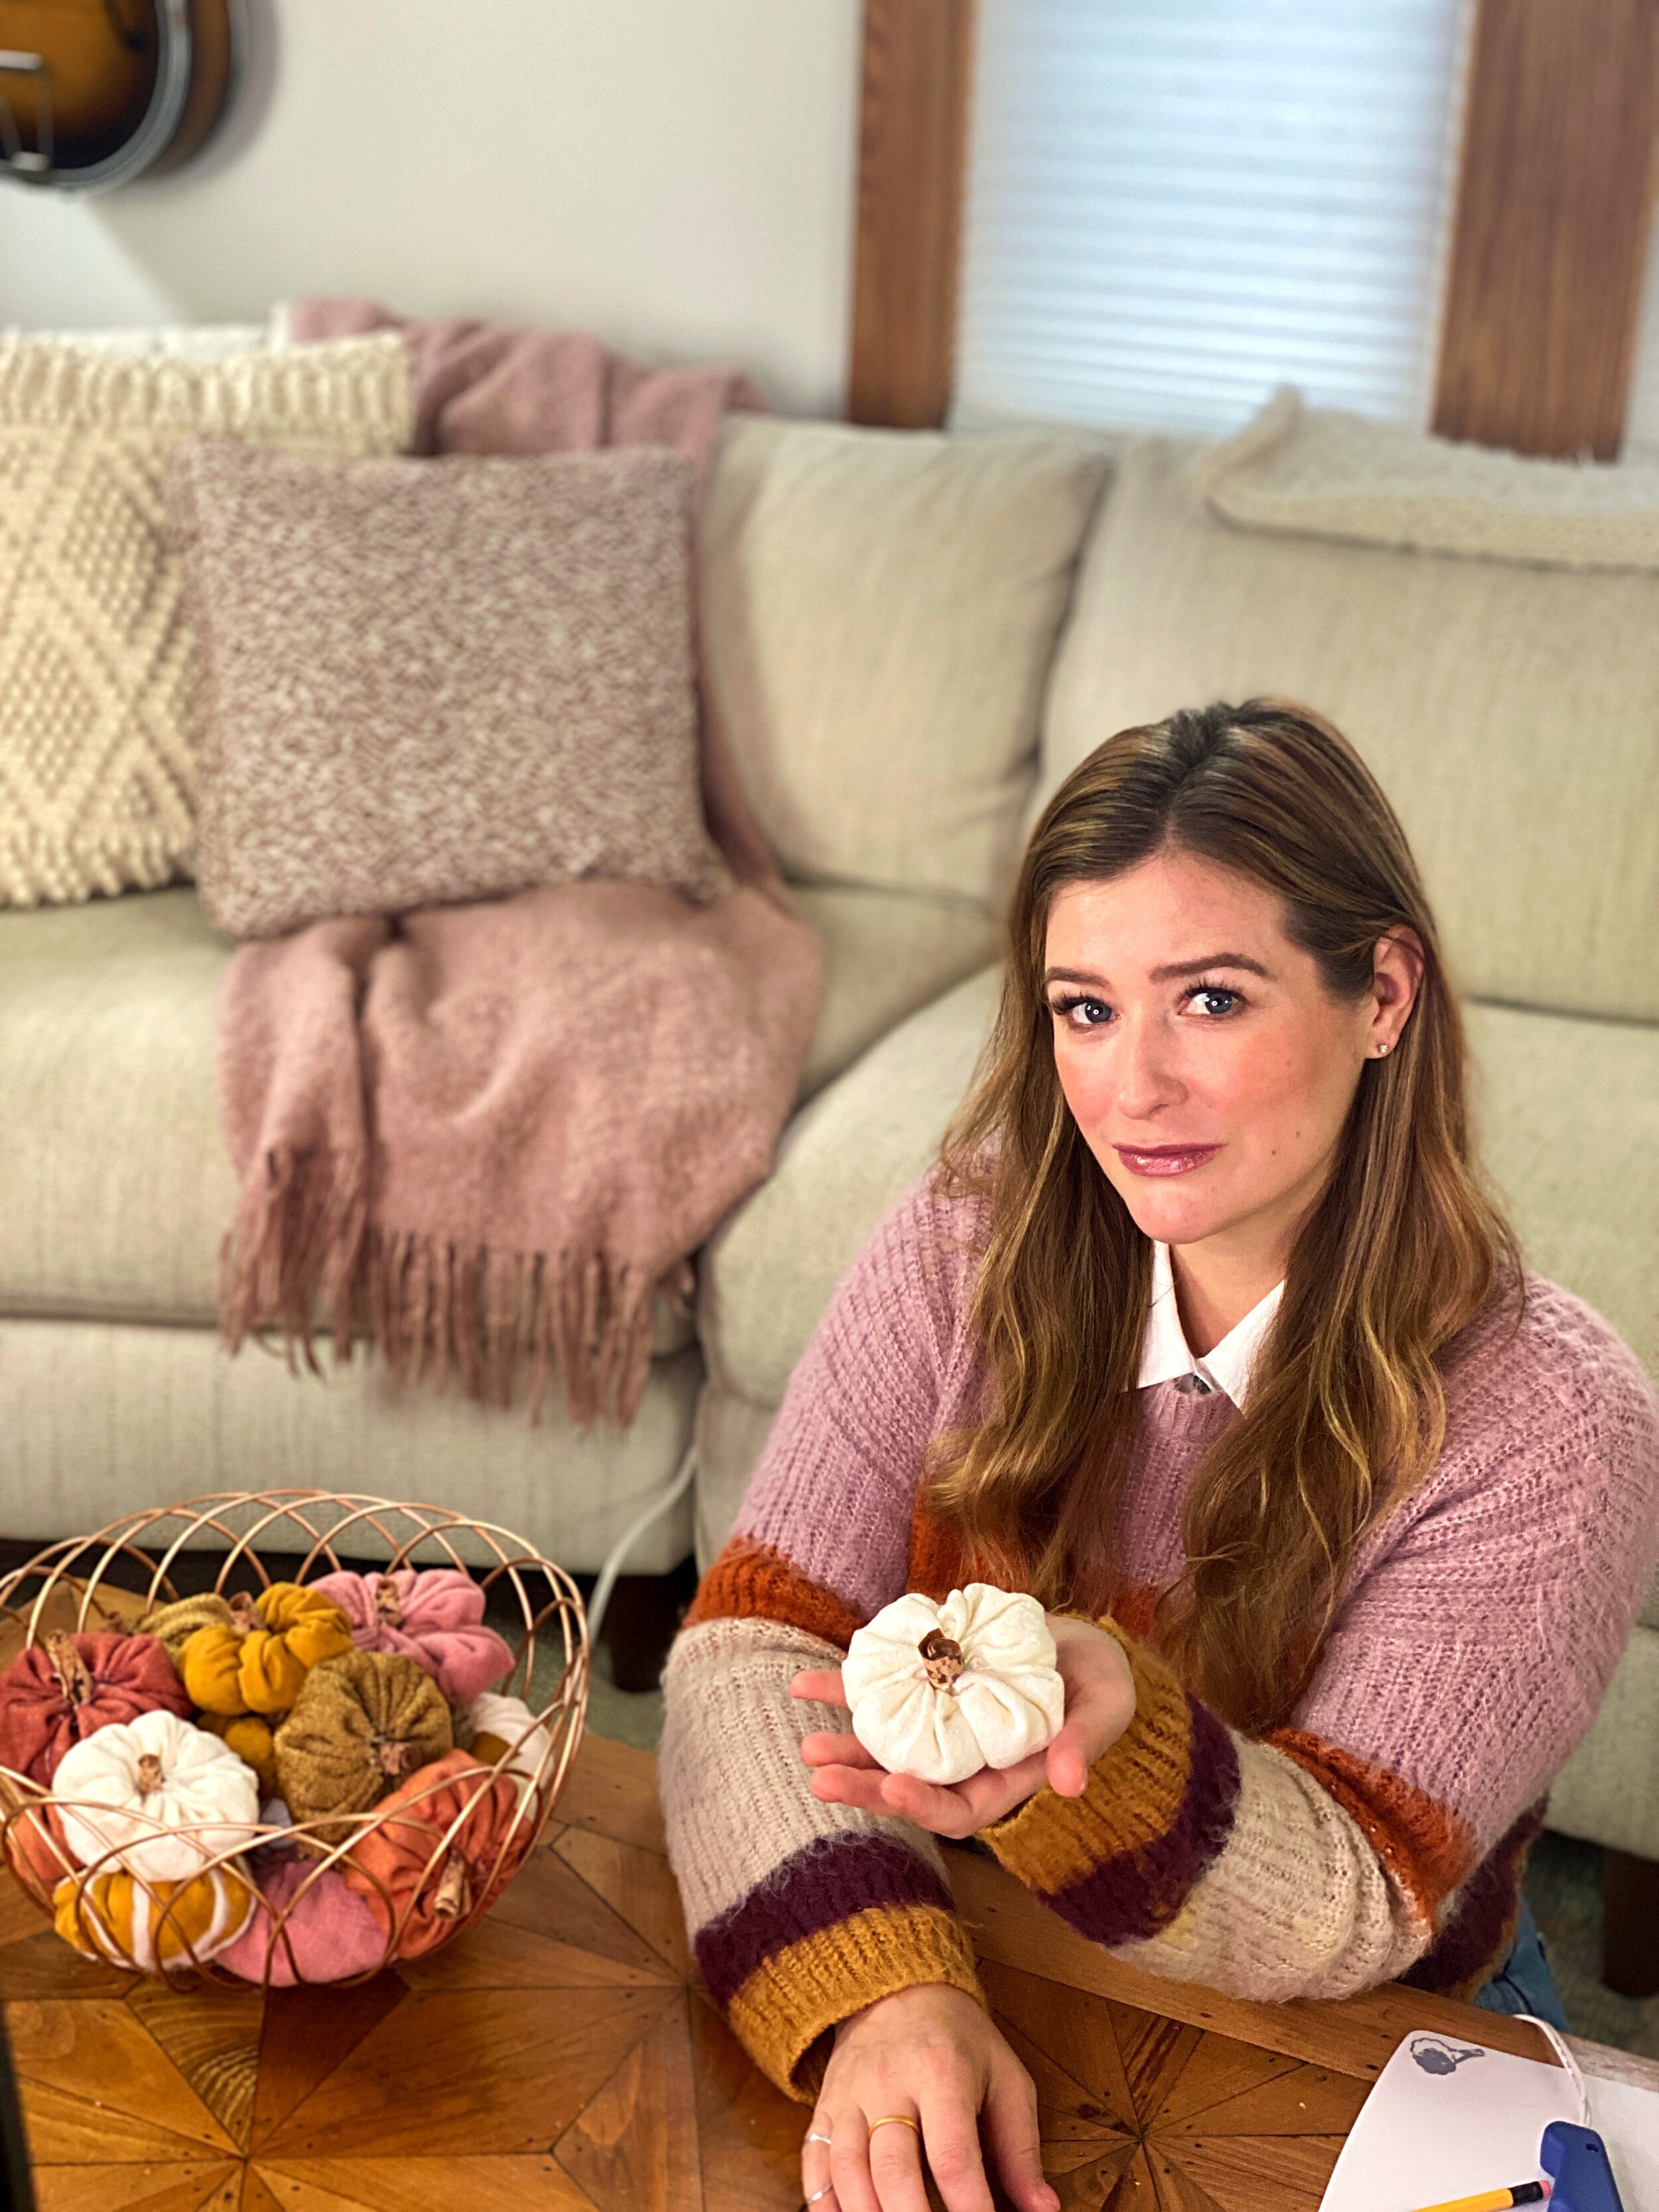
Here is something better than a Pumpkin Spice Latte to quench your seasonal cravings, no carving necessary. Cinderella Style Fabric Pumpkins are a super easy and fun DIY! “Pump-n-Spice” up any space with these adorably cozy cushions. Luckily you can make these Cinderella style pumpkins on a Cinderella style budget!
• SUPPLIES •
These cushy pumpkins can be made from any spare fabric that you may have laying around the house. Whether it be from a previous project or simply an old sweater… lovingly repurposing clothing is a great way to give it a whole new life! — Quite magical indeed Cinderelly. Now go gather the supplies!
FABRIC
SCISSORS
COTTON BATTING
NEEDLE & THREAD
GLUE GUN
POT LID (or something circular to trace)
• STEPS •
Trace & Cut A Circle From Your Fabric:
You can do this using a pot lid, like the true innovateure herself. The bigger you cut the circle, the larger your pumpkin will be. Have fun creating multiple sizes and shapes for some variation in your decor.
Sew A “Slip Stitch” Around The Circumference Of The Circle:
Keep about a 1/4” away from the edge— that way you don’t risk ripping the gathered thread through the fabric. Pro Tip: You can keep your thread attached to the spool to ensure that you never run out of thread until finished.
Stuff Your Pumpkin:
Now that you’ve got your slip stitch in place, it’s time to stuff that pumpkin with cotton batting. If you find yourself short, there are plenty of alternatives that you can use! News paper, rice or repurpose an old stuffed animal. Note:If you are aiming for the cinderella style, less stuffing is best to achieve their flatter silhouette.
Cinch Your Citrouille (Pumpkin):
With your pumpkin now stuffed, cinch the two loose threads together by pulling them tightly and creating a gathered hole. Note:DO NOT tie off or rip off your threads yet! You’ll need them for the next step.
Create The Cinderella Style:
Hold your pumpkin in one hand with the hole facing upward. With the attached needle and thread in the other hand, sew through the centre of the pumpkin then wrap the thread around to create segments. Continue to puncture through the centre to create that Cinderella style. When you have achieved your desired shape, tie off that thread or sew a knot in the fabric to finish.
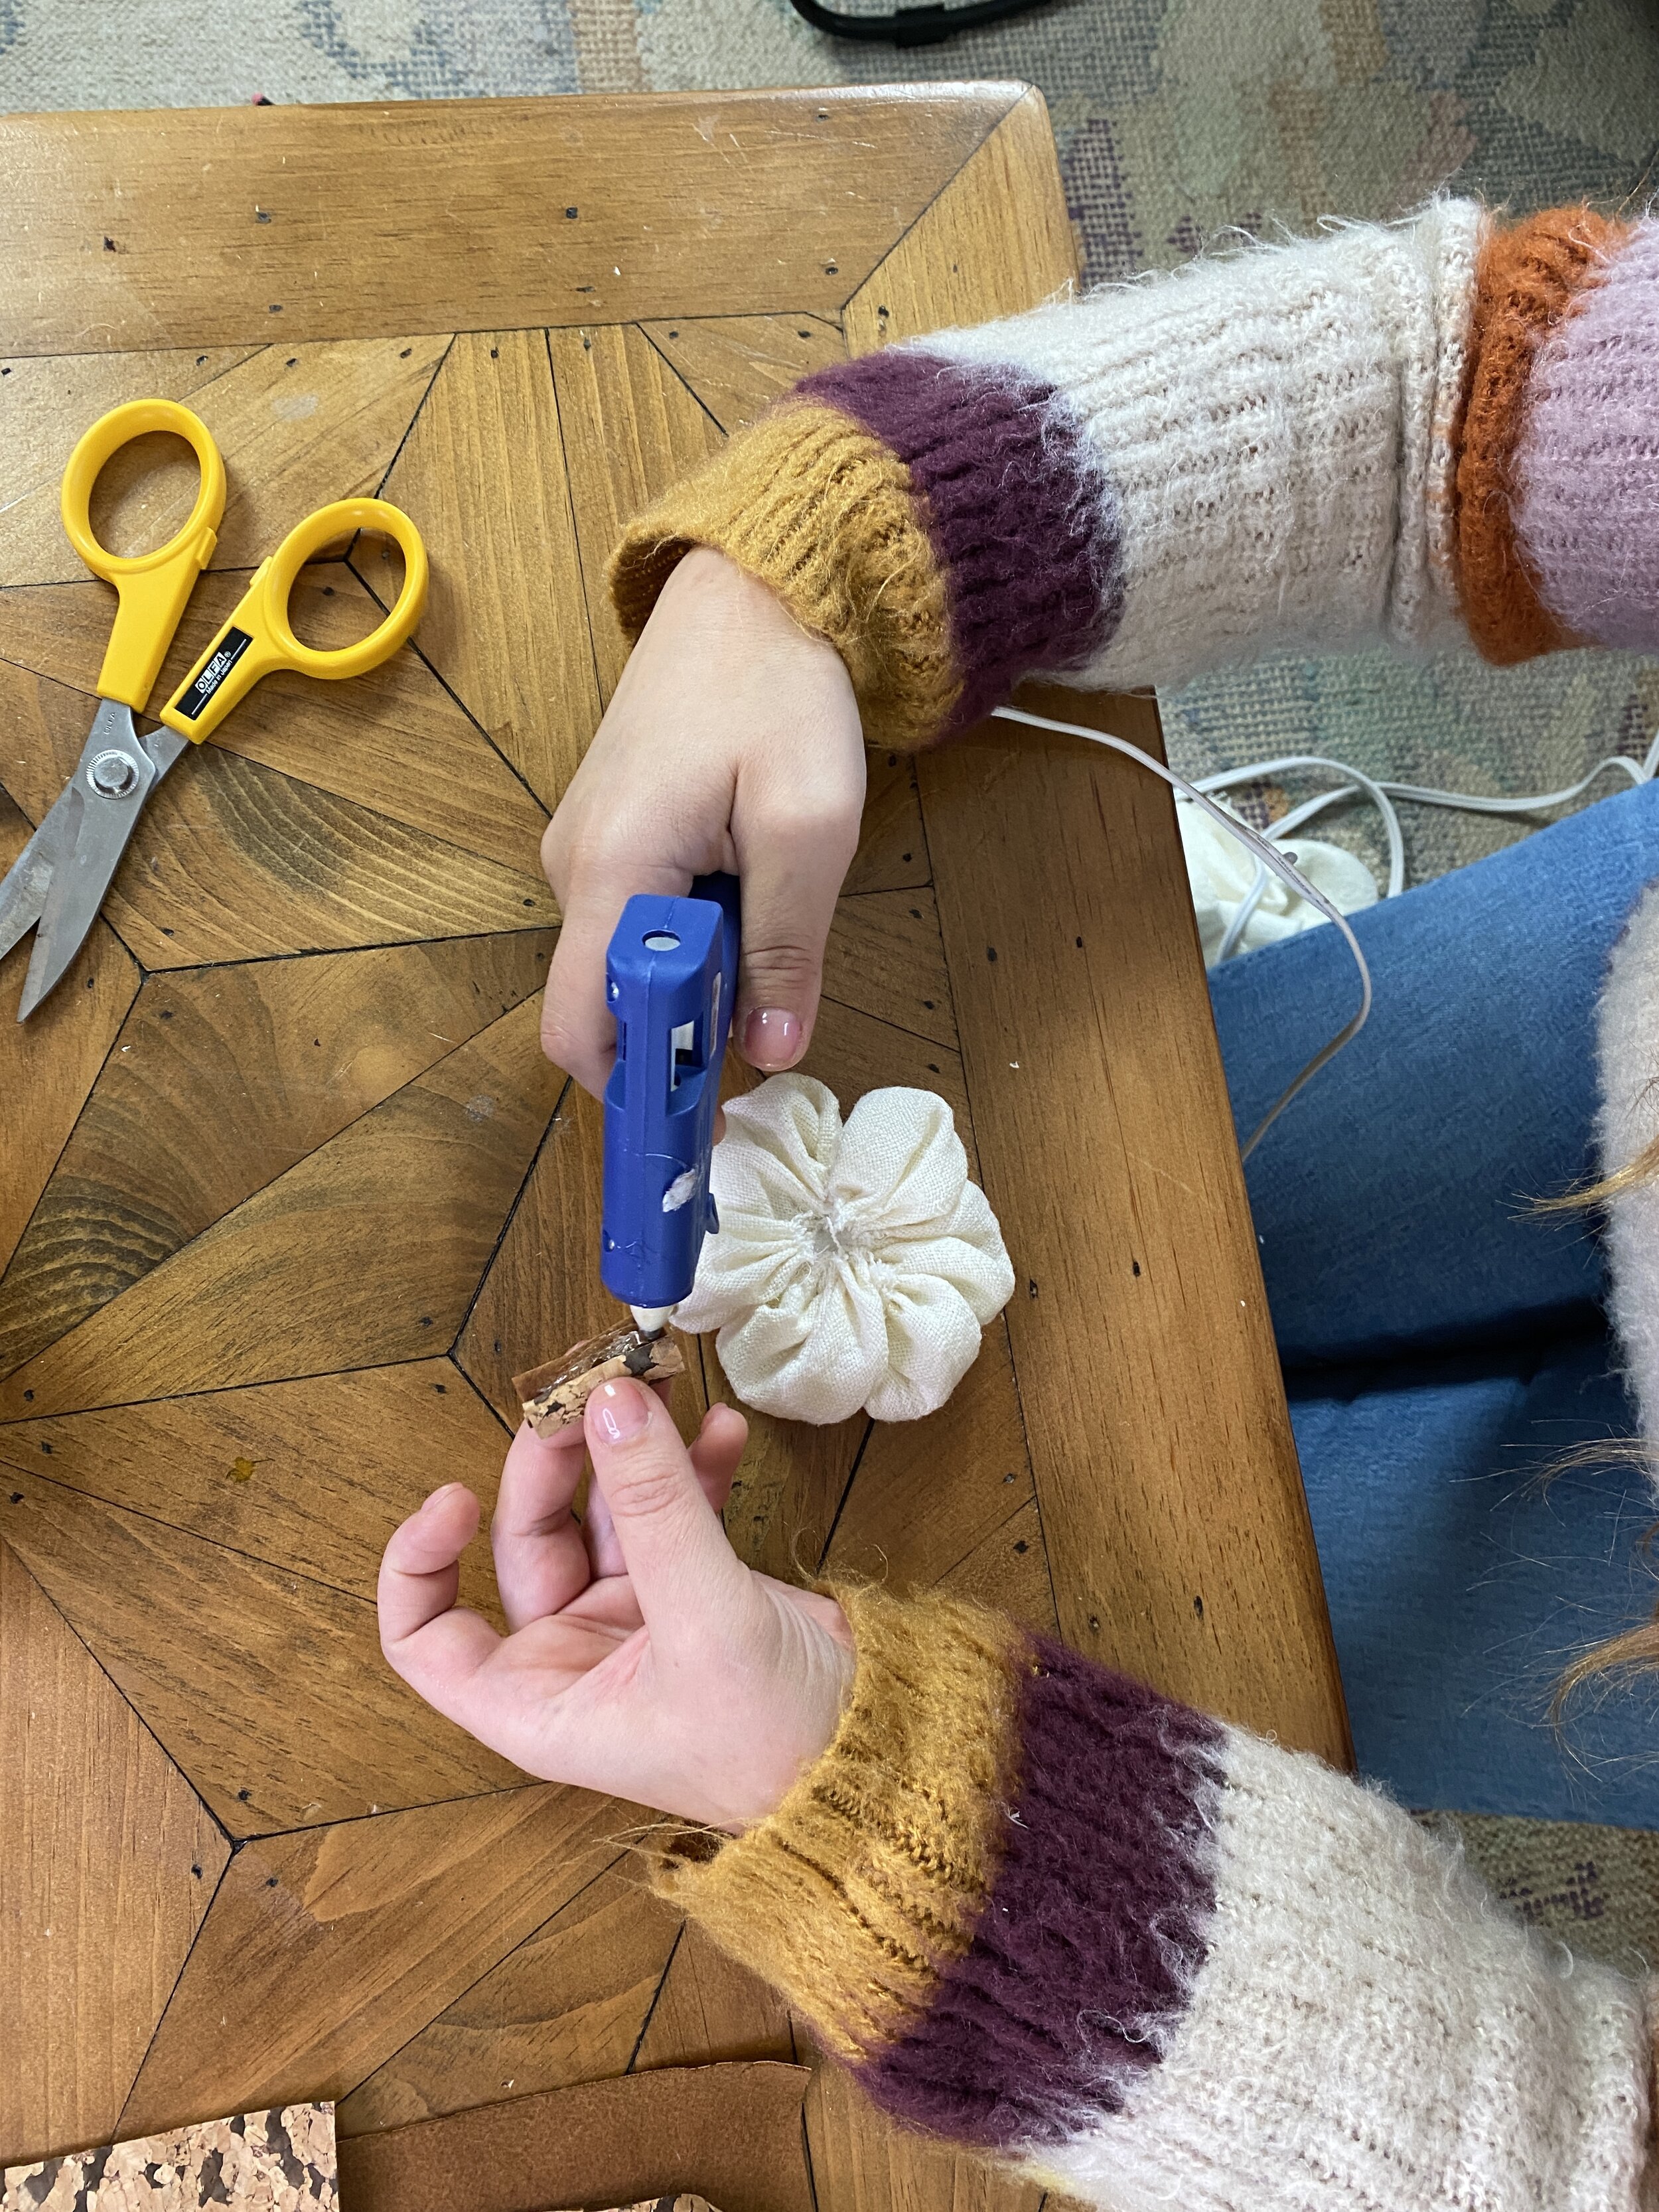
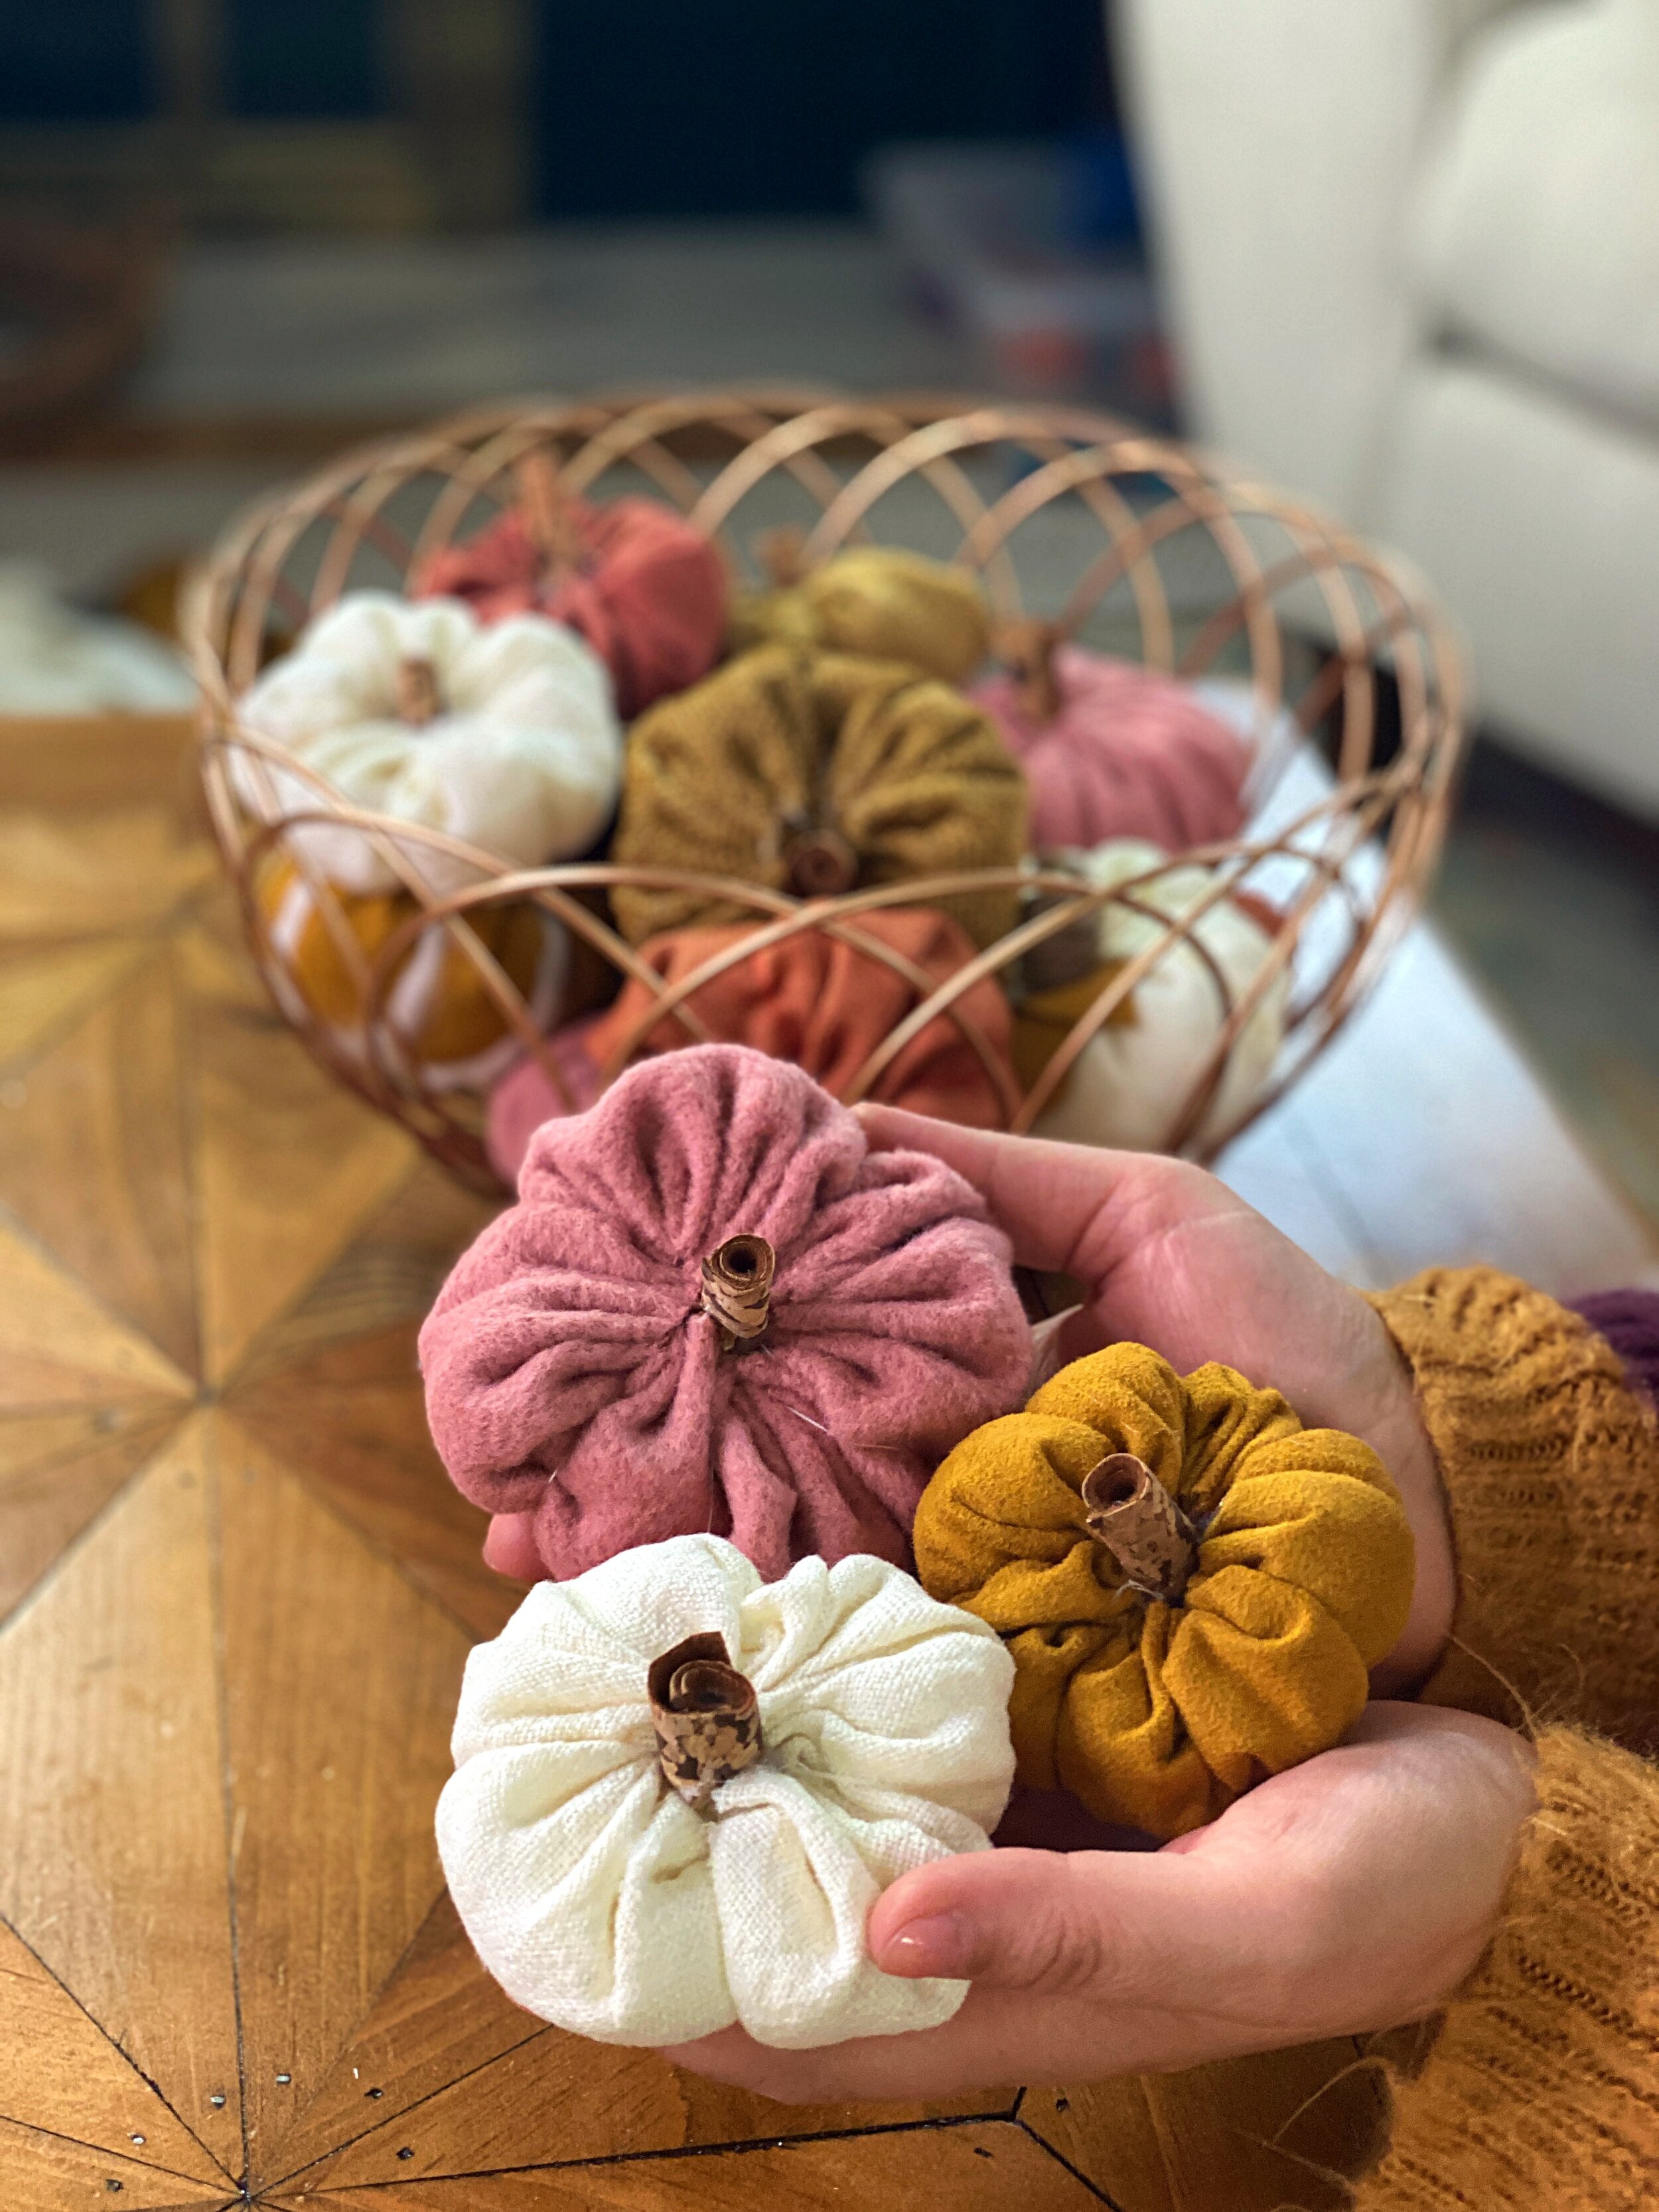
Stylish Stems:
To top off your perfect pumpkin, it’s time to get creative with the stem! I opted for some leftover cork fabric that I had, which I then cut into strips, rolled then glue to the top using the hot glue gun. Note: You can use anything to create the stems— Pipe cleaners, twine, twigs, rubber bands! Get crafty & get creating this Autumn.
Trace a circle then cut.
“Slip Stitch” around the circumference fo your circle, stuff your pumpkin then pull both threads together to cinch.
Get that stuff’n in.
Cinch it like Cinderella’s corset
Sew through the centre of the pumpkin and wrap it back around to create segments. Repeat until you’ve achieved your desired shape.
Decorate your pumpkin as you see fit! Get Creative with the stem.
Now that you’ve got the Bippity Boppity Boo of it all, you can make enough pumpkins to fill an entire patch! (Granted, such a project would be much easier if you did happen to have a joyous army of furry critters to assist you…) Never the less, It’s time to head to the Fall Ball!
• Styling Your Creations •
Now that you’re knee deep in your custom made pumpkin patch, what do you do with them all?
Styling your pumpkins and working them into your home decor is half of the fun! This DIY craft is truly versatile, especially if you play it smart with your fabric choices. Sticking with neutrals will allow you to place your pumpkins in any space and give an overall “oomph” to your autumnal ambiance. If you chose to work with bolder & brighter patterns, you are sure to have some spirited standout pieces that will really transform a space!
String together your pumpkins with twine or yarn to create a garland. These garlands are perfect for hanging in windows, doorways and make an excellent focal point for your fireplace (then use the spares to really bulk up the mantle.)
Toss all your pumpkins into a complimentary dish and stick them on your dining room table for an exciting centrepiece. Sprawl differing sizes and styles along the table for a graphic effect.
No matter which way you style these adorable little pumpkins they are sure the please <3
During my recent Attic renovation, I decided to design and create my own pillows and bedding for the cubby beds in the space. (The above photo is the final look). On my last blog I shared about how I made round pillows with pom pom’s. Today I am sharing the process of making hand painted lumbar pillows with an invisible zipper. Once you know how to insert an invisible zipper, you can sew all kinds of pillows and blankets.
During my recent Attic renovation, I decided to design and create my own pillows and bedding for the cubby beds in the space. (The above photo is the final look). On my last blog I shared about how I made round pillows with pom pom’s. Today I am sharing the process of making hand painted lumbar pillows with an invisible zipper. Once you know how to insert an invisible zipper, you can sew all kinds of pillows and blankets.
Making your own pillows is super easy (even for a newbie sewer like me) and it’s a fun way to keep yourself occupied during this time where we are all required to physically distancing and keep to ourselves.
While scrolling through instagram I noticed many home decor influencers had lovely round pillows with pom pom’s on them. I thought they were so cute and fun but checking out the online price of them (upwards of $150 a pillow) I decided to take a crack at making some myself.
Getting rid of old windows might seem like an obvious step when renovating an old home but there are actually several good reasons to keep old windows and integrate them into your design plans. Before you begin the huge project of replacing old windows, here are a few reasons why you might want to consider keeping them.