Have you ever had your heart set on a table you saw online or maybe at a designer shop, but you just couldn’t stomach the price tag? When looking for the perfect dining table to fill my mid-century modern open concept living space, I kept running into this problem.
When taking on a renovation project, budgets can be tight, a lot of your funds often get soaked up by construction costs. This leaves less money for decorating but the pieces you bring in to furnish and style make such an impact on the way you feel and function in a room. It’s key to look for areas you can save. When it came to the dining table, I knew I needed to save some pennies, but I didn’t want to sacrifice design. I had envisioned the table as a statement piece, so I decided to get crafty and create my own. With a bit of elbow grease, a solid vision, and some tools, I was able to achieve the look I wanted at a fraction of the cost. Now I have a beautiful place for our friends and family to gather around for a meal, conversation, or games.
Old doesn’t mean useless, and this is often the case for me. I love searching secondhand places for great finds that I can transform into unique, custom pieces for my home. I started looking for a second-hand wood table to kick off the project. Fortunately, I found just what I needed on Facebook Marketplace. After negotiating a bit and solidifying a pickup time, I was able to secure the base of this project for $90.
TIP: If you see something you like on Facebook Marketplace, act quickly, be direct with pricing, and know that time is of the essence. Pieces go very quickly; I don’t want you to lose out on what you are looking for.
Next, was the elbow grease step. With a few cuts, some sanding and varnish, the top came out exactly how I had envisioned. I couldn’t be happier about how the legs turned out - the dowels make the perfect statement. They hide the outdated look of the previous legs, making it match the rest of my open living space. To see the full tutorial so you can create this look in your home, watch the complete transformation here.
To create this table on your own, you will need the following tools and supplies:
Belt sander
Palm sander
Skill saw
Chop saw
Router
Nail gun
Sandpaper (do you want to suggest grits?)
Wood glue (do you want to say the type?)
Screws
Varnish
Pre-used wood table (we found ours for $90!)
Wood dowels (we chose oak)
Then you can begin construction…
———————————
For the top
1. Remove the braces and legs
2. Sand down old varnish using the belt sander and palm sander
3. Cut the edge with a skill saw
4. Glue the leaf inserts into the table
5. Use a router to create the new desired angle
6. Sand with finishing sand paper
7. Apply the desired varnish
———————————
For the base
1. Create race track structure with leftover wood as cross braces
2. Cut half-round oak dowels to the correct height with a chop saw
3. Secure dowels with a nail gun
4. Toenail top to base with screws
5. Finish with more sanding and varnish
This piece finally got the facelift it needed and is now the center of a beautiful space we use to gather for food, conversation, and games. To complete the look, I paired the table with some cute IKEA chairs. Lennon and I have already created many memories around this table and we can’t wait to create more.
What’s one thing a bedroom needs? A bed, definitely. Forever the centrepiece of these self-titled rooms, beds act as a comfortable place to rest while doubling as great decorative pieces. Often, beds set the standards for the rest of the rooms decor. However finding an affordable piece of art to lounge over your mattress can be quite challenging. Purchasing even a simple duvet cover from a retailer could cost a fortune, regardless of the quality and material. Well I’m here to tell you to cut out the middle man, and DIY. Duvet It Yourself.
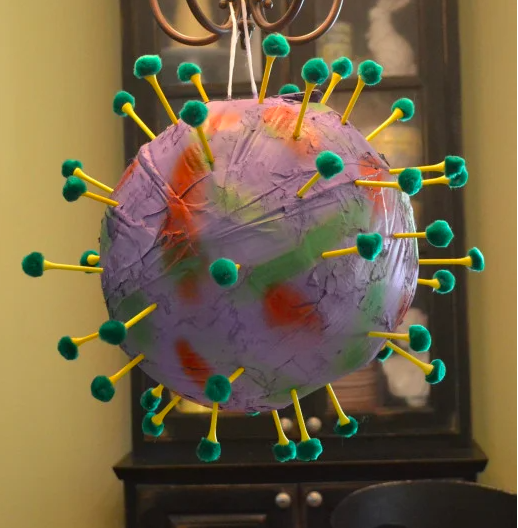
This DIY Piñata Is A Fun and Creative Way to Help “Beat” The Coronavirus
The times are in fact, a-changin’. I must admit that the Covid pandemic has proven difficult to navigate. Being a self-employed, single mother naturally comes with it’s own set of challenges. Throw a quarantine into the mix and then suddenly I need to be a teacher and full-time entertainer on top of it all! I have always had a profound respect and admiration for our school teachers and child care providers, however over the past few weeks, that appreciation has grown leaps and bounds. Finding innovative ways to educate Lennon while maintaining her interest (especially while being surrounded by the temptation of her toys…) was quite the conundrum. Upon some reflection, I decided to teach Lennon the best way that I knew how: DIY Crafts!
Learning doesn’t always have to be sit down, do your work, study and memorize. Sometimes learning can be a little more tactile and hands-on. For example: This Coronavirus Piñata that Lennon and I made for her (quarantine) birthday. Let’s call it Chemistry, Science and Art class all mixed into one dynamic lesson! So let’s gather our materials and get ready to get a little messy with this Piñata DIY.
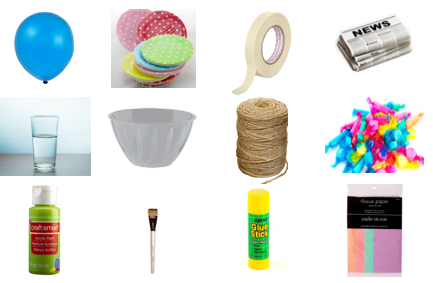
SUPPLIES
Most of these supplies you will likely already have around your house!!
BALLOON
PAPER PLATES
MASKING TAPE
NEWSPAPER
WATER
BOWL (large enough to hold piñata)
TWINE/STRING
CANDY
GREEN PAINT AND BRUSH
GLUE STICK
TISSUE PAPER
DIRECTIONS
STEP 1.
Blow up your balloon and tie a knot at the base.
STEP 2.
Cut a paper plate into quarters (pizza shaped pieces).
Step 3.
Roll the paper plate pieces into cones, tape them so they remain in this shape, and cut one-inch strips at the bottom of the cone.
Step 4.
Flare out the strips and tape them to the balloon.
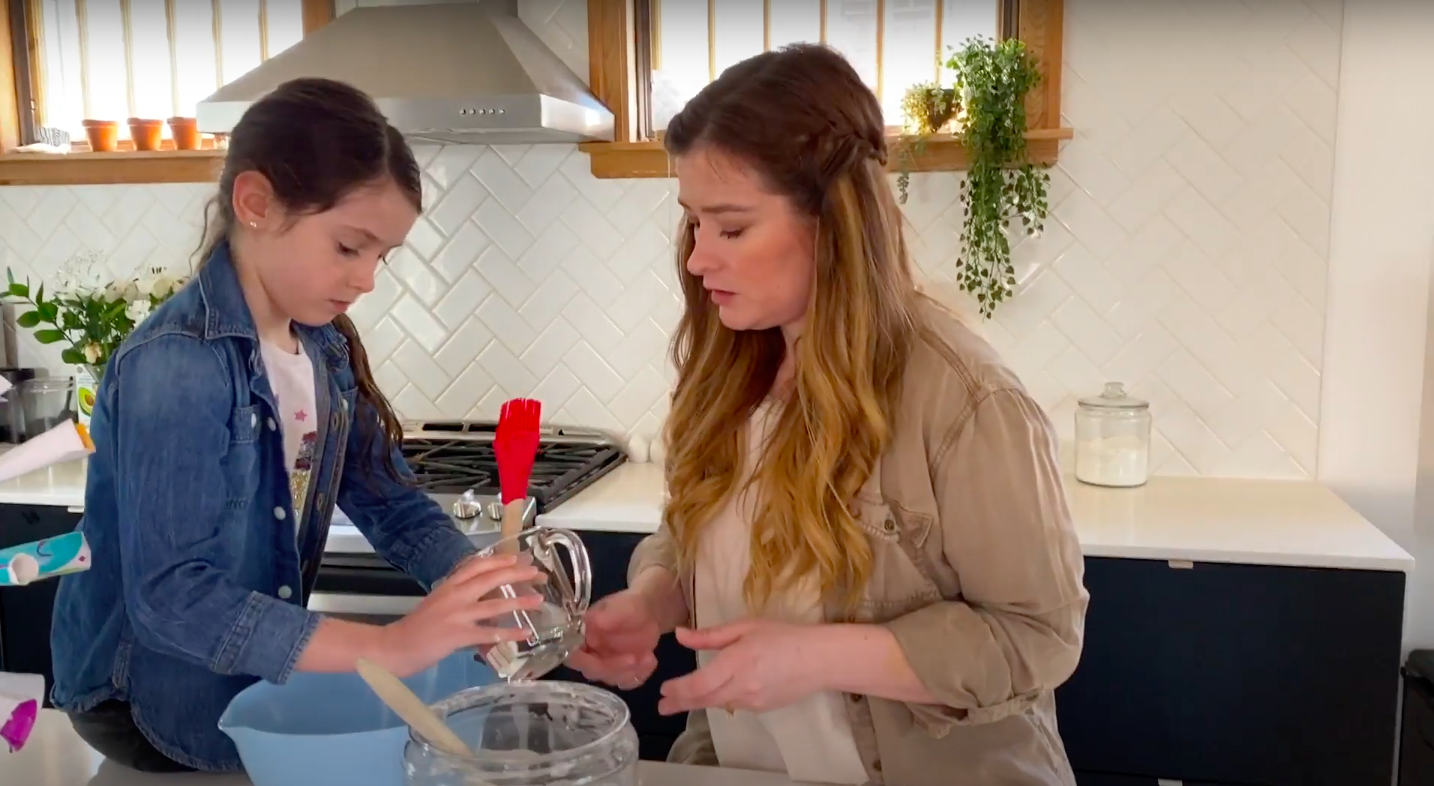
STEP 5.
Make the paper mache with equal parts water and flour, then mix.
STEP 6.
Tear your newspaper into strips and coat them in the paper mache mixture. Layer them onto your balloon in different directions smoothing out any bubbles.
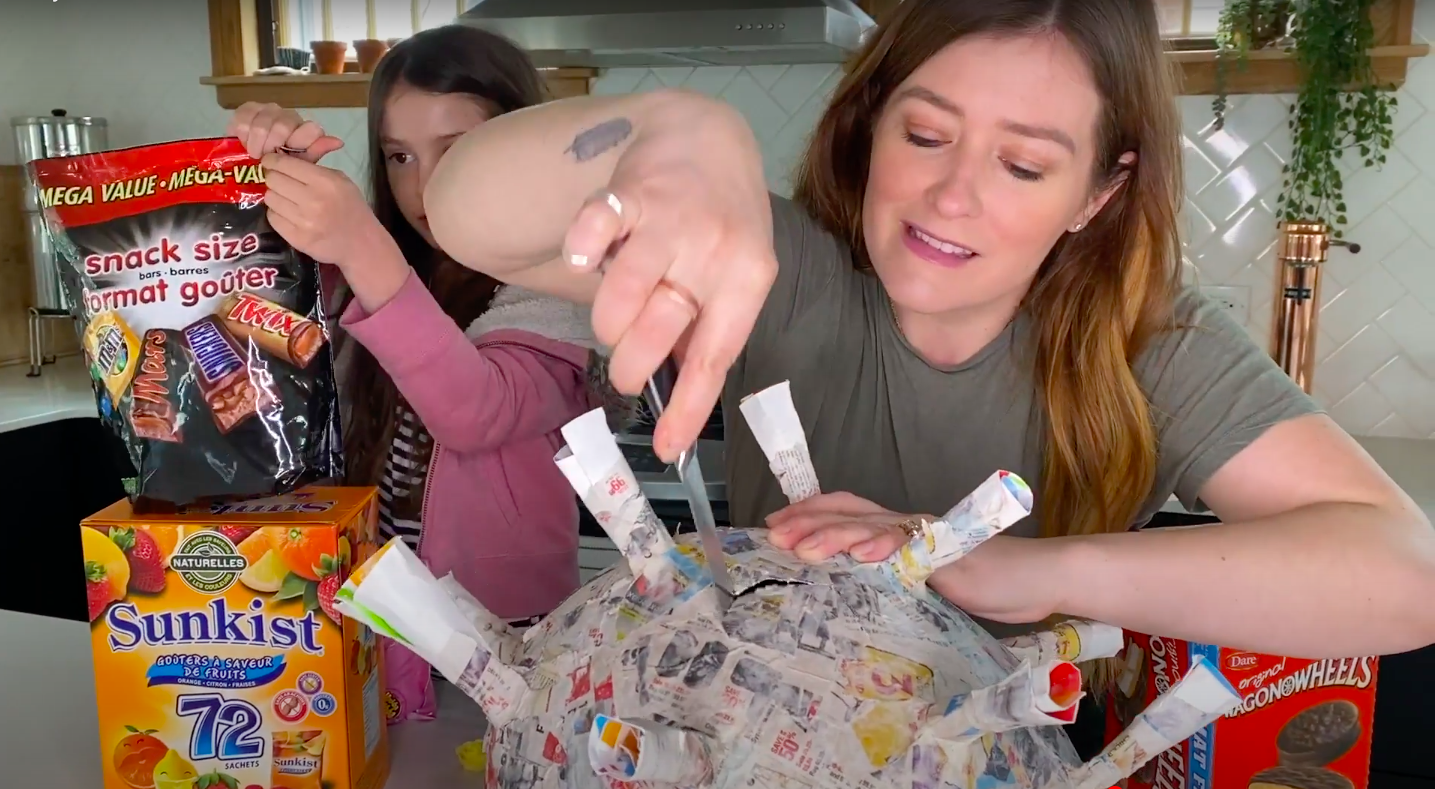
STEP 7.
Let the paper mache dry overnight. Once dry, cut a small flap in order to put the candy in the pinata.
STEP 8.
Stuff the pinata with candy!
STEP 9.
Using the twine, tie a knot around the balloon leaving some excess to allow the pinata to hang.
STEP 10.
Paper mache over the twine to keep it in place.
STEP 11.
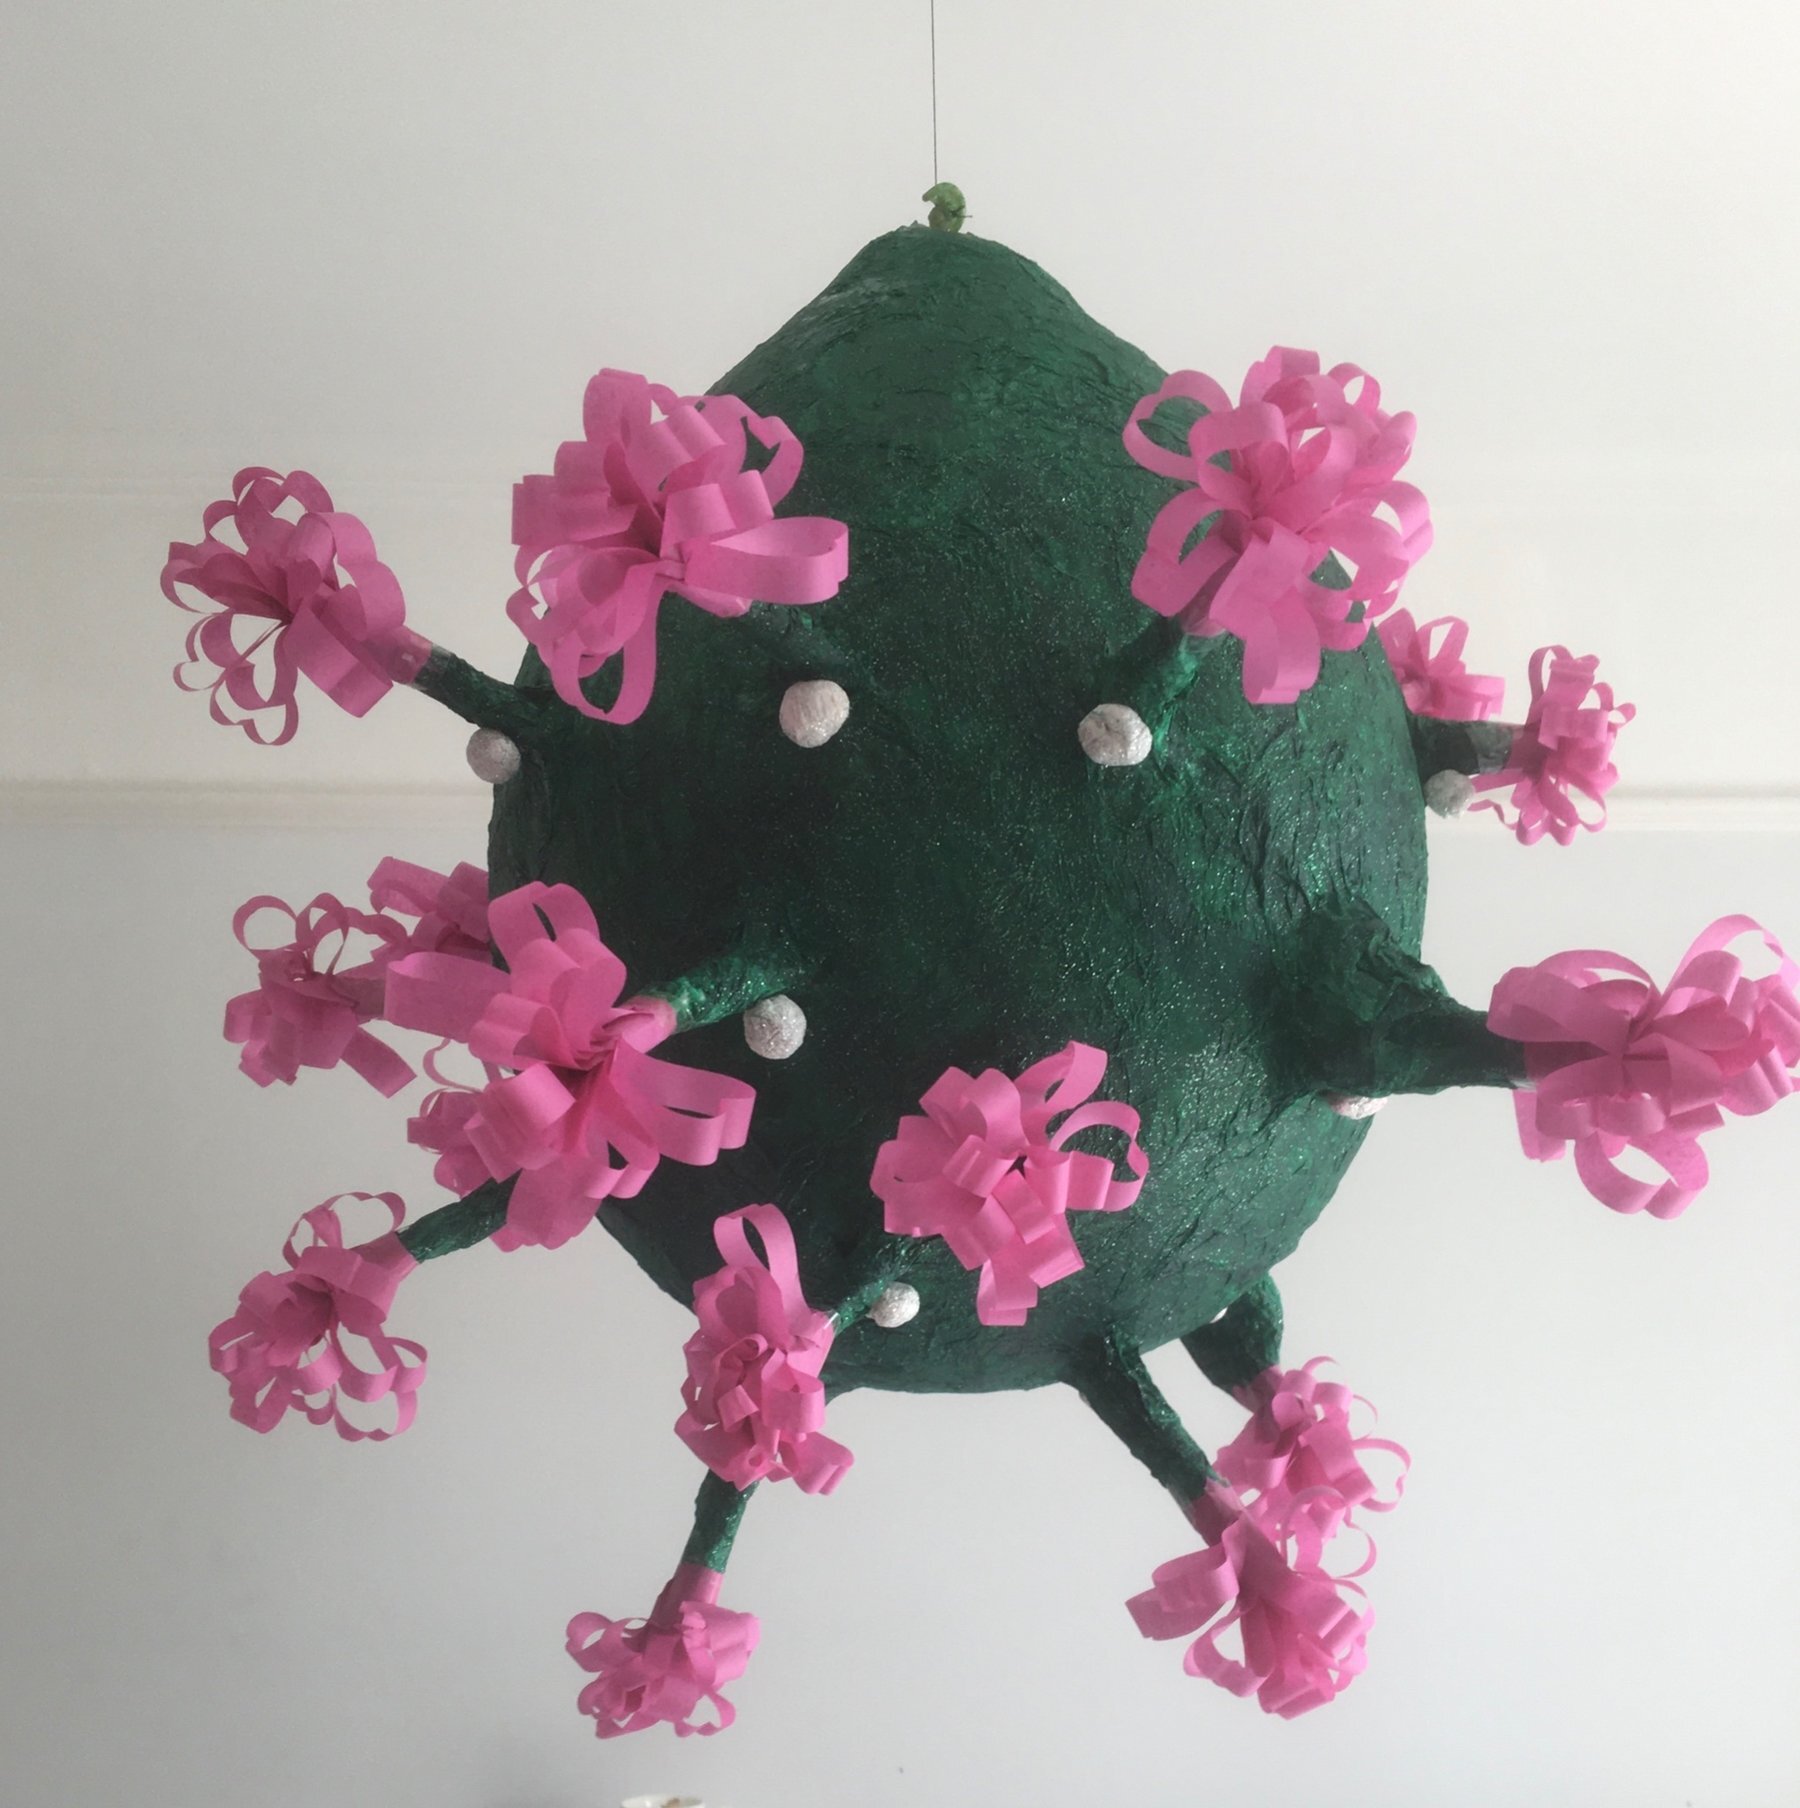
Paint the pinata using your green paint.
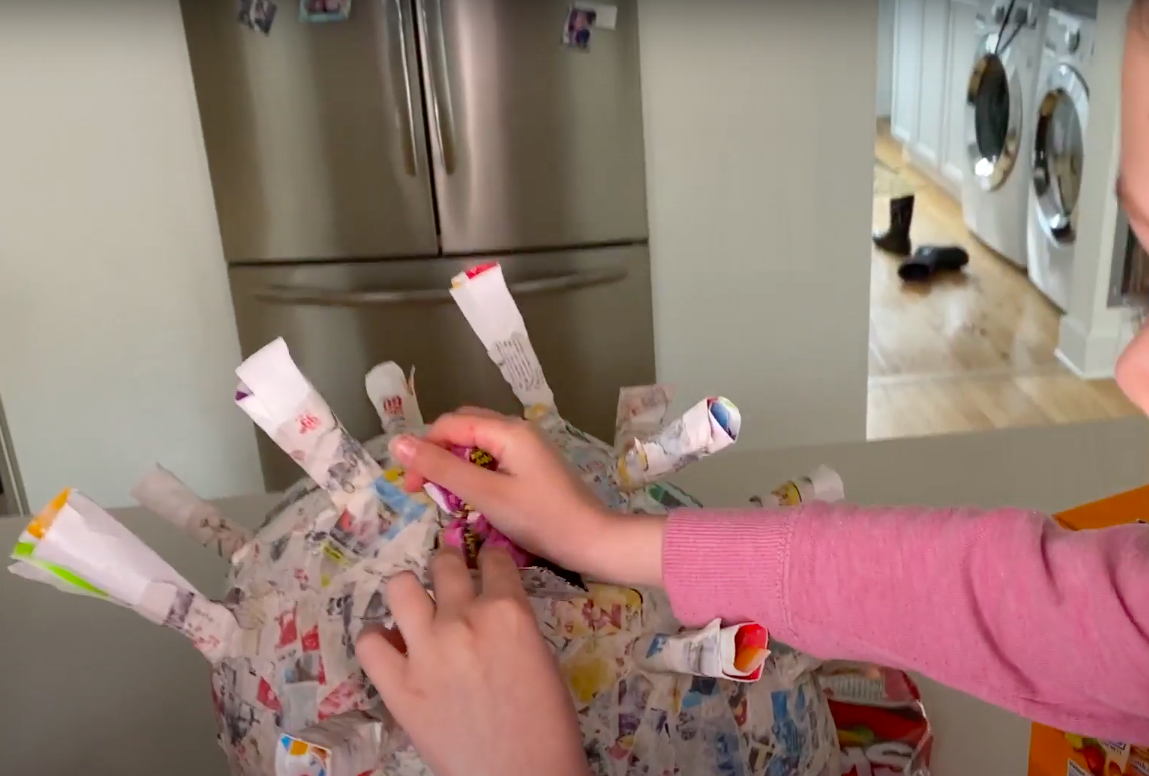
STEP 13.
Roll your tissue paper and stick them into the spikes. Using the end of a paintbrush helps!
STEP 12.
Cut your tissue paper into small squares and glue them onto the pinata.
Step 14.
It’s time to finally get the upper-hand! Here’s Lennon showing the villainous virus what she’s made of! Smash away and retrieve all of the goodies as your reward. Hopefully being a little “batter” will make you feel a little better, about these pandemic vibes.
That’s it! It’s that simple.
I would love to see if any of you attempt a coronavirus piñata! Share with me in the comment section below your projects and how they turned out.
Thanks for following my blog and I can’t wait to connect with you on my next project!
Stay tuned for more do it yourself projects coming soon as well as a sneak preview of Season 3.
xox
DIY MOM
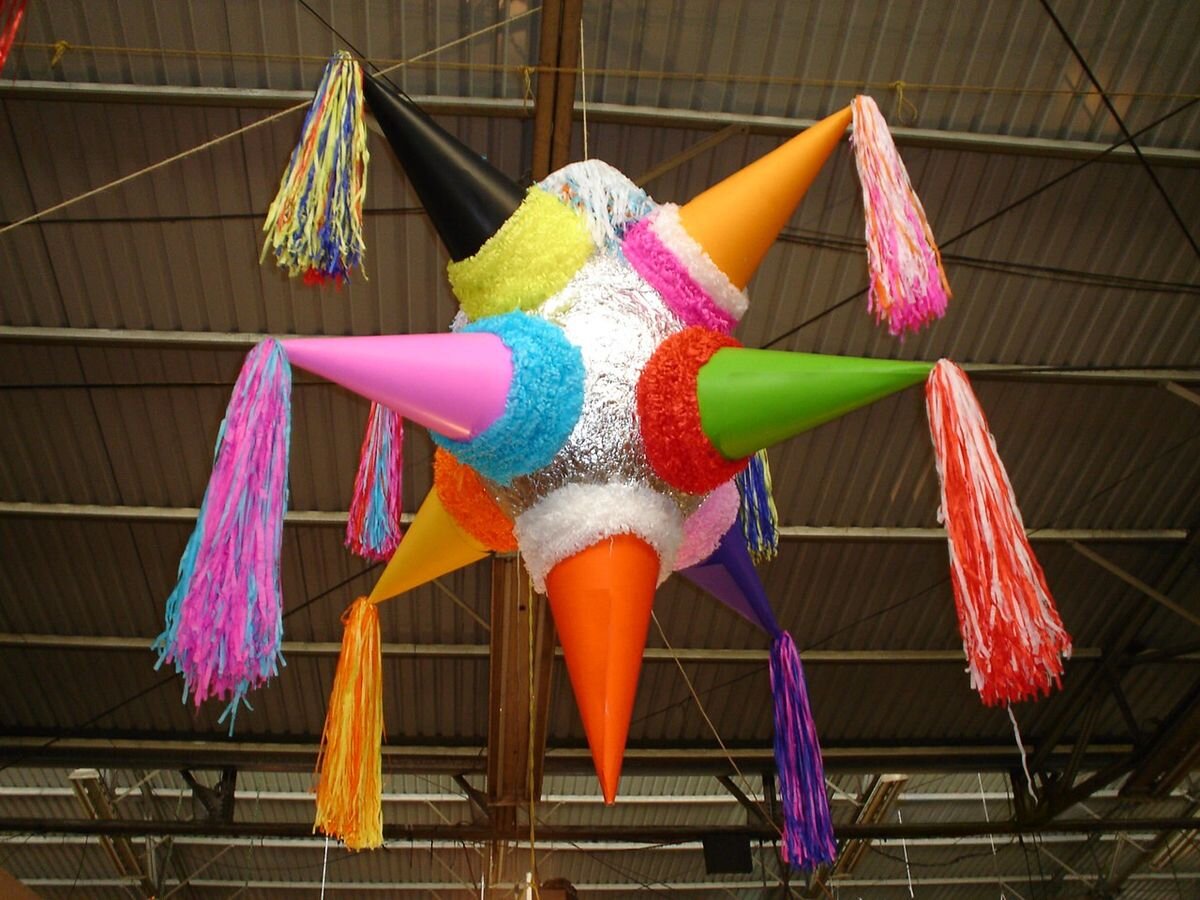
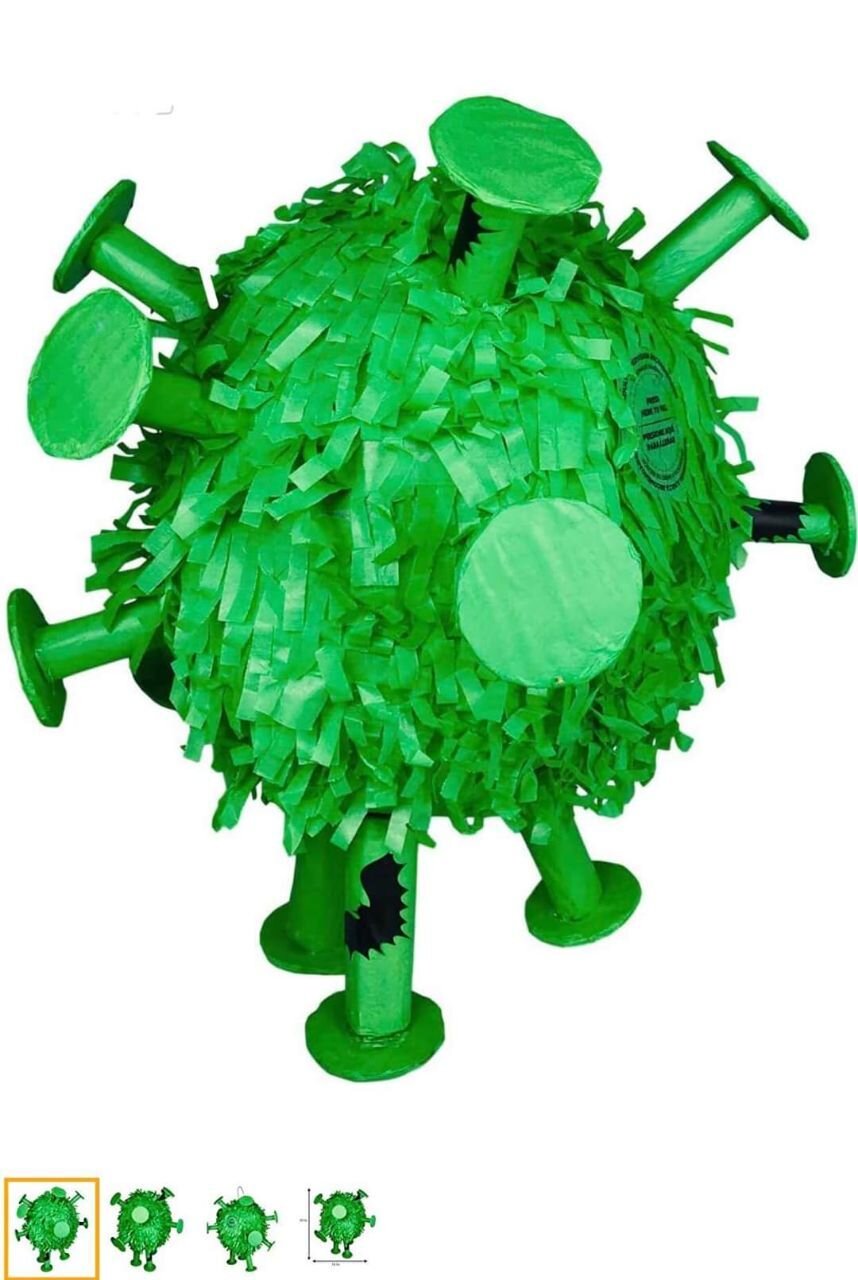
Finding Inspiration…
Inspiration can come from anywhere at anytime. The internet is a great resource for sparking your creative energies and discovering projects that you may enjoy trying! The case could never be truer than for this project here. Being cooped up in the house all day, I did tend to find myself peering on social media sites more often than usual. But upon stumbling onto this New York Times article and doing a bit more research (as well as taking some creative liberties), I decided that this would be the perfect project to elevate Lennon’s Bday and really make it a SMASH!