

• DIY Retro Radiator Cover •
Warming up your home is easy with this simple radiator cover that makes a bold statement piece in your room decor.
As my attic renovation trotted along I got inspired to add another texture to the space CANE WEBBING. I found an online distributor of woven cane, Levairs woodworking in Ontario and set my heart on creating a radiator cover that would double as a statement piece in the attic bedroom.
Also referred to as Machine or Sheet Cane is manufactured from the outer bark of the rattan palm and woven into a variety of patterns, from the traditional octagonal and close-woven basket weaves to the modern radio, modern and box weaves.
Old radiators can be a great source of heat, you don’t need to rip them out and replace them with baseboard heaters, you can incorporate them in to a rooms decor by creating a custom frame that allows them to serve their heat radiating purpose, but also add a practical shelf space!
You might have seen a trend on instagram with retro furniture and woven cane style. From Ikea to McGee and Co. Rattan, cane and and other natural fibres are making a major come back. Woven cane is an easy material to work with. You just need a frame, a spray bottle and a staple gun. The principle for working with this fibre is the same for all cane webbing projects wether you are rebuilding a chair or creating an insert for a cabinet door. Stretch, spray, wrap and staple.

PART ONE
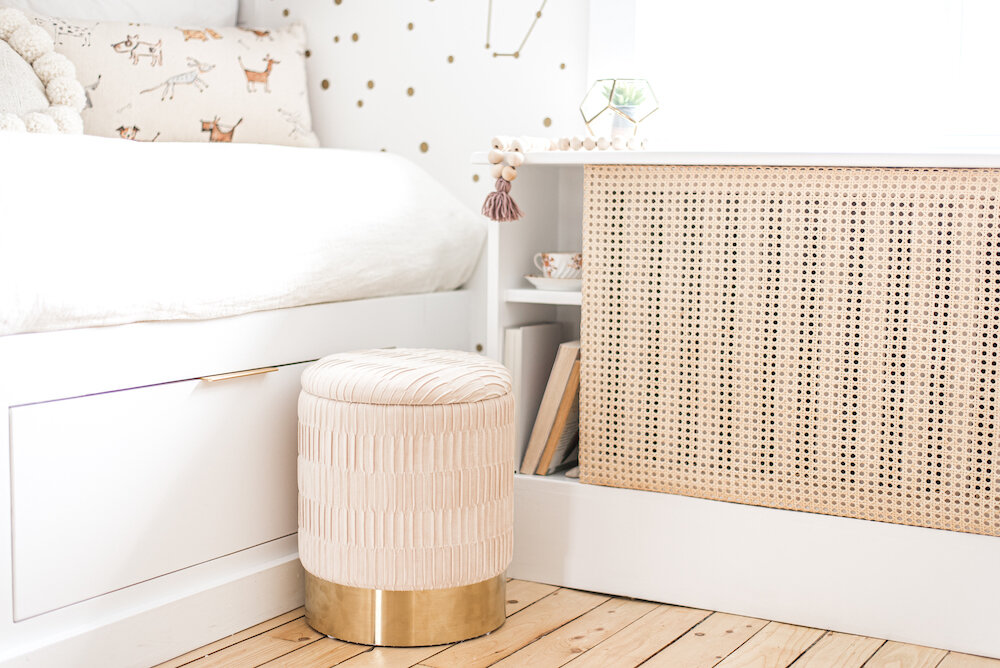
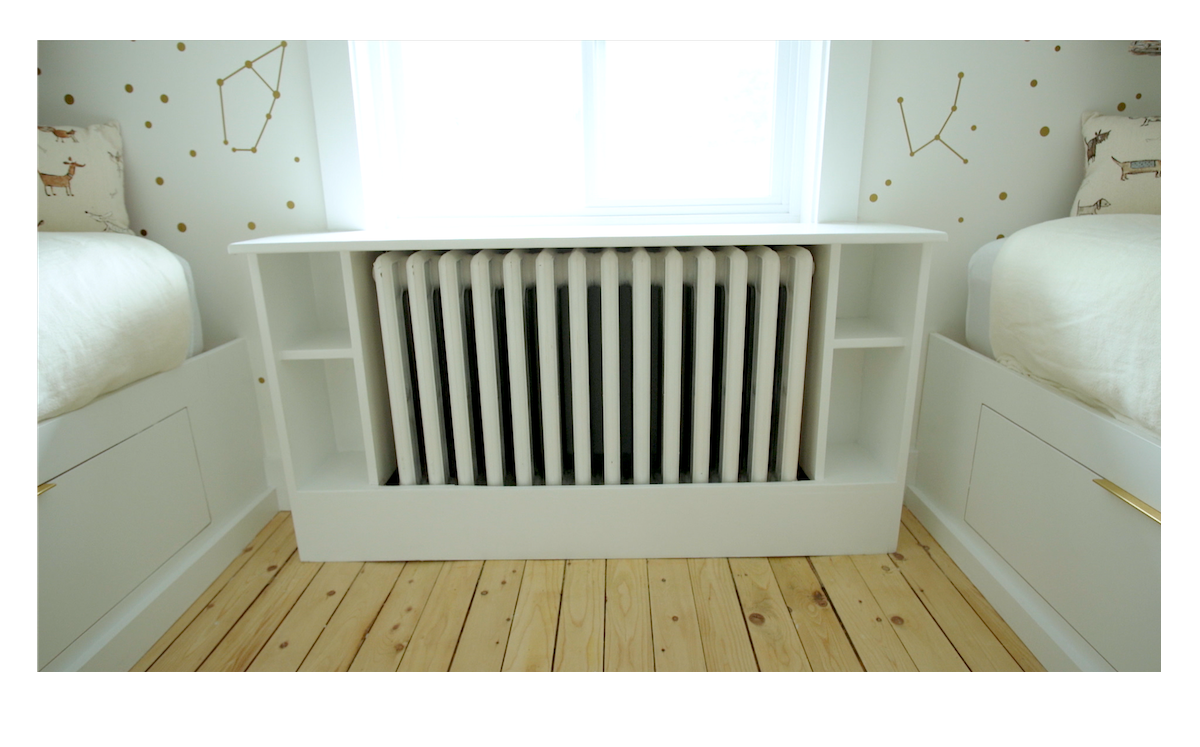
This radiator cover projects comes in two parts. The first part is building the box for the radiator. I designed a simple rectangular box with a 12 inch top, for glasses and books, and a baseboard at the bottom to cover the unfinished floor under the radiator. Put together with MDF, the sides or the cabinet are 10-12 inches wide and slide all the way back to the wall. Because of the additional space I had on either side of the radiator, I decided to make the box over sized to add two small book shelves on either side.To make everything cirmetrical, I based the dimensions of the of the window and not the radiator. The overall look has a resemblance to a modern console or a storage cabinet.
I reached out to a local carpenter to build the frame for me. Because of the slopped flooring and uneven surfaces, it needed to be put together on location. It took a few tries, but once the cabinet was built and secured, I painted it with white enamel paint from Benjamin Moore and let it cure while I waited for my pressed cane to arrive by mail.
PART TWO
Part two is the removable Pressed Woven Cane front panel. This panel is created by making a picture frame of wood in the size and dimension of the space you have left in the middle of the radiator box.
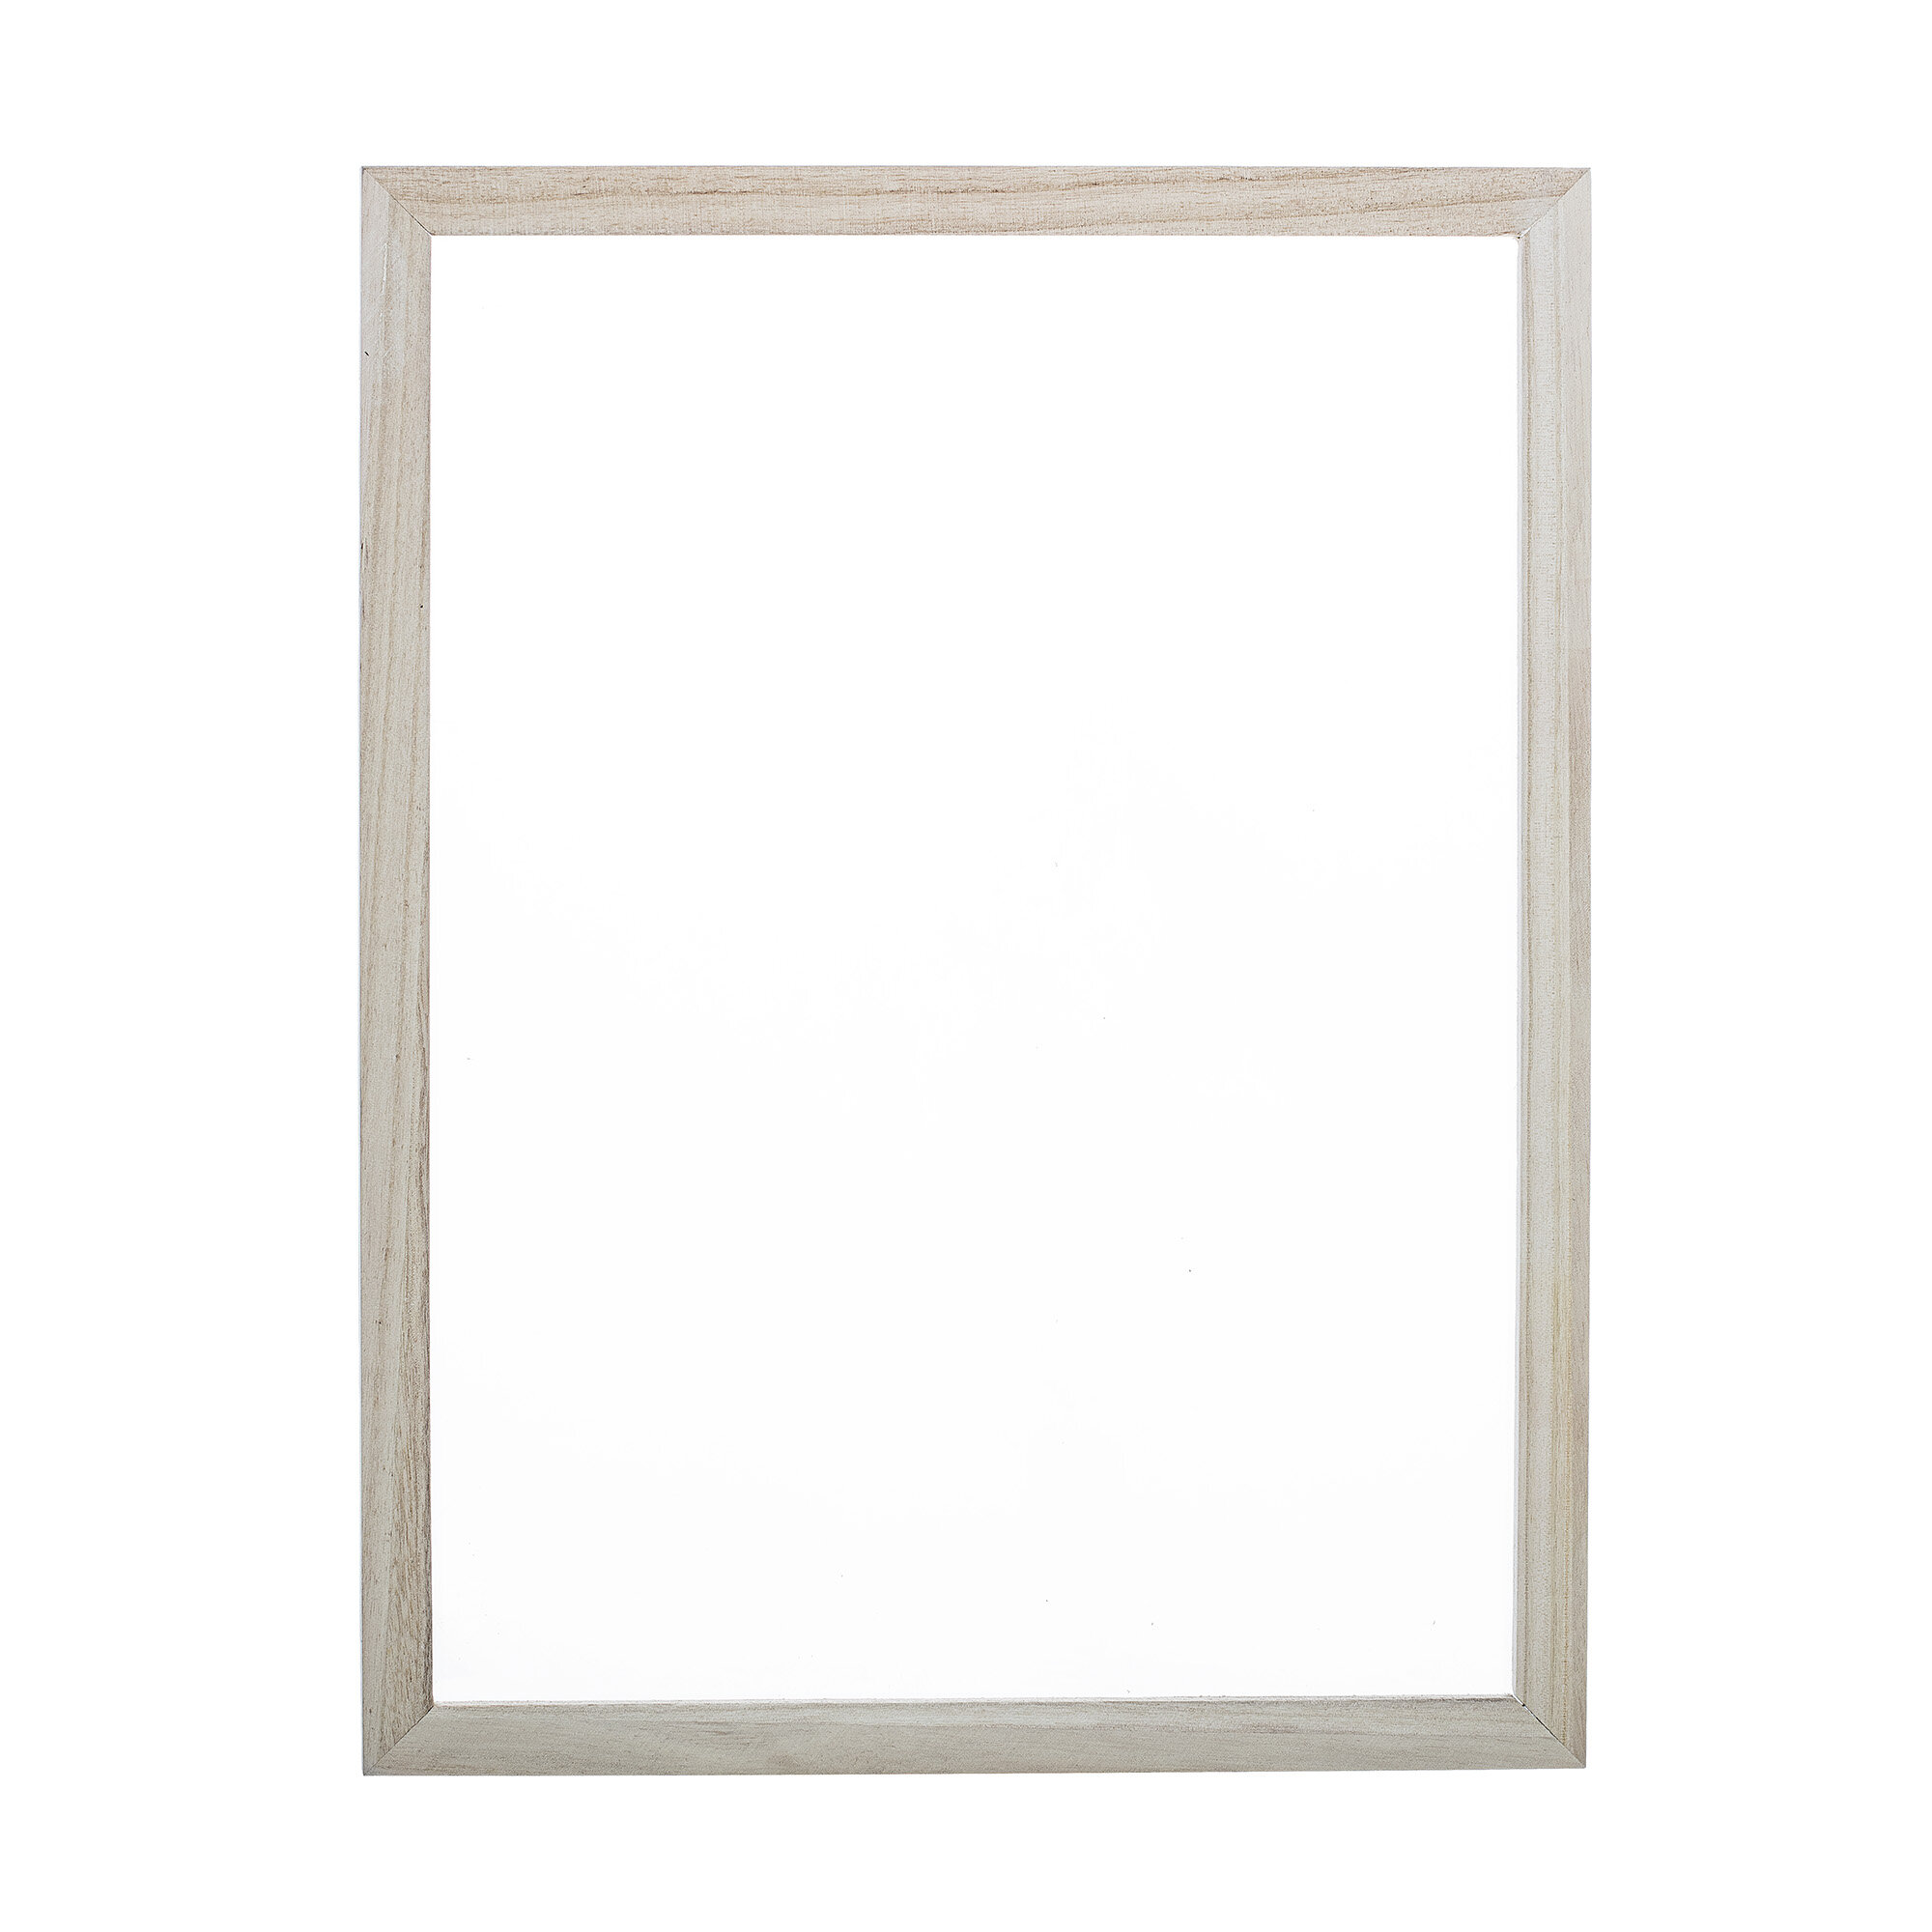
A • Purchase a stretcher or build a frame. Canvas frames are also sometimes referred to as stretcher bars, which feature pre-cut slats that you can slip together to create the frame. This is the easiest way to customize the frame to fit your purposes and put it together quickly. Most professionals use stretcher bars.[1]
DIY frame kits like EasyWrappe are prefabricated in a variety of different sizes that will allow you to quickly fix a canvas to a frame with no outside tools, other than an X-Acto knife to trim the excess canvas. While you have to pick from a limited variety of sizes, you can stick the pre-cut wood bars to the canvas and fix them in place in less than five minutes.[2]
Once you have this frame built or bought you can follow the directions below to stretch and staple your woven cane to the frame.

B • Get enough woven cane for the job. Get enough pressed woven cane to fit around the frame by at least six or eight inches on each side, depending on the width of the frame. It's essential that you have enough overlapping cane to attach to the back side of the frame, or the stretching won't work. Measure the dimensions of the frame you have, or of the eventual cane that you want and purchase or cut a larger size of cane, accordingly. The woven cane I ordered came by the inch long and up to 24 inches wide.
At Levairs- Prices are quoted per running foot, but you can order by the inch. I ordered 40 inches of the 24 inch Wide Fine Open Cane. They have many varieties, sizes and colours of pressed woven cane. Choose the style that suits your project and home decor best!
• SUPPLIES •

CANE WEBBING
SCISSORS
WOODEN FRAME
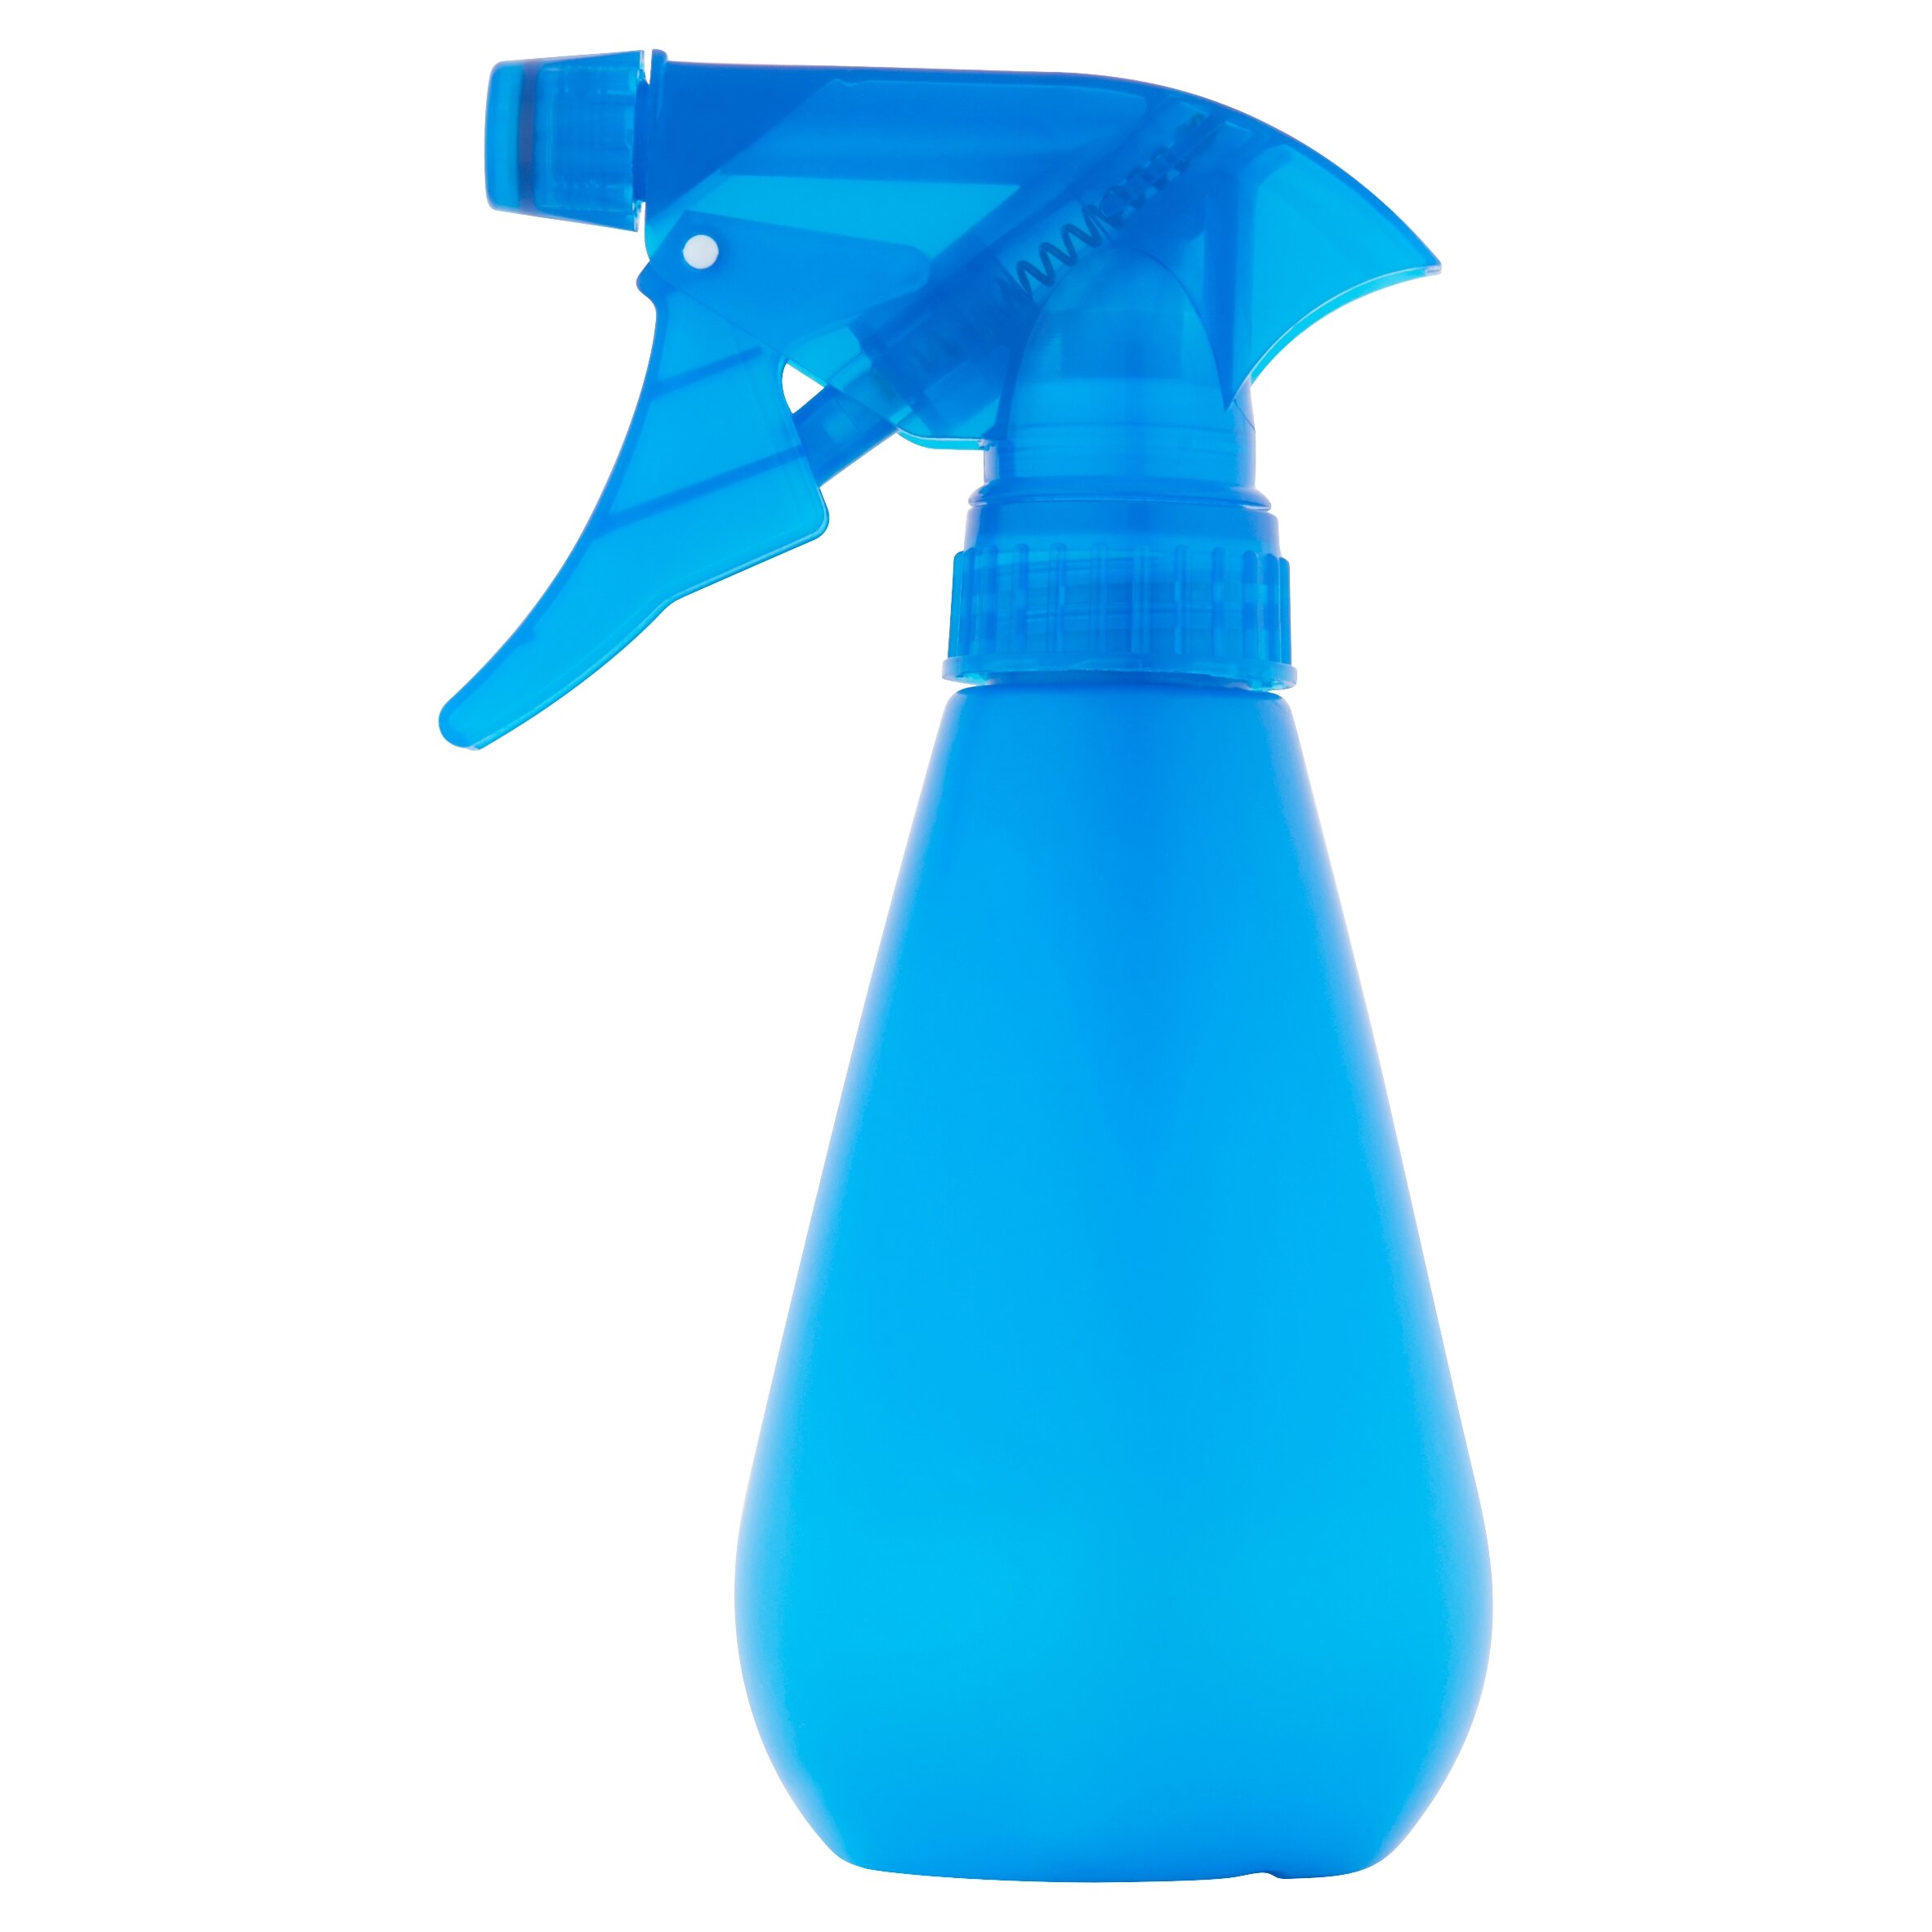
SPRAY BOTTLE WITH WATER
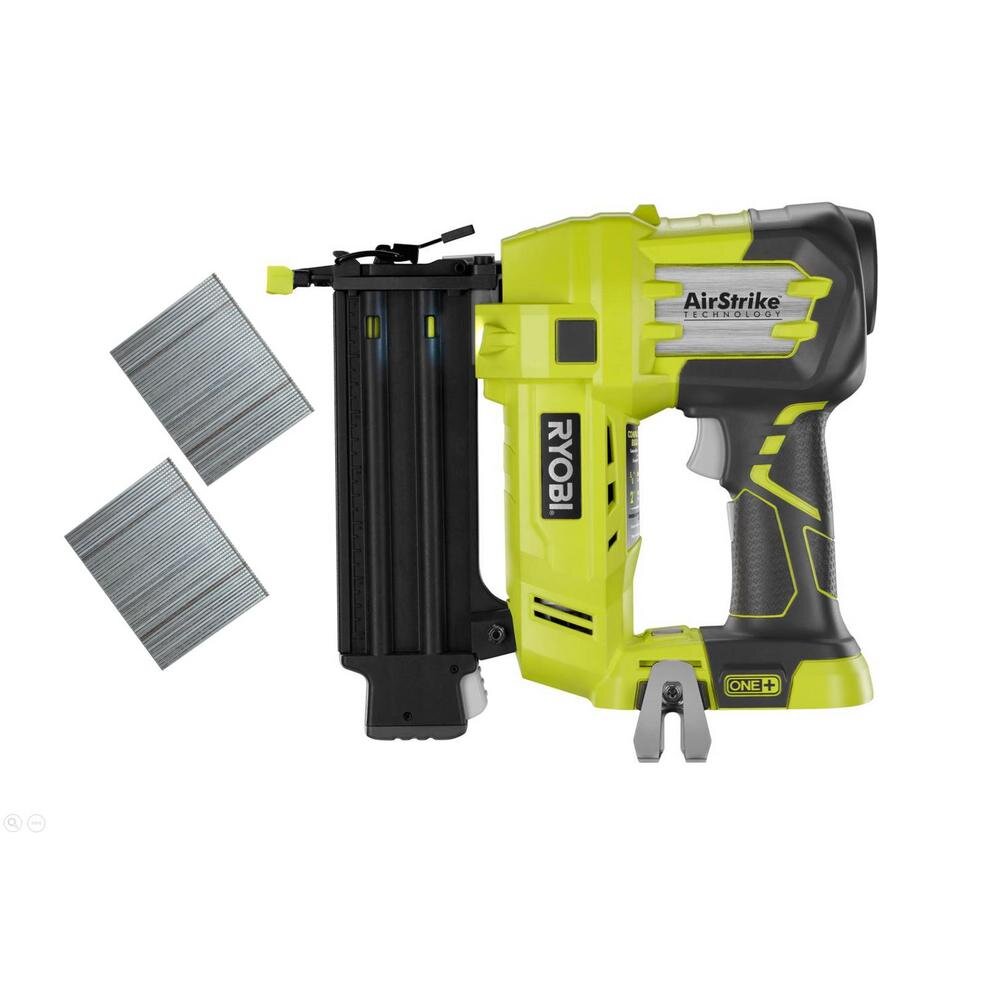
STAPLE GUN & STAPLES
OLD RADIATOR WITH A COVER
• DIRECTIONS •

STEP 1.
Center your frame on the cane. Lay the cane out flat on your work surface and center the frame on top of it. There should be equal space on all four sides and ample room to wrap the cane around the frame.
Make sure that the design of the cane is lined up straight with the stretcher bars on the frame. If they don't, the bars will twist and two opposite corners will lift up and your pattern wont look crisp and clean.

STEP 2.
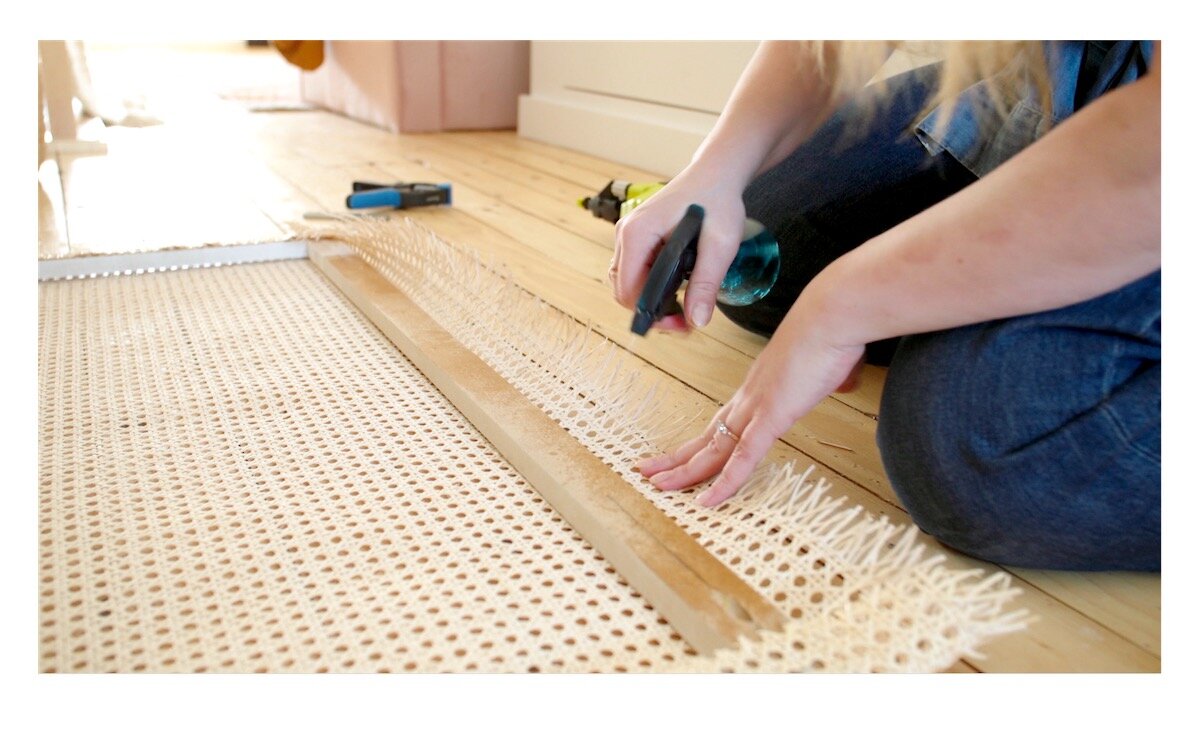
Wet the cane with a spray bottle on the edges around your frame so that the fibres become pliable and workable. As it dries, it will shrink and thus tighten the cane even more.

STEP 3.
Stretch the longest sides of the canvas first. While your cane is still wet, Start with the longest side of the cane closest to you and fold it in. Insert three staples in the center of that side of the frame, along the bottom edge of the frame. In other words, you want to wrap the canvas all the way around the bar and start fixing it onto the bottom edge of the frame. The canvas around the corners should still be quite loose. You’ll tighten it up later.
Rotate the cane and frame, or move around the table to the opposite side and do the same thing. Pull the cane tight, spray it with water and fold it over the frame, and insert three more staples into the stretcher bar on the opposite side.
Pro tip: You always want to secure the canvas from the middle to the corners. Never start inserting staples close to one of the corners, or the canvas will twist slightly on the frame, making it pooch out.
Regular desk staplers are not sufficient for stretching canvas. You need a heavy-duty staple gun to plant staples into wood and carpentry staples capable of gripping into the frame.
Step 4.
After you've fixed the long sides to the cane, mist the cane in the centre gently to promote shrinkage as you work.

STEP 5.
Stretch the shorter sides. Go to one of the unstapled sides and give the cane a good solid pull, fold it over, and insert two staples, attaching the cane to the frame. Do the same thing to the other short side.

STEP 6.
Stretch the corners. Return to the first side you started stretching and work from your centre staples out to each corner. Pull a piece of loose cane, stretch it down, and insert a staple. Go slowly, stretching a little bit from the opposite side of the bar at a time. Continue pulling and stapling pieces of the cane moving around the cane edges in the same order as before.
If you want, you can staple near the corners and then place a staple between the centre and the corner instead. Continue until you have about four inches of unstapled space from the corners.
STEP 7.
Secure the corners. Now that you’ve secured your cane webbing to the frame, It’s time to secure the remaining corners with your staples. At this point after having stretched all of your cane webbing, you will notice an excess gathering in the corners, which is great! This allows you to further fasten the cane in the corners by folding over the excess, and stapling it down,

STEP 8.
Install your the pressed cane canvas into the front of the radiator cover. The canvas should be tight enough that it stays put, but still removable when you need to access the radiator. Spray your framed cane with Water once a year, after the heating season, to keep it from becoming brittle and cracking. This will ensure the longevity of your radiator cover!


• In With The Old — Updated To New •
Old radiators can bring warmth into any room of a home, as well as into your designs. Creating projects like these are some of my favourites. Working with what you’ve got is a key skillset for any home renovator. Sometimes you just need a little inspiration! Updating old fixtures in your house and just giving them a little makeover to suit your style is sometimes all you need. You’ll still be comforted by the nostalgia of these pieces but will now also appreciate these customized pieces, so much more.
Thank you so much for following my blog. I would love to see if any of you attempt to create your own woven cane furniture! If you’re feeling oh, so inspired, tag me in your projects so that I can marvel at your wonderful woven cane creations!
Instagram: @diyom.ca • Facebook: DIY Mom • Pinterest: @diymomca
xox DIY MOM xox
GREAT NEWS! • DIY MOM Season 3 is now available to WATCH on Bell Tv On Demand! If you are a bell cable customer, you can watch season 3 in 3 easy steps!
Click the “On Demand Button” located in the center of your cable tv remote.
Select the “Search” option and search for DIY MOM.
Click on DIY MOM and binge the new season!
This new season of DIY MOM features my complete attic transformation. Each episode showcases new DIY’s and creative designs that are sure to inspire you to pick up a power tool and DIY.

Finding Inspiration…
Check out my radiator inspiration board on Pinterest. There are so many cool variations and ikea hacks using woven and pressed cane!